Mastering the Friction Zone: Where Beginners and Mechanics Meet
Learning exactly how to drive a motorcycle with a clutch smoothly is a rite of passage for every new rider. However, the friction zone—that delicate slip point between disengaged and fully locked—is also the primary battlefield where clutch components endure immense heat and mechanical stress. While modern 2026 street bikes and ATVs feature incredibly durable drivetrains, beginner riding habits like 'riding the clutch' at stoplights or lugging the engine in off-road mud can accelerate wear exponentially.
As a beginner, understanding the mechanical feedback your left hand and left foot provide is just as critical as learning to shift gears. This guide bridges the gap between basic riding operation and professional clutch system diagnostics, specifically tailored to the wet multi-plate clutches found in 95% of modern motorcycles and ATVs.
The Anatomy of a Wet Multi-Plate Clutch
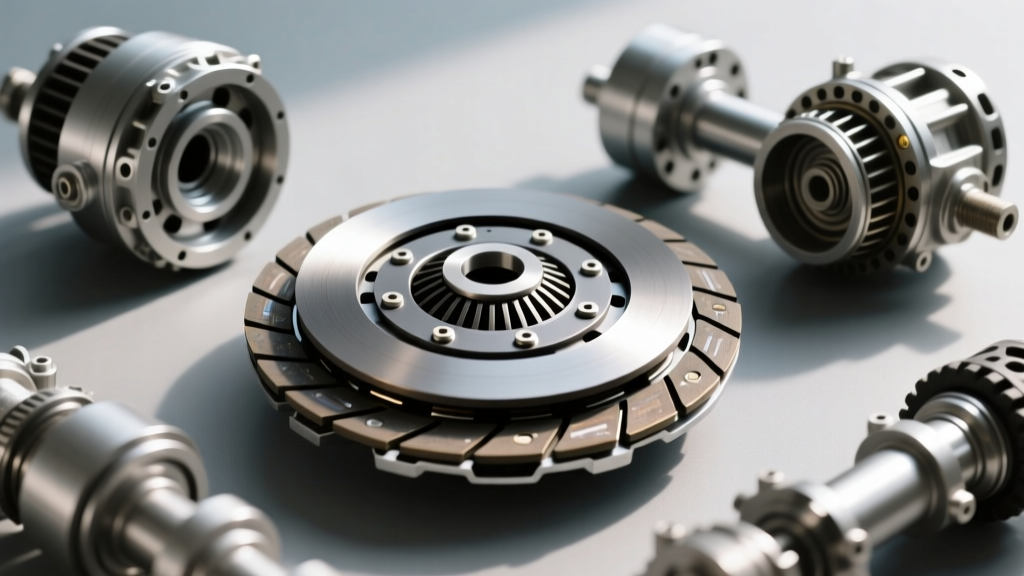
Unlike the dry, single-plate clutch in a manual transmission car, motorcycles and ATVs utilize a wet multi-plate clutch bathed in engine oil. This stack consists of alternating friction plates (lined with Kevlar or cork-based material) and bare steel separator plates, compressed by heavy-duty springs inside a clutch basket.
Because the clutch shares oil with the engine and transmission, fluid chemistry is paramount. Using standard automotive oil containing friction modifiers (like Molybdenum) will cause immediate clutch slip. You must always use oil certified to the JASO MA or MA2 standard, which guarantees the absence of friction-reducing additives. For deeper insights into fluid dynamics, clutch manufacturers like Rekluse offer extensive technical documentation on how oil viscosity impacts lever feel and plate engagement.
Top 4 Clutch Symptoms Caused by Beginner Riding Habits
When learning how to modulate the lever, beginners often mask mechanical issues with heavy-handed inputs. Here is how to diagnose the four most common wet clutch failures.
1. High-RPM Slipping Under Hard Acceleration
The Symptom: You roll on the throttle in third gear, the engine RPMs surge, but your road speed does not increase proportionally.
The Diagnosis: This is classic clutch slip, usually caused by glazed friction plates or weakened clutch springs. Beginners often rest their fingers on the lever while riding, applying slight pressure that prevents the plates from fully locking. Over time, this micro-slipping generates enough heat to bake the friction material into a hard, glassy surface.
The Fix: Inspect the friction plates. A new plate typically measures 3.0mm thick. If your plates have worn down to the service limit (usually 2.6mm to 2.8mm, depending on the OEM manual), they must be replaced. A standard ProX friction kit (e.g., part number 23.21011 for many 450cc motocross bikes) costs between $50 and $80.
2. Clutch Drag and Creeping at Stops
The Symptom: With the clutch lever pulled completely to the handlebar, the motorcycle still wants to creep forward, or the bike stalls when shifting into first gear from a standstill.
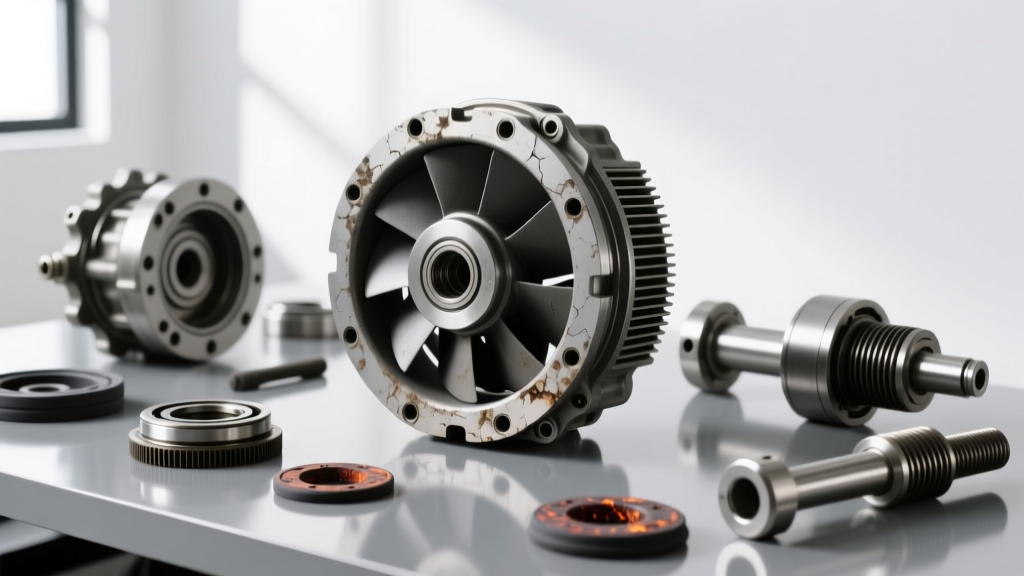
The Diagnosis: Clutch drag means the plates are not fully separating. In beginners, this is often due to improper cable free play. However, mechanically, it points to a notched clutch basket. The tabs on the steel plates hammer against the aluminum fingers of the basket, creating grooves. When you pull the lever, the plates get stuck in these grooves instead of floating apart.
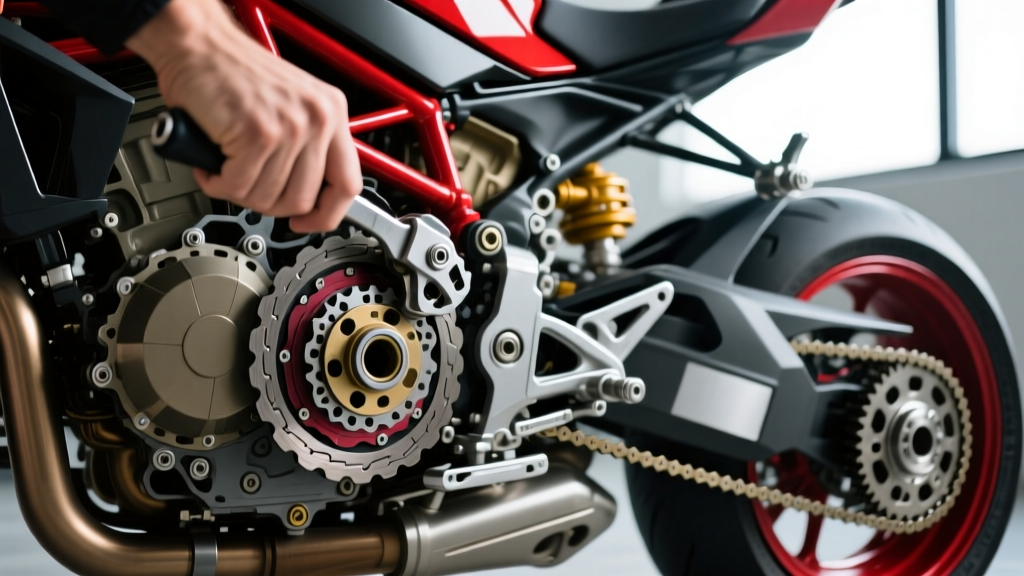
The Fix: Remove the clutch cover and inspect the basket fingers. If notching is present, you can temporarily smooth them with a flat mill file, but replacing the basket ($150–$250) is the only permanent fix. Always ensure 10mm to 15mm of free play at the lever end to allow full disengagement.
3. Low-Speed Chatter and Shuddering
The Symptom: When easing out of the friction zone in first gear, the bike shudders violently, feeling like it is hopping or grabbing and releasing rapidly.
The Diagnosis: Chatter is almost always caused by warped steel separator plates or unevenly compressed clutch springs. When a beginner repeatedly stalls and aggressively dumps the clutch to recover, the sudden thermal shock can warp the thin steel plates. When warped plates spin, they create high and low spots, resulting in a pulsating engagement.
The Fix: Place the steel plates on a known flat surface (like a piece of glass) and attempt to slide a 0.1mm feeler gauge underneath. If the gauge passes under the plate, it is warped and must be discarded. Steel plates are cheap; a full set usually costs $60 to $100.
4. Spongy or Inconsistent Lever Feel
The Symptom: The clutch lever feels mushy, or the engagement point moves closer to the handlebar as the engine heats up.
The Diagnosis: For hydraulic clutches, this indicates air in the system or degraded DOT 4/5.1 fluid absorbing moisture. For cable-actuated clutches, the inner steel cable is fraying inside the housing, or the housing itself is stretching due to improper routing.
The Fix: Bleed the hydraulic system using a vacuum bleeder, or replace the cable assembly. When routing new cables, refer to Motion Pro's technical guides to ensure smooth, sweeping bends that prevent internal friction and premature snapping.
The Beginner Mistake Damage Matrix
Understanding the financial and mechanical consequences of poor clutch habits can help you correct your technique early. Below is a diagnostic matrix linking beginner errors to specific component failures.
| Beginner Riding Mistake | Primary Component Damaged | Resulting Symptom | Estimated Repair Cost (Parts) |
|---|---|---|---|
| Resting fingers on the lever at highway speeds | Friction Plates & Clutch Springs | High-RPM Slipping, Loss of Top Speed | $60 - $120 |
| Using automotive oil with friction modifiers | Friction Material Glazing | Immediate Slip, Inability to Climb Hills | $80 - $150 (Kit + Oil) |
| Dumping the clutch to recover from stalls | Steel Separator Plates | Low-Speed Chatter, Shuddering | $50 - $90 |
| Ignoring cable free-play adjustments | Clutch Basket Fingers & Pushrod | Clutch Drag, Hard Shifting, Creeping | $150 - $300 |
Hard Data: Torque Specs and Wear Limits
When diagnosing and reassembling a motorcycle or ATV clutch, precision is non-negotiable. Guessing torque values can lead to stripped aluminum threads or a clutch hub nut backing off at 8,000 RPM, destroying the transmission input shaft.
- Clutch Spring Bolts: Typically 7 Nm to 10 Nm (60 to 88 lb-in). Warning: These are small 6mm or 8mm bolts threading into soft aluminum pressure plates. Always use a calibrated inch-pound torque wrench, never a standard foot-pound wrench.
- Clutch Hub Nut: Usually 50 Nm to 75 Nm (37 to 55 lb-ft). This nut secures the inner hub to the transmission shaft. It must be torqued to spec and secured with a new lock washer or a dab of medium-strength threadlocker (Loctite 243).
- Spring Free Length: Clutch springs sag over time. If the OEM manual specifies a new length of 48.0mm and a service limit of 45.5mm, any spring measuring 45.4mm mandates a full set replacement. Never mix old and new springs.
ATV and Side-by-Side Specifics: The Mud Bogging Factor
If you are learning how to drive an ATV or UTV with a manual clutch (such as a Honda Foreman or Kawasaki Brute Force), the diagnostic parameters shift slightly due to the operating environment. ATVs frequently operate at high load and low RPM in deep mud or sand. This 'lugging' generates massive heat in the clutch basket, often boiling the oil locally around the friction plates.
For ATV riders, upgrading to a heavy-duty clutch kit (like the Rekluse Core Manual 3.0, priced around $400) is a common diagnostic endpoint when stock clutches fail repeatedly under off-road loads. These kits utilize CNC-machined baskets and specialized friction materials designed to dissipate heat faster than stamped-steel OEM components.
Final Thoughts on Clutch Longevity
Mastering how to drive a motorcycle with a clutch is about developing a mechanical sympathy for the components hidden behind the engine cover. By keeping your fingers off the lever while riding, strictly adhering to JASO MA2 fluid standards, and routinely checking your 10mm cable free play, you can easily push a stock wet clutch past 40,000 miles. When symptoms do arise, use your calipers, feeler gauges, and torque wrenches to diagnose the root cause rather than blindly throwing parts at the problem.