Master Technician’s Guide to Clutch Drag and Release Problems
When a customer complains of a "clutch dragging" or failing to release, most technicians immediately look toward the manual transmission. However, modern vehicles utilize multiple friction and fluid-coupling systems. A comprehensive 2026 diagnostic approach requires evaluating both the primary drivetrain clutch and the engine cooling fan clutch assembly. Both systems rely on precise engagement and release mechanisms, and both are prone to distinct drag, lock-up, and release failures that can mimic one another or cause cascading drivability issues.
This step-by-step how-to guide will walk you through isolating clutch drag and release problems across the drivetrain and the engine bay, complete with torque specs, PWM testing protocols, and real-world part numbers.
Step 1: Isolate Drivetrain Clutch Drag Symptoms
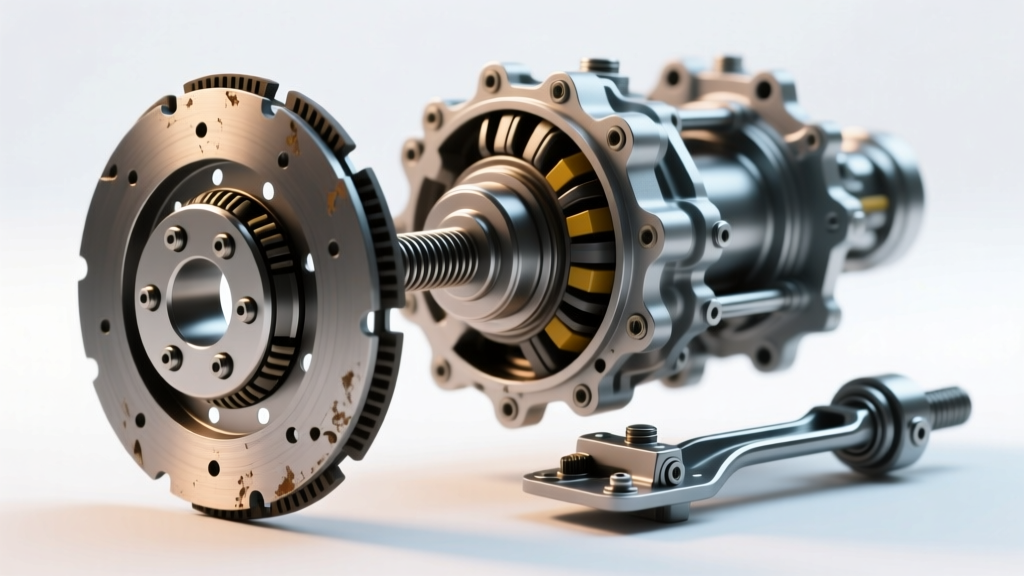
Clutch drag occurs when the friction disc fails to fully disengage from the flywheel despite the pedal being fully depressed. This results in grinding during gear engagement, vehicle creep in neutral, and accelerated synchronizer wear inside transmissions like the Tremec T56 Magnum or ZF S6-650.
The Engine-Off vs. Engine-On Test
Before tearing into the bellhousing, perform this definitive test to separate transmission synchro wear from actual clutch drag:
- Engine Off: Depress the clutch pedal and shift through all forward gears and reverse. The shifter should glide smoothly into each gate without resistance.
- Engine On: Start the engine, depress the pedal, and attempt to shift into first or reverse. If you experience grinding or severe resistance now, but not with the engine off, you have confirmed clutch drag.
Inspecting the Release Mechanism
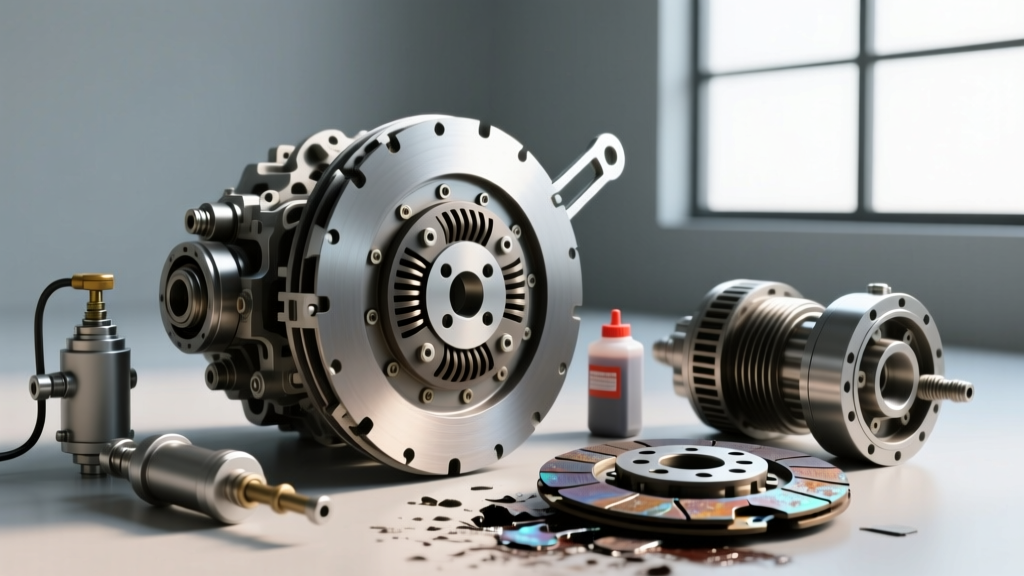
For hydraulic systems, check the master cylinder pushrod free-play. A misadjusted pushrod (or a failing concentric slave cylinder, such as ACDelco part #24254963 used in many GM HD applications) may not provide the 12-15mm of stroke required to fully compress the diaphragm spring. Use a Motive Products Power Bleeder set to 15 PSI to flush the system with fresh DOT 4 fluid, eliminating micro-bubbles that compress under heat and cause late-release drag.
Step 2: Diagnose the Fan Clutch Assembly for Drag and Lock-Up
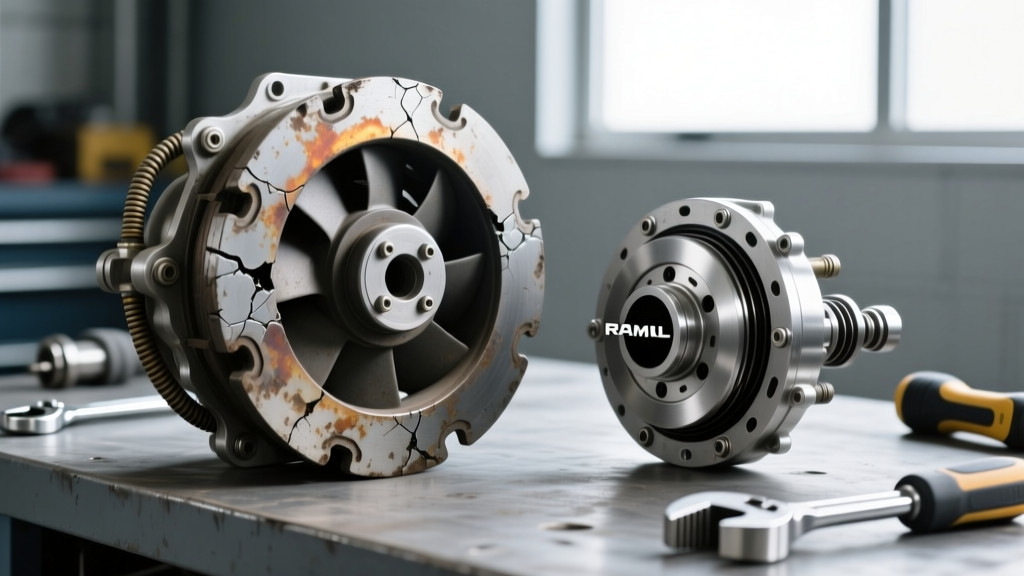
The fan clutch assembly is a secondary clutch system designed to engage and release based on thermal demands. When a fan clutch experiences a "drag" fault, it remains permanently locked, causing severe parasitic horsepower loss (up to 20 HP on heavy-duty diesels), a jet-engine roar, and reduced fuel economy.
Testing Viscous Fan Clutches
Traditional thermal fan clutches rely on a bimetallic strip and silicone shear fluid. Over time, the fluid degrades or the internal valve sticks open, causing permanent drag.
- The Cold Spin Test: With the engine cold and off, attempt to spin the fan blades by hand. You should feel moderate resistance. If it spins freely with zero drag, the internal fluid has leaked out (release failure). If it is completely locked and immovable, the internal valve has seized (drag fault).
- The Heat Gun Test: Use an infrared thermometer to measure the air temperature directly behind the radiator core. If the temp reads above 180°F (82°C) and the fan clutch is not audibly engaging, the bimetallic spring has failed to release the fluid into the shear chamber.
Testing Electromagnetic Fan Clutches (2020-2026 Models)
Modern trucks, such as the Ford 6.7L Powerstroke and GM 6.6L Duramax, use Pulse Width Modulated (PWM) electromagnetic fan clutches. These do not use viscous fluid; instead, an electromagnetic coil engages the clutch based on a PCM signal.
Pro Tip: If the PWM control wire on an electromagnetic fan clutch assembly chafes against the engine harness and shorts to ground, the PCM will default the fan to 100% duty cycle (full lock) as a fail-safe to prevent overheating. This results in massive parasitic drag. Always scan the PCM for "Fan Clutch Circuit" codes and monitor the commanded vs. actual PWM duty cycle via a bi-directional scan tool before condemning the assembly.
Step 3: Evaluate Drivetrain Release Fork and Pivot Wear
If the hydraulic system is bled and the master cylinder is pushing full volume, mechanical wear in the bellhousing is the next culprit for clutch drag. The release fork rides on a pivot ball. In high-torque applications, the factory steel pivot ball wears a groove into the fork, altering the geometry of the release bearing.
When the geometry shifts, the bearing cannot push the diaphragm spring fingers far enough to release the friction disc. Upgrade to a bronze pivot ball sleeve (such as the Tick Performance Bronze Pivot Kit) to restore the exact factory fulcrum geometry and eliminate mechanical drag.
Step 4: Component Torque Specifications and Clearances
Improper torque during reassembly can warp pressure plates or fan hubs, leading to immediate drag or release vibrations. Refer to the table below for critical 2026 reference specifications:
| Component | Application | Torque Spec / Clearance | Notes |
|---|---|---|---|
| Pressure Plate to Flywheel | GM LS / LT (T56) | 35 lb-ft (Star Pattern) | Use Loctite 243; uneven torque causes drag. |
| Flywheel to Crankshaft | Ford 7.3L Godzilla | 59 lb-ft | Replace TTY bolts; do not reuse. |
| Fan Hub Nut | GM 6.6L Duramax | 89 lb-ft | Left-Hand Thread! Requires 47mm wrench. |
| Fan Hub Nut | Ford 6.7L Powerstroke | 85 lb-ft | Left-Hand Thread; use 1-7/8" specialty wrench. |
| Hydraulic Clutch Free-Play | Most Manual Transmissions | 0.5" - 1.0" at pedal pad | Prevents premature release bearing wear. |
Step 5: Common Misdiagnoses and Edge Cases
Before purchasing a replacement LuK RepSet Pro or a new Hayden Automotive fan clutch assembly, rule out these common edge cases that mimic drag and release problems:
Dual-Mass Flywheel (DMF) Internal Failure
A failing DMF can cause internal springs to bind, creating a severe rotational drag that feels exactly like a stuck clutch disc. If the vehicle exhibits a rhythmic "clunk" at idle that disappears when the clutch pedal is depressed (loading the throw-out bearing), the DMF internal dampener has failed. Always replace the DMF and clutch as a matched set to prevent immediate warranty comebacks.
Warped Friction Disc or Flywheel Runout
Use a dial indicator to measure flywheel runout. Maximum allowable runout for most passenger and light-duty commercial applications is 0.005 inches. If the flywheel is warped beyond this spec, the high spots will keep the friction disc in contact with the pressure plate even when the pedal is fully depressed, causing a persistent drag that no amount of hydraulic bleeding will fix.
Step 6: 2026 Parts Sourcing and Replacement Strategy
When replacing the drivetrain clutch, avoid cheap aftermarket friction discs that lack proper marcel springs (the wavy springs between the friction facings). Marcel springs are critical for smooth engagement and quick release. For heavy-duty towing, consider ceramic/organic hybrid discs, but be aware they require precise pedal modulation.
For the fan clutch assembly, never attempt to rebuild a viscous unit or splice the wiring harness on an electromagnetic unit. The internal shear tolerances are measured in microns, and a spliced PWM wire will introduce resistance that alters the PCM's duty cycle mapping, leading to erratic cooling fan engagement and potential engine overheating. Always source OEM or premium aftermarket equivalents (like Motorcraft or ACDelco) to ensure the internal electromagnetic coil matches the factory resistance parameters (typically between 2.5 and 4.0 ohms at 68°F).
Summary
Diagnosing clutch drag and release problems requires a holistic view of the vehicle's friction systems. By systematically testing the drivetrain hydraulics, measuring flywheel runout, and utilizing scan tools to verify the PWM signals on modern fan clutch assemblies, you can accurately pinpoint the root cause of parasitic drag and engagement faults. Rely on data, torque specs, and electrical diagnostics rather than guesswork to ensure a definitive repair on the first visit.