Sensory Triage: Diagnosing the AC Clutch by Ear and Hand
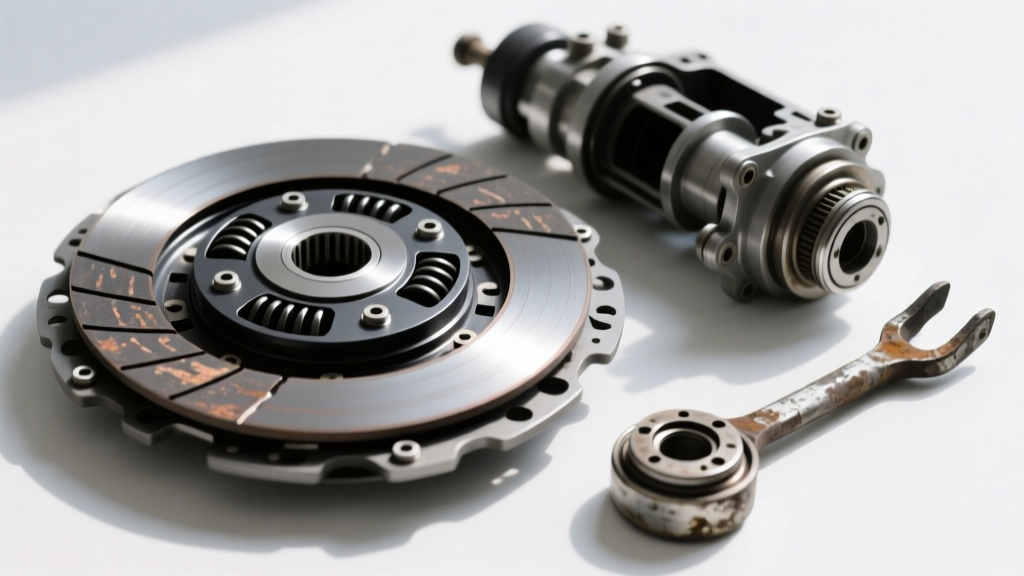
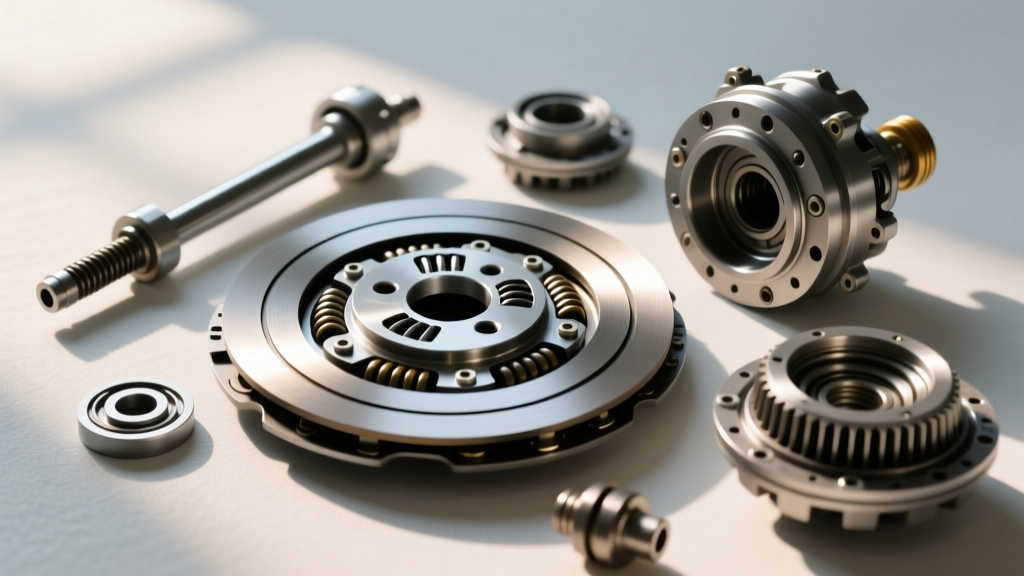
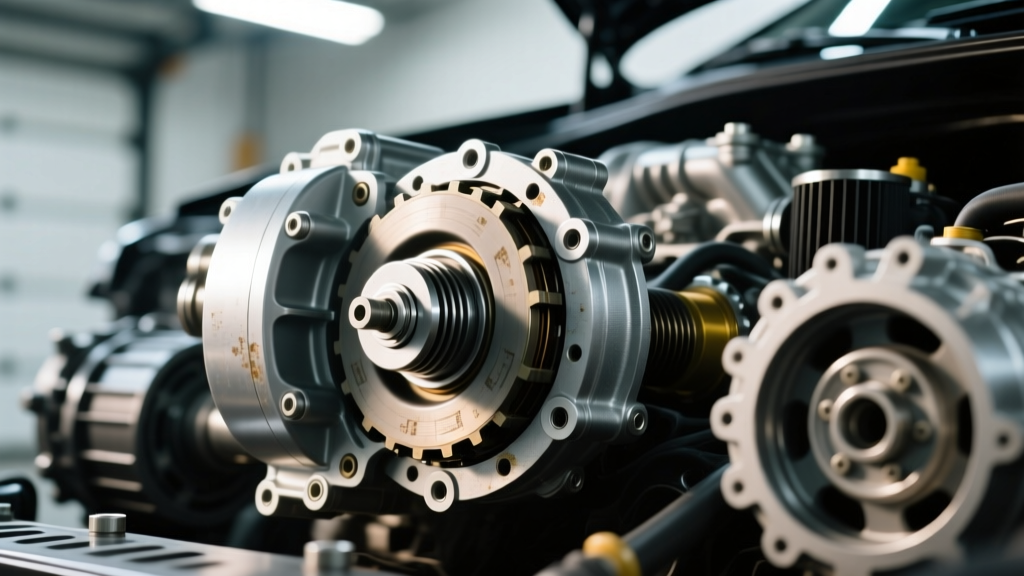
When you turn on your vehicle's air conditioning and the air remains warm, the immediate suspect is often the compressor. However, before you connect a manifold gauge set or start throwing expensive parts at the system, a seasoned technician relies on sensory diagnostics. Understanding why your car AC clutch is not engaging requires interpreting the auditory, tactile, and vibrational cues the system provides. The electromagnetic clutch assembly is a simple but highly precise component, and its failure modes broadcast distinct symptoms.
Auditory Cues: The "Click" and the Grind
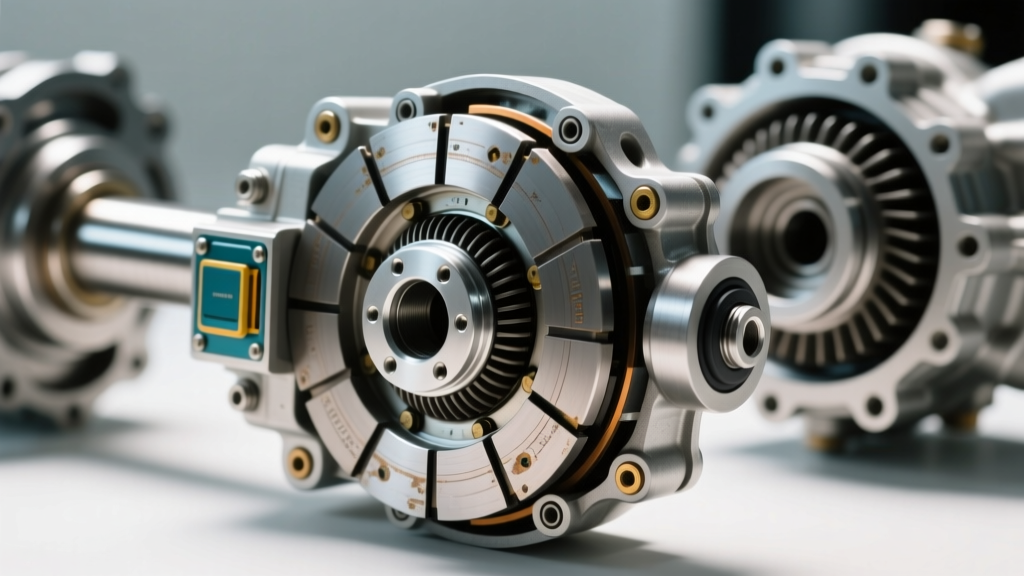
The engagement of an AC compressor clutch is an electromagnetic event. When the Powertrain Control Module (PCM) grounds the clutch relay, 12 volts are sent to the electromagnetic coil. This creates a magnetic field that pulls the steel armature plate against the spinning rotor, locking them together via friction.
- The Missing Click: If you turn the AC to MAX and hear absolutely no click from the engine bay, you have an open circuit. This could be a blown fuse, a faulty relay, an open pressure switch (due to low refrigerant), or a burnt-out clutch coil.
- The Rapid "Click-Click-Click": If the clutch rapidly cycles on and off every second, you are experiencing short-cycling. This is almost always caused by the low-pressure switch opening and closing rapidly due to a restricted orifice tube, a failing expansion valve, or a system that is critically low on refrigerant.
- The Metallic Grind: If you hear a harsh grinding noise that changes pitch with engine RPM but stops when you turn the AC off, the clutch pulley bearing is failing. Conversely, if the grinding only happens when the clutch is engaged, the armature plate is rubbing against the rotor due to warping or an incorrect air gap.
Tactile Cues: Hub Drag and Compressor Vibration
With the engine completely off and the keys out of the ignition, reach down and grab the front clutch hub (the center plate, not the outer pulley). Attempt to spin it by hand.
- Smooth, Slight Resistance: This is normal. You are feeling the internal resistance of the compressor's swashplate and pistons.
- Locked Solid: If the center hub will not budge, the internal compressor is seized. The PCM may be actively preventing the clutch from engaging to save the serpentine belt from snapping. In this scenario, the entire compressor must be replaced.
- Pulley Wobble: Grab the outer pulley (which spins with the belt) and try to wiggle it up and down. Any lateral play indicates that the double-row angular contact bearing inside the pulley is destroyed. If left unchecked, the pulley will seize, melt the belt, and leave you stranded.
The 2026 Diagnostic Divide: R134a vs. R1234yf Pressure Systems
One of the most common reasons a car AC clutch is not engaging is a safety lockout triggered by abnormal system pressure. However, how you diagnose this depends entirely on the refrigerant your vehicle uses.
Older vehicles using R134a typically utilize a simple binary or trinary pressure switch. If the static pressure drops below 40 PSI, the switch opens, breaking the ground circuit to the clutch relay. You can diagnose this by temporarily jumping the two pins on the low-pressure switch connector with a paperclip. If the clutch engages immediately, you have a refrigerant leak.
Modern vehicles (2015 and newer) using R1234yf refrigerant do not use simple switches. Instead, they use an SAE J2842 compliant solid-state pressure transducer. This sensor sends a variable voltage signal (usually 0.5V to 4.5V) directly to the PCM. You cannot jump this sensor. To diagnose an R1234yf pressure lockout, you must plug in an OBD2 scan tool, navigate to the PCM's HVAC data PIDs, and read the live pressure transducer voltage. If the scan tool reads 0 PSI or an erratic voltage while your manifold gauges show 80 PSI, the sensor or its 5-volt reference wire is faulty, not the clutch.
Step-by-Step Electrical & Mechanical Verification
If your sensory triage and pressure checks confirm that the PCM is commanding the clutch on, but it still refuses to engage, it is time to break out the digital multimeter (DMM) and feeler gauges.
Safety Warning: Always disconnect the negative battery terminal before removing electrical connectors near the radiator fan. Keep hands clear of the serpentine belt and cooling fans during live-engine tests.
Step 1: Verify Power Delivery at the Pigtail
- Locate the single-wire or two-wire connector leading directly to the AC compressor clutch coil.
- Unplug the connector and insert your DMM probes into the harness side (not the compressor side).
- Set the DMM to DC Volts. Start the engine and turn the AC to MAX.
- You should read between 12.5V and 14.2V. If you read 0V, trace the wiring back to the relay or check for a broken wire in the harness loom near the engine mount (a common failure point due to vibration).
- If you read voltage but the clutch doesn't engage, the issue is isolated to the compressor clutch assembly.
Step 2: Measure Coil Resistance (Ohms)
With the engine off and the connector unplugged, set your DMM to Ohms (Ω). Measure the resistance across the pins on the compressor side of the connector. Compare your findings to the specifications below, sourced from Denso Global and MACS (Mobile Air Climate Systems Association) training data.
| Compressor Model | Typical Application | Target Coil Resistance (Ω) | Specified Air Gap |
|---|---|---|---|
| Denso 10S17C / 10PA17C | Toyota, Honda, Lexus | 3.0 - 4.5 Ω | 0.40mm - 0.60mm |
| Sanden SD7V16 / PXE16 | VW, Audi, Subaru | 3.5 - 5.0 Ω | 0.30mm - 0.50mm |
| Delphi / Harrison HT6 / CVC | GM, Ford, Chrysler | 3.2 - 4.8 Ω | 0.45mm - 0.75mm |
Diagnostic Interpretation: If your reading is "OL" (Out of Limits) or infinite, the internal thermal fuse inside the coil has blown, or the copper windings are broken. If the reading is below 2.0 Ω, the coil has an internal short and will blow the AC fuse the moment it engages. In either case, the coil must be replaced.
Step 3: The Air Gap and Shimming Procedure
If the coil has correct resistance, and 12V is reaching the plug, but the clutch slips or fails to pull in, the air gap is too wide. As the clutch armature wears down from years of friction, the gap between it and the rotor increases. Eventually, the magnetic field is no longer strong enough to bridge the gap.
- Use a metric feeler gauge to measure the gap between the armature plate and the rotor face in three equidistant spots. It must be uniform.
- If the gap exceeds 0.75mm, you must shim the clutch.
- Remove the center hub retaining bolt (typically a 6mm or 8mm hex, torqued to roughly 15-20 Nm).
- Pull the armature plate off the splined shaft. You will find small, half-moon metal shims sitting on the shaft.
- Remove one 0.1mm or 0.25mm shim, reinstall the plate, and torque the center nut to factory spec (usually 11-15 lb-ft).
- Re-measure the gap. It should now fall perfectly into the 0.4mm - 0.6mm range.
Cost Analysis: Clutch Repair vs. Compressor Replacement
When diagnosing a car AC clutch not engaging, the ultimate question is whether you can save the compressor. Replacing just the clutch assembly is highly cost-effective, but it is only viable if the compressor's internal mechanics and shaft seals are perfectly intact.
- Clutch Assembly Only: A high-quality aftermarket clutch kit (coil, pulley, bearing, and armature) costs between $90 and $180. If the compressor is otherwise healthy, this saves you the cost of evacuating and recharging the refrigerant.
- Full Compressor Replacement: If the clutch failed due to internal compressor seizure, or if the front shaft seal is leaking (evident by oily residue slung around the clutch area), you must replace the entire compressor. A new OEM or premium aftermarket compressor ranges from $300 to $750.
- Refrigerant & Oil: Recharging the system with R1234yf refrigerant and PAG/POE oil will add $120 to $250 to the bill, as R1234yf is significantly more expensive than legacy R134a.
- Labor: Expect 1.5 to 3.0 hours of shop labor ($150 - $450) depending on engine bay accessibility.
A Note on Variable Displacement Compressors
Do not confuse a clutch that is engaging with a functioning AC system. Many modern vehicles use Variable Displacement Compressors (like the Sanden SD7V16). On these units, the clutch may remain engaged 100% of the time the engine is running, while an internal Electronic Control Valve (ECV) alters the swashplate angle to change the cooling output. If your clutch is locked in, spinning perfectly, but the air is warm, your issue is not the clutch—it is a failed internal ECV or a clogged expansion valve. Always verify compressor discharge line temperatures with an infrared thermometer before condemning the clutch assembly.