The Intersection of Mechanical Feel and Electronic Interlocks
Modern manual and Automated Manual Transmissions (AMTs) rely on a precise synergy between hydraulic pressure, mechanical friction materials, and electronic oversight. When drivers report drivability issues, technicians must perform a systematic clutch diagnosis by symptom—evaluating pedal feel, auditory noise, and chassis vibration. However, a frequently misunderstood component in this diagnostic tree is the seguro de pedal de clutch (clutch pedal interlock or position switch). In many global service manuals and among bilingual technicians, this switch is the critical link between the driver's physical input and the ECU's load-management algorithms. This step-by-step guide details how to isolate mechanical failures from electronic interlock faults in 2026's complex drivetrain ecosystems.
Step 1: Isolating Pedal Feel and Hydraulic Anomalies
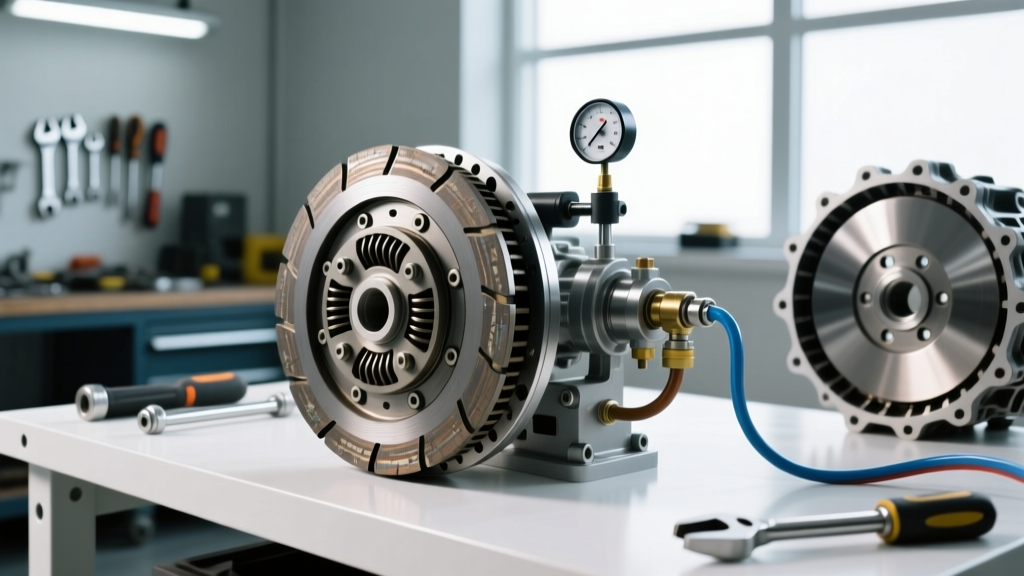
Pedal feel is the most immediate indicator of hydraulic system health. A spongy or sinking pedal typically indicates aerated fluid or a failing master cylinder seal. Most modern passenger vehicles utilize a 19.05mm (3/4-inch) bore master cylinder. If the pedal drops under constant pressure, inspect the slave cylinder. For instance, a common failure point in rear-wheel-drive applications is the concentric slave cylinder (CSC), such as the Sachs SH5003 series. Internal bypassing in a CSC will mimic a worn friction disc, causing engagement flare without actual material loss.
Conversely, a stiff or notchy pedal often points to a binding release bearing on the transmission input shaft sleeve or a fatigued pressure plate diaphragm. Before condemning the mechanical clutch assembly, verify the hydraulic fluid condition. Polyglycol-based DOT 4 fluids are highly hygroscopic; moisture contamination lowers the boiling point and accelerates internal cylinder pitting. A complete flush using a pressure bleeder set to 15-20 psi is the mandatory first step in any pedal-feel diagnosis.
Testing the Seguro de Pedal de Clutch (CPP Switch)
If the hydraulic system is bled and mechanical bind is ruled out, but the vehicle exhibits a 'dead' pedal feel at the top of the travel or fails to disengage cruise control, the seguro de pedal de clutch is your primary suspect. This switch serves two vital functions: it acts as a starter relay interlock (safety) and signals the ECU to cut throttle and prepare for rev-matching during downshifts.
Diagnostic Procedure:
- Visual Gap Check: With the pedal fully released, measure the gap between the switch plunger and the pedal stop pad. OEM specifications typically demand a 0.5mm to 1.2mm gap. If the gap is too wide, the ECU will not register clutch disengagement, causing harsh AMT shifts or starter no-crank events.
- DMM Continuity Test: Disconnect the harness. Set your Digital Multimeter to continuity. Depress the pedal past the 15mm engagement threshold. The circuit should close (0 ohms). If resistance fluctuates, the internal micro-switch contacts are carbon-tracked and the unit must be replaced.
Step 2: Auditory Diagnostics (Noise and Chatter)
Vibration and noise must be categorized by their frequency and the exact pedal position at which they occur. Clutch chatter—a low-frequency, violent shudder during initial engagement—is rarely a simple friction issue. It is most commonly caused by a degraded Dual Mass Flywheel (DMF) or oil contamination from a leaking rear main seal or transmission input shaft seal.
According to LuK Clutch Systems engineering guidelines, a DMF must be tested for rotational free-play and secondary mass axial runout. Using a specialized DMF gauge, verify that the rotational free-play does not exceed 40 to 60 degrees (application dependent). Furthermore, secondary mass axial runout must remain below 1.2mm. If the DMF fails these specs, the torsional dampening springs are bottoming out, transferring harmonic vibrations directly into the chassis.
High-frequency squealing upon pedal depression indicates a failing throwout bearing or a dry input shaft sleeve. If the noise disappears when the pedal is fully depressed (clutch disengaged) but is present at rest, suspect a worn pilot bearing or a loose friction disc hub spline rattling against the input shaft.
Symptom-to-Solution Diagnostic Matrix
| Primary Symptom | Probable Root Cause | Diagnostic Tool / Method | Avg. Repair Cost (2026) |
|---|---|---|---|
| Spongy Pedal / Fluid Loss | Concentric Slave Cylinder Leak | UV Dye & 20 PSI Pressure Test | $350 - $750 |
| Chatter on Engagement | DMF Failure / Oil Contamination | LuK DMF Free-Play Gauge & Runout Dial | $900 - $1,600 |
| No-Crank / AMT Shift Flare | Seguro de Pedal de Clutch Fault | DMM Continuity & Feeler Gauge (0.5mm) | $45 - $130 |
| Squeal on Pedal Depress | Input Shaft Sleeve / TO Bearing | Chassis Ear / Stethoscope on Bellhousing | $500 - $1,100 |
Step 3: Mechanical Verification and Torque Specifications
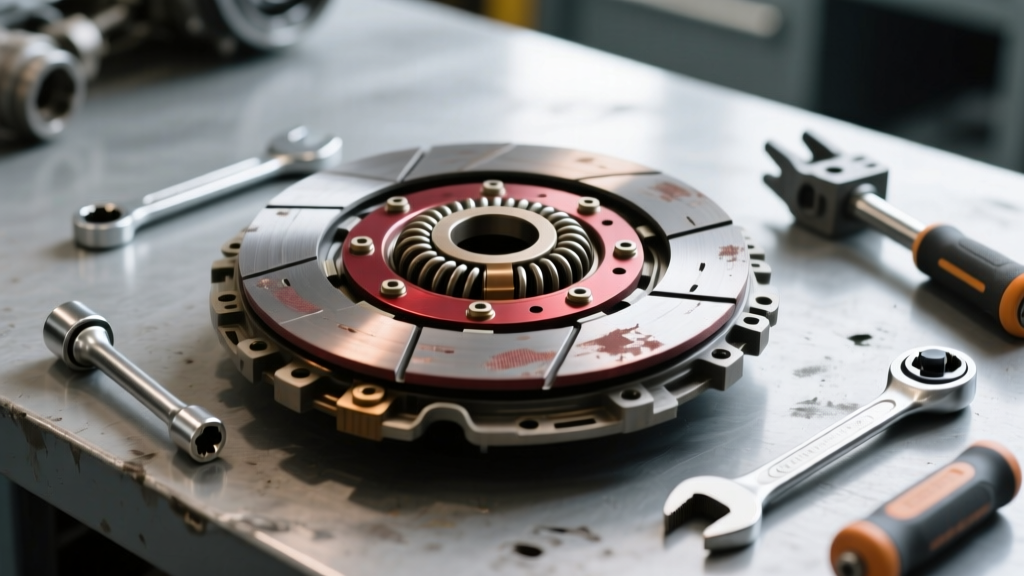
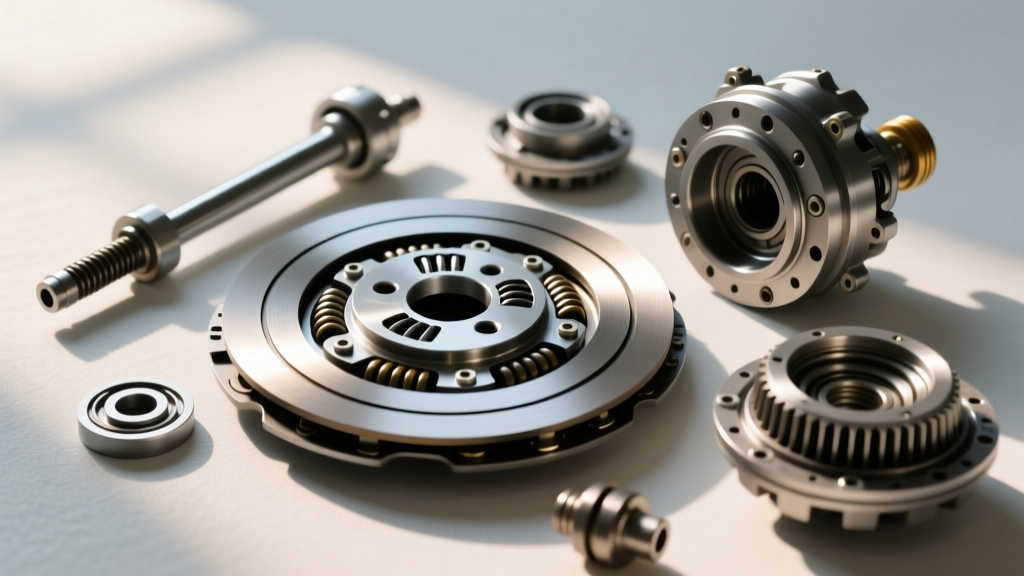
When symptoms dictate a transmission removal and clutch replacement, precision during reassembly is non-negotiable. Using a high-quality replacement kit, such as a SACHS Clutch Component RepSet, ensures matched friction coefficients and damper rates.
Critical Assembly Specs:
- Flywheel to Crankshaft: Always use new torque-to-yield (TTY) bolts. For example, on a standard GM LS V8 (6-bolt pattern), the spec is 74 lb-ft followed by an additional 90 degrees of rotation. On Ford 5.0L Coyote applications, the flywheel bolts are typically torqued to 59 lb-ft.
- Pressure Plate to Flywheel: M8 pressure plate bolts should be torqued to 22-25 lb-ft. Crucially, this must be done in a multi-pass star pattern to prevent warping the clutch cover, which will immediately result in uneven clamping force and premature release bearing wear.
- Pilot Bearing/Bushing: If replacing the pilot bearing, ensure the interference fit is correct. A standard sintered bronze bushing requires a 0.001" to 0.003" interference fit. Never hammer a pilot bearing into the crankshaft; use a dedicated stepped pilot bearing installer to avoid collapsing the bearing cage and binding the input shaft.
Step 4: Electronic Calibration and Final Road Test
In 2026, simply bolting the transmission back in is insufficient. Modern ECUs track clutch wear by measuring the engagement point relative to the slave cylinder position sensor. After installing a new clutch and verifying the seguro de pedal de clutch adjustment, you must perform a Clutch Position Sensor (CPP) Relearn procedure via an OEM-level bidirectional scan tool (e.g., Ford IDS, GM GDS2, or equivalent J2534 software).
This relearn forces the ECU to sweep the clutch actuator, identifying the exact hydraulic pressure points for 'touch' and 'full lock-up'. Failure to perform this relearn will cause the ECU to rely on degraded wear-table data, resulting in jerky engagement, stalling on take-off, and accelerated wear on the new friction materials. Finally, conduct a 20-mile road test focusing on 2nd-to-3rd gear upshifts under moderate load to verify that the interlock switch successfully communicates cruise-control cancellation and rev-match parameters to the powertrain control module.