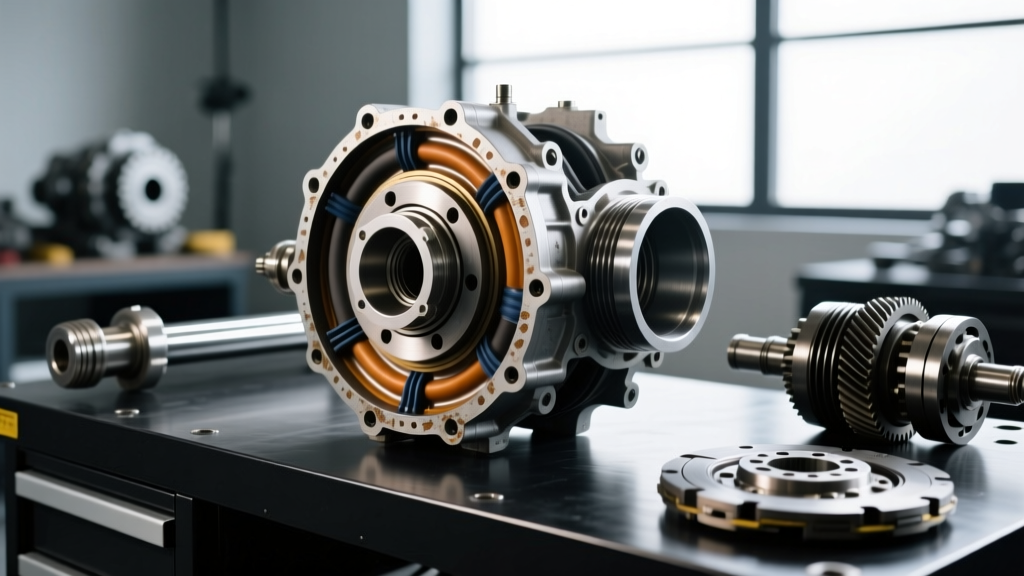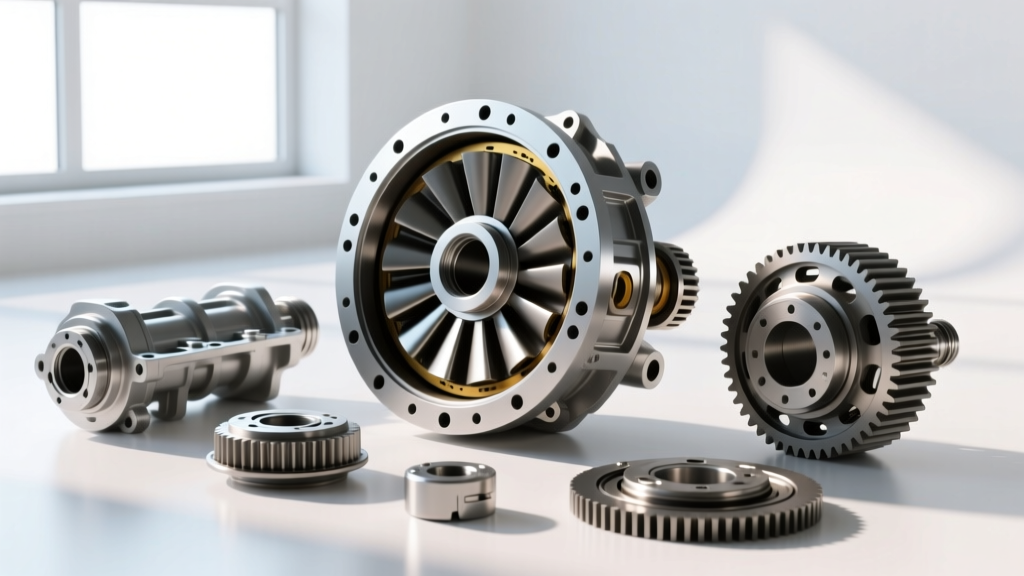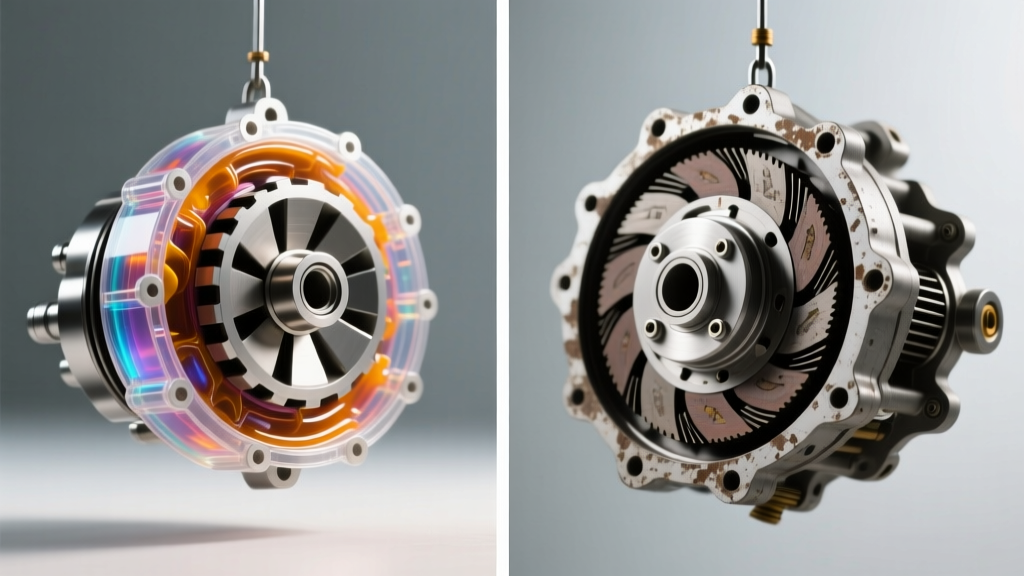
Understanding the Core Differences: CVT vs. 4L60E Towing Setups
When diagnosing drivetrain shudder or lockup failures, technicians must recognize that a torque converter in CVT transmissions operates on fundamentally different principles than a traditional planetary automatic. In 2026, as CVTs (Continuously Variable Transmissions) like the Jatco JF016E and Subaru Lineartronic TR690 age into high-mileage territory, torque converter clutch (TCC) failures are increasingly common. To understand these failures, it is highly educational to compare them against the benchmark of traditional heavy-duty setups, specifically the 4L60E towing torque converter configurations used in GM trucks and SUVs.
A 4L60E towing torque converter—often upgraded to a billet multi-clutch unit from manufacturers like Circle D or Precision Industries—relies on sheer mechanical grip and high-volume fluid cooling to manage the thermal loads of hauling. Conversely, a CVT torque converter utilizes a highly modulated, continuously slipping lockup clutch. This intentional slip dampens engine vibrations and masks the lack of traditional gear shifts. When this delicate slip-control fails, the resulting symptoms mimic traditional TCC failure but require a vastly different diagnostic and repair approach.
Recognizing the Symptoms: CVT Shudder vs. 4L60E Towing Slip
Before pulling a transmission, you must accurately identify the symptoms. The friction materials and fluid dynamics dictate how these failures present themselves under load.
- CVT TCC Shudder: Typically felt as a low-frequency vibration (around 1,500–2,000 RPM) during light acceleration or when the TCC attempts to apply in a simulated 'higher gear' ratio. It is often accompanied by codes like P0741 (TCC Stuck Off) or P2764 (TCC Solenoid Control Circuit Low).
- 4L60E Towing Slip: Manifests as a sudden spike in RPM while climbing a grade under heavy load. The TCC fails to achieve full lockup due to thermal degradation of the Dexron VI fluid or wear on the single-disc OEM clutch, leading to excessive heat generation in the transmission pan.
Step-by-Step Guide: Diagnosing Torque Converter in CVT Transmissions
Step 1: OBD2 Telemetry and TCC Slip Analysis
Connect a bi-directional scan tool capable of reading manufacturer-specific transmission PID data. Command a TCC lockup test while driving at a steady 45-55 MPH on a flat surface.
Monitor the TCC Slip RPM parameter. A healthy 4L60E towing torque converter will lock aggressively, showing 0 to 5 RPM of slip. A healthy CVT, however, is programmed to maintain 15 to 30 RPM of intentional slip for NVH (Noise, Vibration, Harshness) damping. If your CVT scan tool reveals TCC slip exceeding 75–100 RPM while the PCM is commanding 100% duty cycle to the lockup solenoid, the internal friction material is glazed, or the apply piston seals are leaking pressure.
Step 2: Fluid Shear and Thermal Degradation Check
CVTF (Continuously Variable Transmission Fluid) is a highly specialized chemical mixture. Fluids like Nissan NS-3 or Subaru CVTF contain specific friction modifiers designed to grip the steel push-belt or chain on the variable pulleys, while also managing the TCC apply clutch. According to Sonnax Tech Resources, using incorrect fluid or driving with degraded CVTF destroys the TCC friction lining rapidly. Pull the dipstick or inspection plug. If the CVTF smells burnt or contains metallic glitter (from the variator pulleys), the torque converter is likely contaminated and must be replaced alongside a full transmission teardown.
Comparative Specifications: CVT vs 4L60E Towing Torque Converter
The engineering targets for these two converters highlight why their failure modes differ so drastically. Below is a direct comparison of a stock Jatco CVT torque converter versus an upgraded 4L60E towing setup.
| Parameter | CVT (Jatco JF016E / RE0F10A) | 4L60E (Upgraded Towing Spec) |
|---|---|---|
| Stall Speed | 1,800 - 2,100 RPM | 2,400 - 3,200 RPM (Billet) |
| TCC Friction Material | Carbon-fiber / Paper composite | Sintered Bronze / Kevlar Multi-Disc |
| Lockup Strategy | Continuous Slip Control (NVH) | Full Mechanical Lockup (Efficiency) |
| Max Safe Towing Temp | 195°F (Fluid degrades rapidly) | 240°F+ (With auxiliary cooler) |
| Fluid Capacity (Total) | ~8.5 Quarts (NS-3 CVTF) | ~12-14 Quarts (Dexron VI) |
Step-by-Step CVT Torque Converter Removal and Installation
If diagnostics confirm internal TCC failure, replacement is mandatory. Unlike a simple swap on some older longitudinal trucks, replacing a torque converter in a transverse CVT (common in Nissan, Subaru, and Honda applications) requires dropping the subframe and separating the transaxle from the engine block.
Step 1: Drivetrain Separation and Flexplate Inspection
Once the CVT is on the bench, remove the four bolts securing the torque converter to the engine flexplate. Critical Inspection: Use a dial indicator to check the flexplate runout. The Automatic Transmission Rebuilders Association (ATRA) dictates that flexplate runout must not exceed 0.010 inches. Excessive runout will cause the new CVT torque converter to wobble, destroying the front pump bushing and causing immediate TCC apply leaks.
Step 2: Seating Depth and Torque Specifications
When installing the new torque converter onto the CVT input shaft, you must follow the 'Three Clunks' rule. The converter must fully engage the stator support, the turbine splines, and finally the transmission oil pump gear. If the torque converter is not fully seated (typically requiring the hub to sit 3/4-inch to 1-inch deep into the bellhousing), bolting the transmission to the engine will crack the CVT oil pump housing the moment you tighten the bellhousing bolts.
Torque Specs (General CVT Transverse):
- Torque Converter to Flexplate Bolts: 35 lb-ft (Apply blue threadlocker)
- Bellhousing to Engine Block: 45 - 65 lb-ft (Depending on specific OEM bolt size)
- Axle Nut (if removed for subframe drop): 140 - 180 lb-ft (Prevailing torque, replace nut)
Cost Analysis and Rebuild Realities
Addressing torque converter symptoms in a CVT is inherently more expensive than in a traditional automatic due to labor intensity and part availability. In 2026, a standalone OEM replacement torque converter for a Nissan or Subaru CVT ranges from $650 to $1,100. Because the CVT must be completely removed from the vehicle—and often requires a subframe drop and axle disconnection—labor adds another $1,200 to $1,800, bringing the total repair to roughly $1,850 to $2,900.
By contrast, upgrading a longitudinal 4L60E to a heavy-duty towing torque converter is much more straightforward. The billet converter itself costs between $550 and $850. Because the transmission can often be supported and the crossmember dropped without removing the entire exhaust or front subframe, labor is typically 4 to 6 hours, resulting in a total out-the-door cost of $1,100 to $1,600. For fleet managers and DIY mechanics, understanding these architectural and financial differences is vital when deciding whether to repair a failing CVT or swap to a traditional planetary automatic for heavy-duty applications.
For further reading on OEM fluid specifications and maintenance intervals, always consult your specific vehicle's official owner portal and service manuals before attempting a fluid flush or TCC solenoid replacement.