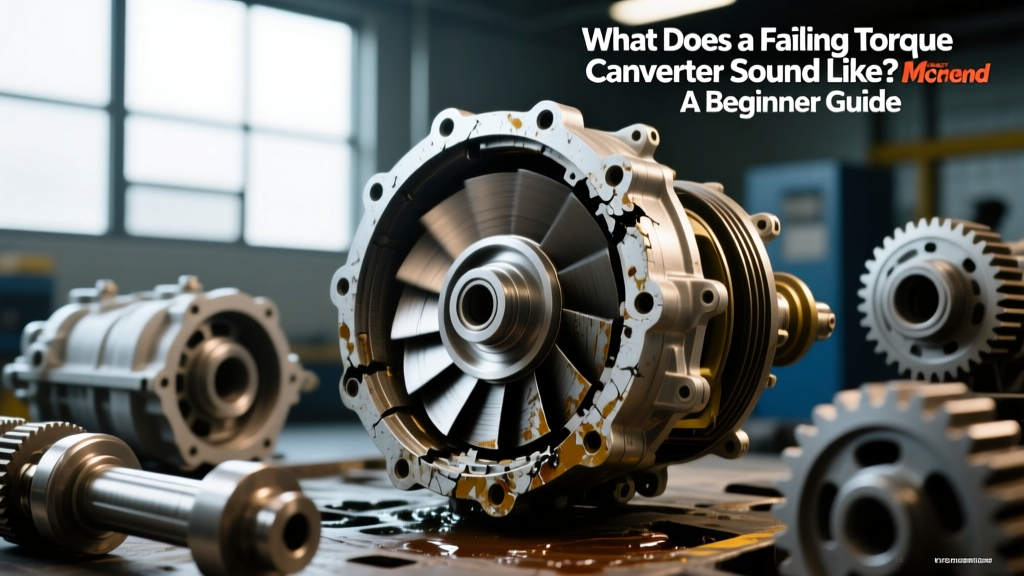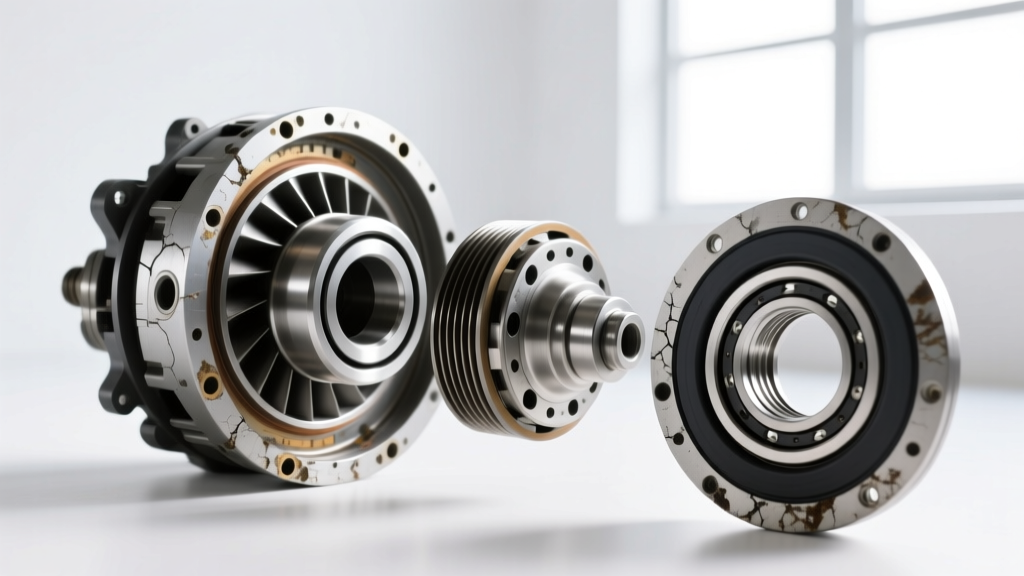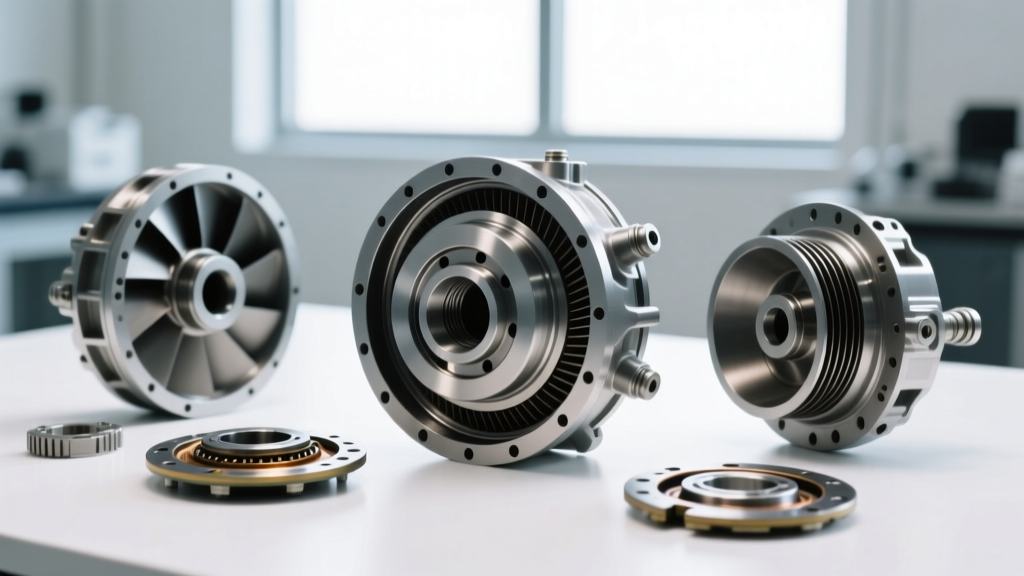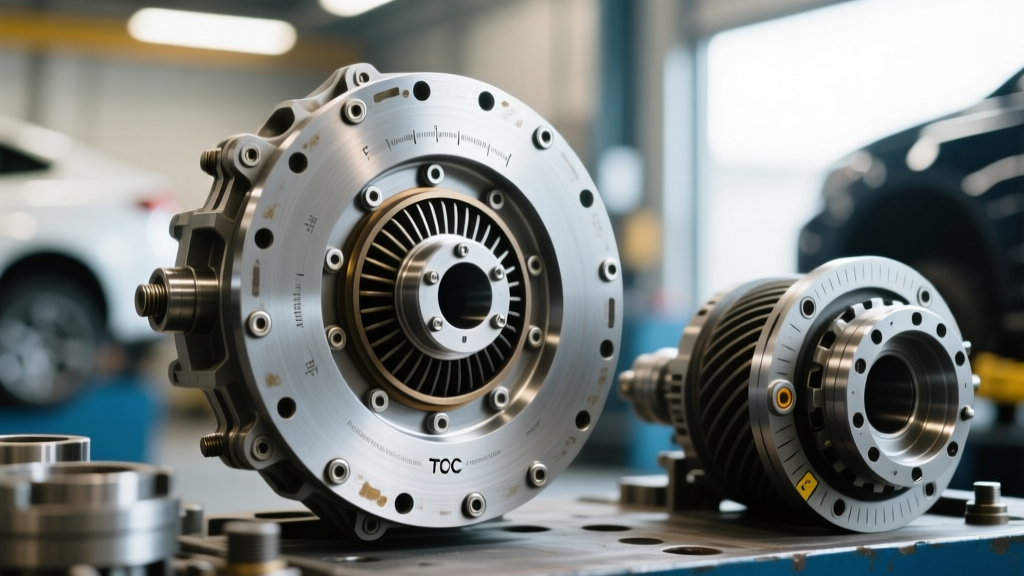
Understanding the CVT Torque Converter Plate Architecture
When diagnosing drivetrain shudder, RPM flares, or low-speed knocking in a Continuously Variable Transmission (CVT), technicians frequently encounter the term torque converter plate. In the automotive repair industry, this term actually refers to two distinct but deeply interconnected components: the external drive plate (flexplate) that bolts the engine crankshaft to the torque converter, and the internal lockup clutch friction plate (TCC plate) housed inside the torque converter itself.
Unlike traditional stepped automatic transmissions, modern CVTs (such as the Jatco JF016E, Subaru Lineartronic TR690, and Honda HCF-2) rely heavily on early torque converter lockup to prevent excessive heat generation and protect the steel push-belt or chain from slipping under high torque loads. By 2026, advanced slip-control algorithms mean that a degraded internal torque converter plate or a warped external flexplate will trigger micro-slip diagnostic trouble codes (DTCs) long before catastrophic belt failure occurs.
This comprehensive, step-by-step guide will walk you through the removal, inspection, and replacement procedures for both interpretations of the torque converter plate in a CVT system.
Diagnostic Symptoms: Identifying Plate Failure
Before unbolting the transmission, verify that your symptoms align with torque converter plate failure rather than internal valve body or variator pulley damage.
- External Drive Plate (Flexplate) Failure: Characterized by a rhythmic metallic knocking at idle, excessive starter ring gear wear, and severe drivetrain vibration that worsens under load. Often accompanied by crankshaft position sensor (CKP) correlation codes due to erratic rotational mass.
- Internal TCC Friction Plate Failure: Manifests as a pronounced low-speed shudder (typically between 25-45 mph), RPM flares during lockup engagement, and the presence of fine, dark friction material in the CVT fluid pan. Common DTCs include P0744 (Torque Converter Clutch Circuit Intermittent) and P0746 (Pressure Control Solenoid 'C' Performance).
Step-by-Step Guide: Drivetrain Separation and External Plate Removal
Phase 1: Preparation and Transmission Separation
Working on CVTs requires strict cleanliness and specialized support equipment. The delicate nature of CVT auxiliary gearboxes and variator assemblies demands care during the R&R process.
- Fluid Extraction: Drain the CVT fluid. Inspect the pan for excessive clutch friction material. A light gray paste is normal for high-mileage units, but visible chunks of friction material indicate internal torque converter plate delamination.
- Drivetrain Support: Secure the engine with an overhead support bar. Position a high-capacity transmission jack under the CVT. Never rely on the transmission jack alone for engine support.
- Bellhousing Separation: Remove the CVT-to-engine bellhousing bolts, ground straps, and engine-to-transmission brackets. Carefully slide the transmission rearward. Warning: Do not let the weight of the torque converter hang on the transmission input shaft, as this will snap the internal CVT oil pump gear.
Phase 2: Removing the Torque Converter from the Drive Plate
Once the CVT is separated from the engine block, the external torque converter plate (flexplate) is exposed.
- Rotate the crankshaft clockwise using a breaker bar on the lower crankshaft pulley bolt to access the torque converter-to-drive plate nuts/bolts through the starter cutout or inspection window.
- Mark the alignment of the torque converter to the drive plate with a paint pen to maintain factory balance during reassembly (if reusing components).
- Remove the fasteners. On most Nissan/Infiniti applications, these are 12mm or 14mm nuts; on Subaru applications, they are typically 10mm or 12mm bolts.
- Unbolt the drive plate from the crankshaft using a flywheel holding tool. Note the use of an alignment dowel or asymmetric bolt pattern on Subaru TR690 applications to ensure correct timing and balance.
Critical Inspection: Measuring Flexplate Runout
Reusing a warped drive plate will destroy the new torque converter's pilot bearing and cause immediate TCC shudder. You must measure the runout using a magnetic base dial indicator.
Expert Tip: Mount the dial indicator to the engine block. Position the needle on the outer edge of the torque converter mounting pad on the drive plate. Rotate the crankshaft a full 360 degrees. Maximum allowable runout for almost all modern CVT applications is 0.020 inches (0.50 mm). If runout exceeds this, the external torque converter plate must be replaced.
Addressing the Internal Torque Converter Plate (TCC Clutch)
If your diagnostic scan tool showed TCC slip codes and the CVT fluid was contaminated with friction debris, the external flexplate is likely fine, but the internal torque converter plate is glazed or delaminated.
Because modern CVT torque converters are sealed, welded units, you cannot simply unbolt the internal TCC plate in the bay. You have two options:
- Complete Assembly Replacement: Install a factory-new or certified remanufactured torque converter. This is the most reliable method for 2026-era CVTs featuring complex multi-plate lockup clutches.
- Cut-Open and Rebuild: Send the unit to a specialized torque converter rebuilder. They will lathe-cut the converter, replace the internal friction plate and damper springs, flush the turbine, and re-weld and dynamically balance the unit.
Note: Flushing a CVT with a delaminating internal torque converter plate is a temporary band-aid. The loose friction material will inevitably be drawn into the CVT oil pump and wedge into the valve body solenoids, causing variator pulley slip and total transmission failure.
CVT Torque Converter Plate Specifications & Data
Precise torque specifications are non-negotiable when reassembling the torque converter plate assembly. Under-torquing leads to fastener fatigue and flexplate cracking; over-torquing distorts the plate and ruins TCC engagement.
| CVT Model | Common Applications | TC-to-Drive Plate Torque | Drive Plate-to-Crank Torque | OEM CVT Fluid |
|---|---|---|---|---|
| Jatco JF016E / JF017E | Nissan Altima, Rogue, Infiniti QX50 | 35 ft-lbs (47 Nm) | 77 ft-lbs (104 Nm) | Nissan NS-3 |
| Subaru TR690 (High-Torque) | Subaru Outback, Ascent, WRX (Lineartronic) | 18 ft-lbs (25 Nm) | 55 ft-lbs + 90° turn | Subaru Lineartronic II |
| Honda HCF-2 | Honda Civic, Accord, CR-V | 33 ft-lbs (45 Nm) | 76 ft-lbs (103 Nm) | Honda HCF-2 |
| Toyota K120 (Direct-Shift) | Toyota Corolla, RAV4 (Launch Gear CVT) | 30 ft-lbs (41 Nm) | 74 ft-lbs (100 Nm) | Toyota CVTF FE |
Source data verified via Nissan TechInfo and Subaru TechInfo service manual portals.
Reassembly and Pilot Hub Engagement Verification
The most common mistake made during CVT reinstallation is failing to fully seat the torque converter onto the transmission input shaft. If the torque converter is not fully engaged with the CVT oil pump drive gear, tightening the bellhousing bolts will crack the pump housing, resulting in immediate zero-pressure failure upon startup.
The Straight-Edge Measurement Test
Before mating the CVT to the engine block, you must verify the seating depth of the torque converter.
- Lay a precision steel straight-edge across the machined mounting surface of the transmission bellhousing.
- Use a set of digital calipers to measure the distance from the straight-edge down to the torque converter mounting pad (the surface that mates to the external drive plate).
- This measurement must be a minimum of 1/16-inch to 1/8-inch (1.5mm - 3.0mm) below the bellhousing surface. If the torque converter pad is flush with or protruding past the bellhousing, it is not seated on the pump gear. Remove the TC, inspect the pump drive tangs, and re-seat it until you feel it drop into the final spline.
Final Fluid Priming and TCC Relearn Procedures
Once the external torque converter plate is torqued to spec and the CVT is reinstalled, the system must be primed. Dry-starting a CVT will score the variator pulleys and ruin the belt within seconds.
Consult Sonnax Technical Resources for model-specific priming procedures. Generally, this involves disabling the fuel injection or ignition system, cranking the engine for 10-15 second intervals to allow the mechanical CVT pump to draw fluid from the pan and fill the torque converter and cooler lines.
Finally, after reaching operating temperature, use an advanced bi-directional scan tool to perform a TCC Relearn and CVT Calibration. This allows the Transmission Control Module (TCM) to map the friction coefficient of the new internal torque converter plate, ensuring micro-slip control is optimized for smooth lockup engagement and maximum fuel efficiency.