The Evolution: Why CVTs Still Need Torque Converters
Many DIY mechanics and transmission technicians cut their teeth on a traditional 4l60 torque converter install. The GM 4L60E is a legendary planetary automatic, and swapping its torque converter is a well-documented rite of passage. However, as the automotive landscape shifts toward Continuously Variable Transmissions (CVTs) for the 2026 model year and beyond, understanding the torque converter in CVT transmissions is no longer optional—it is essential.
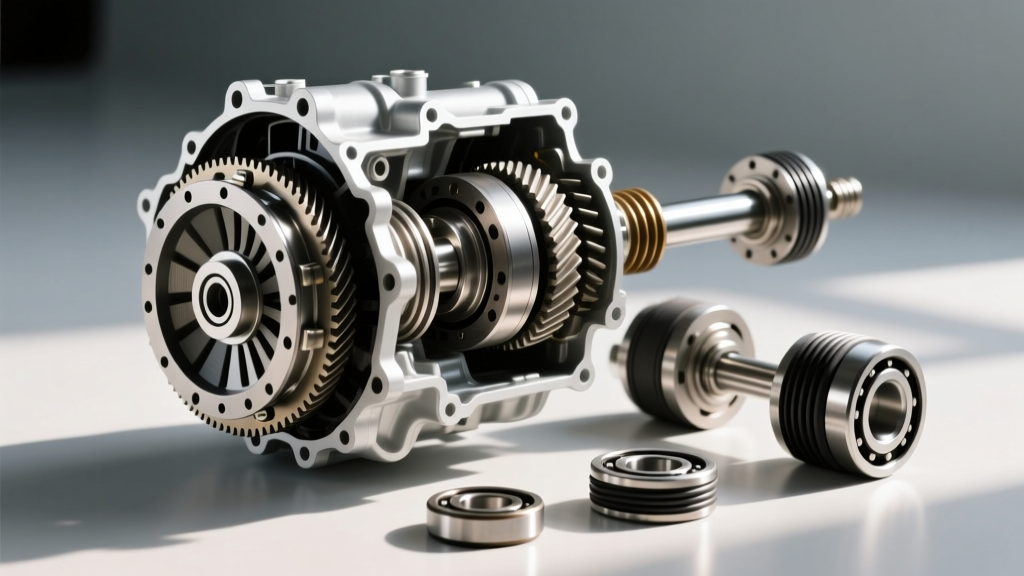
Despite the absence of fixed planetary gear sets, modern CVTs (such as the Jatco JF016E and Toyota K313) still rely on a torque converter. Why? Because a CVT's steel push-belt or chain cannot handle the abrupt shock of engine torque at a dead stop without severe slipping and premature wear. The torque converter acts as a fluid coupling to multiply torque for smooth launch, while its internal Torque Converter Clutch (TCC) locks up to eliminate parasitic drag and maximize fuel efficiency.
Diagnosing CVT Torque Converter Symptoms
Before you unbolt a single bellhousing bolt, you must confirm the torque converter is the actual culprit. CVT torque converter failures present differently than traditional automatics. Because CVTs rely heavily on aggressive, pulse-width modulated (PWM) TCC lockup strategies to improve MPG, the friction material inside the CVT torque converter takes a massive beating.
Common CVT TCC Failure Codes & Symptoms
- P0741 (Torque Converter Clutch Circuit Performance/Stuck Off): The most common code. The PCM detects a discrepancy between engine RPM and CVT input shaft speed when the TCC is commanded to lock.
- P17F0 / P17F1 (Nissan Specific CVT Codes): Indicates internal clutch pressure issues or severe TCC degradation in Jatco RE0F10A / JF011E units.
- Highway Speed Shudder: A rhythmic, vibrating sensation between 35-55 MPH. This is the TCC attempting to apply and slipping due to glazed friction material or degraded CVTF (Continuously Variable Transmission Fluid).
- Contaminated Fluid: If your CVT dipstick or drain plug reveals dark, burnt-smelling fluid with heavy metallic or friction particulate, the TCC lining has likely disintegrated.
Expert Insight: Never ignore a mild highway shudder in a CVT. Unlike a 4L60E where a shuddering TCC might just annoy you, a failing CVT TCC will send abrasive friction material directly into the CVT valve body and stepper motor valves, leading to catastrophic belt slip and a $4,500+ replacement bill.
Technical Showdown: JF011E CVT vs. 4L60E Torque Converter
To bridge the gap between traditional automatics and modern CVTs, let us compare the specifications of a standard GM 4L60E torque converter against a widely used Jatco JF011E CVT torque converter.
| Specification | Jatco JF011E (CVT) | GM 4L60E (Planetary) |
|---|---|---|
| Stall Speed | 1,500 - 1,700 RPM | 1,800 - 2,200 RPM |
| Lockup Mechanism | Multi-plate / PWM Controlled | Single Disc / Solenoid |
| Fluid Requirement | Nissan NS-3 / NS-2 | Dexron VI |
| Avg. OEM Part Cost (2026) | $750 - $1,100 | $180 - $280 |
| Pre-fill Capacity | 1.5 - 2.0 Quarts | 1.0 - 1.5 Quarts |
Step-by-Step CVT Torque Converter Install Guide
While the basic concept of dropping the transmission and swapping the converter mirrors a 4l60 torque converter install, the tolerances, fluid types, and calibration procedures for a CVT are far less forgiving. Below is the definitive step-by-step procedure for replacing a torque converter in a front-wheel-drive CVT application (e.g., Nissan Rogue/Altima or Toyota RAV4).
Phase 1: Preparation and Subframe Isolation
Most modern CVTs are mounted transversely. You will need to support the engine from above with an engine support bar. Drain the CVT fluid completely. Note that CVTs often have a secondary drain plug for the torque converter housing or a specific fluid level check tube. Remove the axles, transfer case (if AWD), and lower the subframe to create clearance for the transmission jack.
Phase 2: Separation and Extraction
Disconnect the wiring harnesses, shift linkage, and cooler lines. Support the transmission with a dedicated transaxle jack. Remove the bellhousing bolts (typically 17mm or 19mm, torqued to 47-55 ft-lbs from the factory). Gently pry the transmission away from the engine block. Crucial: Ensure the torque converter stays seated inside the transmission bellhousing. If it drops and hangs on the input shaft splines, you risk damaging the delicate CVT oil pump seal.
Phase 2.5: Flexplate Inspection (The Hidden CVT Killer)
Before mating the new converter, inspect the CVT flexplate (drive plate). Unlike the heavy cast-iron flexplates behind a 4L60E, CVT flexplates are thin, stamped steel designed to flex and absorb torsional vibrations. Look for hairline cracks around the crankshaft mounting bolts or the torque converter pad mounting holes. If you see any bluing (heat discoloration) or micro-fractures, replace the flexplate. A cracked flexplate will alter the gap measurement and cause severe TCC shudder once the new converter is installed.
Phase 3: The Critical Gap Measurement
This is where CVT installs demand extreme precision. Before installing the new torque converter, you must verify the seating depth. Slide the new CVT torque converter onto the input shaft and oil pump drive gear. You must feel three distinct "clunks" or seating steps as it passes through the turbine splines, the stator support, and finally into the oil pump gear. Once seated, place a straight-edge across the bellhousing mating surface and use digital calipers to measure the distance to the torque converter mounting pad.
- Target Gap: Typically 15mm to 20mm (consult specific OEM service manual).
- The Danger Zone: If the gap is less than 12mm, the converter is NOT fully seated. Forcing the bellhousing bolts tight will crush the CVT oil pump, resulting in immediate zero-line-pressure failure upon startup.
Phase 4: Priming, Mating, and Torque Specs
CVTs are highly sensitive to dry-starts. Pre-fill the new torque converter with exactly 1.5 to 2.0 quarts of the correct CVTF (e.g., Nissan NS-3). Do not use standard ATF. Mate the transmission to the engine block, ensuring the flexplate aligns with the converter pads. Install the flexplate-to-converter bolts. These are typically 10mm x 1.25 thread and must be torqued to 35-40 ft-lbs using a threadlocker (Blue Loctite). Torque the bellhousing bolts in a crisscross pattern to 47 ft-lbs.
Post-Install: CVT Fluid Calibration and TCC Relearn
Your job is not done when the wrenches are put away. Unlike a 4L60E which relies on mechanical line pressure adjustments and simple fluid top-offs, a modern CVT requires electronic calibration. According to the Automatic Transmission Rebuilders Association (ATRA), skipping the electronic relearn is the leading cause of comeback CVT shudders.
- Fluid Temperature Normalization: Use a bi-directional scan tool (like an Autel MaxiSYS or Snap-on Zeus) to monitor the CVT fluid temperature sensor. The fluid must be between 95°F and 113°F (35°C - 45°C) for an accurate level check.
- Fluid Deterioration Reset: The TCM tracks a "fluid degradation counter." You must use the scan tool to reset this counter to zero, or the TCM will continue to apply aggressive, high-pressure shift maps meant for degraded fluid, which will destroy your new torque converter.
- TCC Relearn Procedure: Perform the OEM-specified TCC adaptation drive cycle. This usually involves driving the vehicle at a steady 50 MPH on a flat road for 10-15 minutes while the scan tool monitors the TCC slip RPM, allowing the TCM to adapt to the friction coefficient of the new clutch material.
For ongoing technical data and valve body diagnostics, resources like the Sonnax Tech Center and parts catalogs from Transtar Industries remain invaluable for transmission specialists navigating the complexities of 2026 CVT platforms.