Understanding the CVT Torque Converter: A Different Breed of Fluid Coupling
When automotive technicians and DIY enthusiasts approach a continuously variable transmission (CVT), the assumption is often that the torque converter operates identically to those found in traditional planetary automatics. While the fundamental physics of fluid coupling remain the same, the operational strategy, lockup mechanisms, and failure modes of a CVT torque converter are vastly different. In 2026, with the proliferation of ultra-low viscosity fluids and aggressive early-lockup programming, diagnosing and replacing these units requires specialized knowledge.
This guide provides a comprehensive, step-by-step walkthrough for CVT torque converter replacement, while directly contrasting the procedure and engineering with a traditional heavy-duty application—specifically, a chevy silverado torque converter replacement on GM's 8L90 and 10L80 platforms. Understanding these differences is critical to avoiding catastrophic transmission failure post-installation.
Expert Diagnostic Note: In CVT applications (such as the Jatco JF016E or Subaru Lineartronic TR690), torque converter clutch (TCC) shudder is frequently misdiagnosed as variator belt slip. If TCC shudder is ignored, the resulting friction material debris bypasses the filter and embeds into the CVT push-belt and pulley surfaces, destroying the variator assembly. Always perform a TCC slip-rate monitor test via OEM scan tool before condemning the CVT belt.
Step 1: Diagnostic Verification and Fluid Analysis
Before unbolting a single bellhousing bolt, verify the failure. CVT torque converters utilize a single, large-diameter lockup clutch designed to engage almost immediately after vehicle launch to prevent torque multiplication from overwhelming the steel push-belt.
- Scan Tool Data: Monitor TCC Slip RPM. A healthy CVT converter should show less than 15 RPM of slip when fully locked at a steady 45 MPH cruise. Consistent fluctuations of 50+ RPM indicate a failing TCC friction lining or a degraded pressure control solenoid.
- Fluid Inspection: Drop the CVT pan. If you find heavy, glitter-like metallic paste on the magnets, the variator is failing. If you find thick, black, burnt-smelling sludge, the torque converter clutch has disintegrated. According to Sonnax Industries, burnt TCC material in a CVT pan mandates a complete transmission teardown and cooler flush; simply swapping the converter will result in immediate re-failure.
Step 2: Fluid Evacuation and Drivetrain Disassembly
CVTs are highly sensitive to fluid levels and contamination. Begin by extracting the fluid using a dedicated vacuum extractor to prevent cross-contamination.
- Extract CVT Fluid: Use a clean, dedicated extraction pump. Never use a pump that previously housed traditional ATF or gear oil. CVT fluids (like Nissan NS-3 or Subaru CVTF) lack the friction modifiers required for traditional ATF and will cause immediate TCC slip if contaminated.
- Remove Axles and Driveshaft: Support the engine with an overhead stabilizer bar. CVTs do not have a deep bellhousing like traditional automatics; the engine and transmission share a compact, rigid mounting plane. Removing the passenger-side axle and lower ball joint is usually required to slide the CVT off the alignment dowels.
- Support the Transmission: Place a transmission jack equipped with a wide, flat CVT adapter plate beneath the fluid pan. Never lift a CVT by the stamped steel pan or the fragile aluminum valve body side cover.
Step 3: Converter Extraction and Cooler Flushing
Once the bellhousing bolts (typically 12mm or 14mm) are removed, carefully slide the CVT backward. Unlike traditional automatics where the converter often stays attached to the flexplate, CVT converters are usually splined directly to the transmission input shaft and will remain inside the transmission housing upon separation.
The Critical Flush: You must perform a bi-directional cooler flush. CVT coolers are integrated into the transmission fluid warmer (TFW) module. Use a pressurized flush machine with a CVT-safe cleaning solvent, followed by a blast of compressed air to clear the cooler lines of dislodged TCC friction material. Failure to do this will starve the new converter of hydraulic pressure upon startup.
Comparing the CVT to a Chevy Silverado Torque Converter Replacement
To fully grasp the engineering nuances of the CVT, it is highly educational to compare it to a traditional, high-torque planetary automatic. When performing a chevy silverado torque converter replacement—for instance, on a 5.3L V8 Silverado equipped with the GM 8L90 or 10L80 transmission—the mechanical landscape changes dramatically.
Architectural Differences: Single vs. Triple Clutch TCC
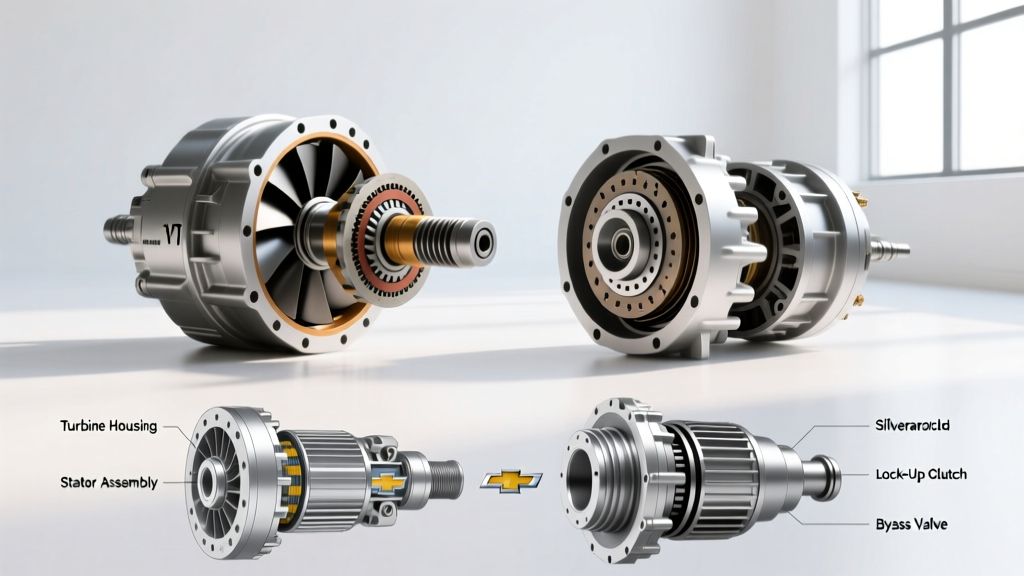
The CVT relies on a massive, single-surface friction clutch to lock the converter. In contrast, modern Silverado transmissions utilize a triple-clutch or quad-clutch torque converter assembly. This multi-plate design allows the GM transmission to modulate TCC apply pressure with extreme precision, enabling 'slip-on-demand' capabilities for fuel economy without generating the immense heat that would destroy a single-clutch CVT liner.
During a chevy silverado torque converter replacement, technicians must also address the stator support shaft and the transmission-mounted TCC apply valve. As highlighted in technical bulletins from Transmission Digest, GM 8-speed and 10-speed units frequently suffer from bore wear in the valve body's TCC regulator valve, which must be sleeved or replaced concurrently with the torque converter to prevent repeat shudder codes (P0741 or P2764).
Stall Speed and Torque Multiplication
A CVT torque converter is engineered with a very low stall speed (often around 1,400 - 1,600 RPM). The goal is not torque multiplication, but rather smooth launch engagement before the TCC locks to protect the belt. Conversely, a Silverado's torque converter is designed to multiply torque significantly to move heavy payloads, featuring stall speeds ranging from 1,800 to 2,400 RPM depending on the gear ratio and engine tuning. Swapping or upgrading converters in a Silverado requires careful attention to the transmission's internal thrust bearings, which handle the immense axial load generated during high-stall torque multiplication.
Technical Specifications and Fluid Requirements (2026 Data)
The table below contrasts the critical specifications between a common CVT application and the GM Silverado platform. Adhering to these exact fluid and torque specifications is non-negotiable for warranty compliance and longevity.
| Specification | Jatco JF016E (Nissan CVT) | GM 8L90 / 10L80 (Silverado) |
|---|---|---|
| OEM Fluid Type | Nissan NS-3 (997MP-NS300P) | Dexron ULV (19355658) |
| Total System Capacity | 8.6 Quarts (Dry Fill) | 11.2 Quarts (Dry Fill) |
| TCC Architecture | Single-Surface Lockup Clutch | Triple-Surface / Quad-Surface Clutch |
| Flexplate-to-Converter Torque | 35 lb-ft (M8 x 1.25 bolts) | 37 lb-ft (M10 x 1.5 bolts) |
| Bellhousing-to-Block Torque | 55 lb-ft | 37 lb-ft (M12) / 74 lb-ft (M14) |
| Average 2026 Replacement Cost | $1,800 - $2,400 (Requires CVT Reset) | $2,200 - $3,100 (Requires GDS2 Adapt) |
Step 4: Reassembly, Alignment, and Scan Tool Adaptations
Reinstalling the torque converter into a CVT requires verifying full spline engagement. Because CVT input shafts are relatively short, a converter that is not fully seated will crush the transmission oil pump gears upon tightening the bellhousing bolts. Measure the distance from the bellhousing mating surface to the converter mounting pad; it must be recessed by at least 15mm (consult specific OEM service manuals for exact depth tolerances).
The Adaptation Reset: A Mandatory Step
In 2026, mechanical replacement is only half the job. The Transmission Control Module (TCM) learns the friction characteristics of the TCC material over time. If you install a new torque converter without resetting these adaptive tables, the TCM will apply the worn-in pressure profiles to the fresh, aggressive friction material, resulting in violent engagement shudder and immediate lining destruction.
- For CVT Applications: Use the Nissan Consult-IV or Subaru Select Monitor to perform 'Clear Learning Data' and 'TCC Adaptation'. This requires a specific drive cycle, usually involving steady-state cruising at 40, 50, and 60 MPH while monitoring TCC slip until it drops below 10 RPM.
- For Silverado Applications: During a chevy silverado torque converter replacement, connect the GM GDS2 scan tool. Navigate to the Transmission Control Module, select 'Special Functions', and execute 'TCC Adapt Reset'. Follow the on-screen prompts to perform the highway relearn procedure. According to the Automatic Transmission Rebuilders Association (ATRA), skipping the GDS2 adaptation on GM 8-speed and 10-speed units is the number one cause of warranty returns for TCC shudder.
Final Thoughts on Drivetrain Longevity
Whether you are navigating the delicate, early-lockup programming of a modern CVT or managing the immense torque multiplication of a Silverado's planetary automatic, the torque converter remains the critical bridge between engine output and transmission input. Success in 2026 relies less on brute force and more on meticulous fluid hygiene, precise torque wrench application, and rigorous OEM scan tool adaptations. By respecting the distinct engineering boundaries of each platform, technicians can ensure that replacement units deliver factory-original smoothness and durability for the life of the vehicle.