The True Cost of Cub Cadet PTO Clutch Removal and Post-Repair Failures
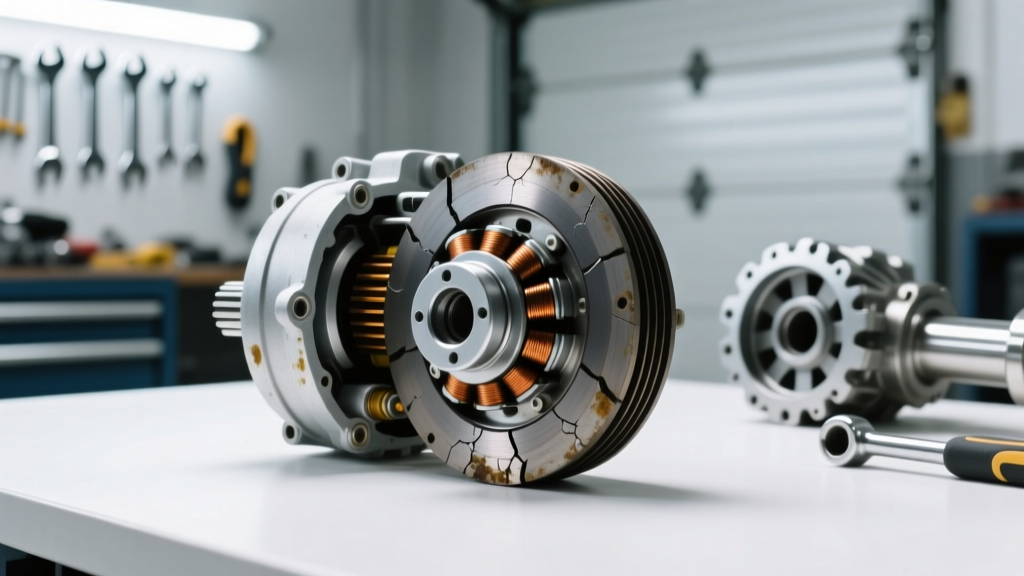
Completing a Cub Cadet PTO clutch removal and replacement is supposed to restore your lawn tractor's mowing capability, but what happens when the new clutch slips, fails to engage, or burns out within the first month? As a drivetrain and electromagnetic friction specialist, I see small engine PTO (Power Take-Off) systems treated as simple bolt-on accessories. In reality, an electric PTO clutch operates on the exact same electromagnetic principles as an automotive AC compressor clutch or an industrial magnetic particle brake. When post-repair symptoms arise, they are rarely the result of a 'defective' new part; they are almost always rooted in improper installation tolerances, electrical voltage drops, or harmonic misalignment.
In this 2026 cost analysis and diagnostic guide, we will break down the exact financial impact of post-replacement PTO failures, outline the precise torque and air-gap specifications required for Kohler and Briggs & Stratton crankshafts, and provide a structured framework to diagnose a 'new' clutch that is already exhibiting symptoms of failure.
Why Post-Replacement PTO Clutches Fail (And What It Costs You)
When a newly installed Ogura or Warner Electric PTO clutch fails prematurely, the financial loss extends beyond the $130-$180 part cost. Misdiagnosis leads to repetitive labor, damaged wiring harnesses, and in severe cases, catastrophic engine crankshaft seal failure. Here are the three primary culprits behind post-repair PTO symptoms.
1. Incorrect Air Gap Adjustment (The $160 Mistake)
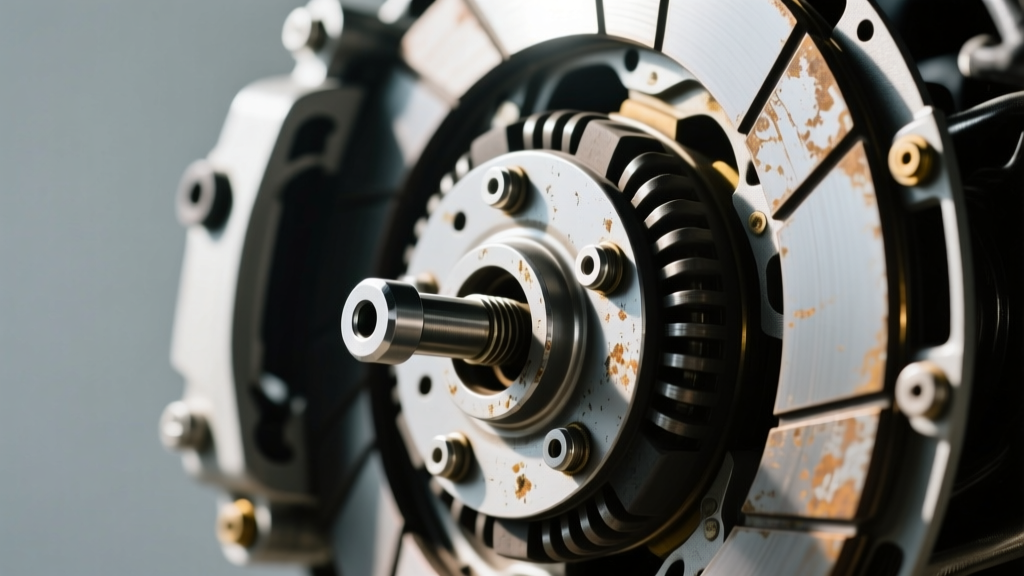
The most common symptom after a DIY Cub Cadet PTO clutch removal is a clutch that engages intermittently or slips under heavy deck loads. Electromagnetic clutches rely on a precise air gap between the rotor (field assembly) and the armature. For most Cub Cadet tractors utilizing the 1-inch bore Ogura TX series or Warner 5219-series clutches, the factory air gap specification is strictly 0.012 to 0.018 inches.
If the gap is left wider than 0.025 inches due to improper adjustment of the three perimeter lock nuts, the magnetic flux cannot fully pull the armature against the friction face. This results in micro-slipping, which generates localized temperatures exceeding 350°F. This heat rapidly degrades the friction material and melts the internal epoxy holding the field coil windings. Cost of error: $160 for a replacement clutch and 2 hours of wasted labor.
2. Crankshaft Bolt Torque and Harmonic Vibration
The PTO clutch is mounted directly to the engine crankshaft, which is subject to intense torsional vibration from the single or twin-cylinder engine. On common Cub Cadet models equipped with Kohler 7000 series V-Twins, the PTO crankshaft thread is typically 5/8"-18 UNF. The required torque specification is 55 to 65 lb-ft, applied with a medium-strength threadlocker (such as Loctite 243).
If the bolt is under-torqued, the clutch hub wobbles on the keyway, creating a harmonic vibration that sounds like a failing main bearing. Worse, this wobble destroys the engine's lower main seal, leading to massive oil leaks that contaminate the new PTO clutch friction surfaces. Cost of error: $150 for the clutch, plus $400+ for engine teardown and main seal replacement.
3. Electrical Voltage Drop and Connector Burnout
A PTO clutch requires a solid 12V DC supply, typically drawing between 3.0 and 4.5 Amps depending on the model. A frequent post-repair symptom is a clutch that engages when the engine is cold but drops out once the tractor has been running for 20 minutes. This is a classic voltage drop issue. As the engine bay heats up, electrical resistance in corroded safety switch connectors or a failing PTO relay increases. If the voltage at the clutch pigtail drops below 11.2V under load, the magnetic field weakens, causing the clutch to slip and overheat.
Cost Breakdown: DIY vs. Dealer Diagnosis for Post-Repair Symptoms
Understanding the financial difference between proper diagnostic troubleshooting and the 'throw parts at it' approach is critical for fleet managers and homeowners alike. Below is a 2026 cost comparison for addressing post-repair PTO clutch symptoms.
| Post-Repair Symptom | Probable Root Cause | DIY Diagnostic & Fix Cost | Dealer Repair Cost (2026 Rates) |
|---|---|---|---|
| Clutch slips / burns hot | Air gap > 0.020" | $5 (Brass feeler gauge set) | $185 (1 hr labor + adjustment) |
| Intermittent engagement | Voltage drop at relay/switch | $35 (Multimeter + dielectric grease) | $240 (Diagnostic + harness repair) |
| Severe vibration / noise | Under-torqued crank bolt / bad keyway | $10 (Threadlocker + torque wrench) | $350+ (Clutch R&R + crank inspection) |
| Clutch won't release (stuck on) | Rust welding / incorrect spacer stack | $15 (Penetrating oil + emery cloth) | $210 (Disassembly and cleaning) |
Step-by-Step Diagnostic Protocol for a 'New' Failing PTO Clutch
Before condemning a newly installed clutch and ordering another $150 replacement from Jack's Small Engines or your local dealer, run this precise drivetrain diagnostic protocol. You will need a digital multimeter (DMM) and a set of brass feeler gauges.
- Step 1: The Static Resistance Test. Disconnect the PTO clutch wiring harness. Set your DMM to Ohms (Ω). Probe the two terminals on the clutch side of the connector. A healthy Ogura or Warner Electric coil should read between 2.2 and 3.8 Ohms at ambient temperature (75°F). If it reads 'OL' (Open Loop), the internal thermal fuse has blown due to prior overheating. If it reads near 0.0 Ohms, the coil has an internal short.
- Step 2: The Dynamic Voltage Drop Test. Reconnect the harness. Back-probe the connector with your DMM set to DC Volts. Start the tractor, sit in the seat, and engage the PTO switch. You must see a minimum of 11.8V at the clutch terminals while the engine is running at 2800 RPM. If you see 9V or 10V, your clutch is fine; your PTO relay, safety interlock switches, or inline 10A fuse holder is suffering from internal corrosion.
- Step 3: The Brass Feeler Gauge Check. With the engine OFF and the spark plug disconnected, attempt to slide a 0.015" brass feeler gauge between the rotor and the armature at the three adjustment nut locations. Expert Tip: Never use steel feeler gauges on an electromagnetic clutch. The steel will magnetically stick to the rotor, giving you a false reading and potentially scratching the friction surface. If the gap is tight or uneven, loosen the lock nuts and adjust the rotor depth accordingly.
OEM vs. Aftermarket: Analyzing the Replacement Cost
When your post-repair diagnostics confirm that the clutch is indeed internally damaged, you face a purchasing decision. The market is flooded with options, but not all electromagnetic friction materials are created equal.
OEM and Premium Tier (Ogura / Warner Electric)
Cub Cadet OEM clutches (part numbers like 717-04174 or 917-04174) are typically manufactured by Ogura Industrial or Warner Electric. These units feature high-grade friction linings designed to withstand the shock loads of engaging a 54-inch or 60-inch mower deck at high RPMs. They utilize sealed, high-temperature field coil epoxies and precision-machined armatures.
Cost: $140 - $190.
Verdict: Mandatory for commercial use or tractors with heavy snowblower/sickle-bar attachments.
Budget Import Tier
Generic aftermarket clutches found on major e-commerce platforms often cost between $75 and $95. While they may fit the 1-inch bore and 5/16" keyway, they frequently utilize inferior friction materials that glaze over after 20 hours of use. Furthermore, the internal diode or thermal protection circuits are often omitted to save costs, meaning a voltage spike from the stator can instantly fry the clutch coil.
Cost: $75 - $95.
Verdict: Acceptable only for light-duty, flat-terrain mowing where deck engagement shock is minimal.
Final Verdict: Protecting Your Drivetrain Investment
A successful Cub Cadet PTO clutch removal and replacement is not just about unbolting the old unit and bolting on a new one. It requires a strict adherence to electromagnetic air-gap tolerances, precise crankshaft torque specifications, and rigorous electrical load testing. By treating the PTO clutch as a critical drivetrain component rather than a simple accessory, you can avoid the frustrating cycle of post-repair failures and protect your wallet from unnecessary dealer diagnostic fees. Always verify your voltage supply and air gap before assuming a new part is defective.