The Tale of Two Clutches: ATV Drive vs. Implement PTO
Utility ATVs and UTVs (like the Polaris Ranger, Kawasaki Mule, and Honda Pioneer) are the workhorses of modern property management and agriculture. But when you hook up a rotary mower, sprayer, or spreader via a Power Take-Off (PTO) adapter, you introduce a second, entirely different clutch system to the drivetrain. Beginners often confuse a failing main drive clutch with an improperly adjusted implement clutch. One is a critical failure; the other is a designed safety mechanism.
This guide breaks down PTO slip clutch adjustment for ATV and UTV setups, while also covering how to diagnose standard motorcycle and ATV main clutch problems. Whether you are riding a manual-clutch dirt bike or running a PTO-driven sprayer off your side-by-side, understanding the symptoms of clutch wear is essential for drivetrain longevity.
Why Your ATV Needs a PTO Slip Clutch (And How It Works)
If you are running a Category 0 or Category 1 implement off a UTV's PTO adapter, you are likely using a standard 1-3/8-inch, 6-spline shaft. When a rotary mower hits a hidden rock or a stump, the shock load travels instantly up the PTO shaft. Without a slip clutch, this kinetic energy will strip the ATV's transmission output gears, snap the driveshaft, or destroy the transfer case.
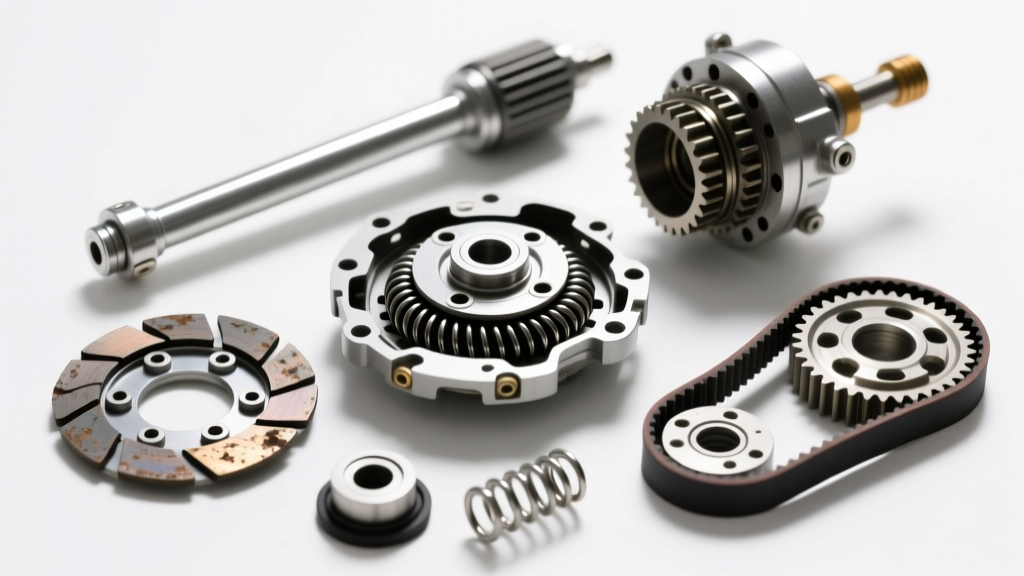
The PTO slip clutch acts as a sacrificial mechanical fuse. It uses a friction pack—typically consisting of two steel friction discs sandwiching a splined hub, compressed by heavy-duty springs. When torque exceeds the spring tension, the discs slip, protecting the expensive internal transmission components.
Safety Note: Operating a PTO implement without a properly adjusted slip clutch is a leading cause of catastrophic drivetrain failure and poses a severe entanglement hazard. According to the Penn State Extension's PTO Safety guidelines, mechanical shear pins and slip clutches are mandatory safety devices for agricultural and utility power transfer.
Step-by-Step PTO Slip Clutch Adjustment for Beginners
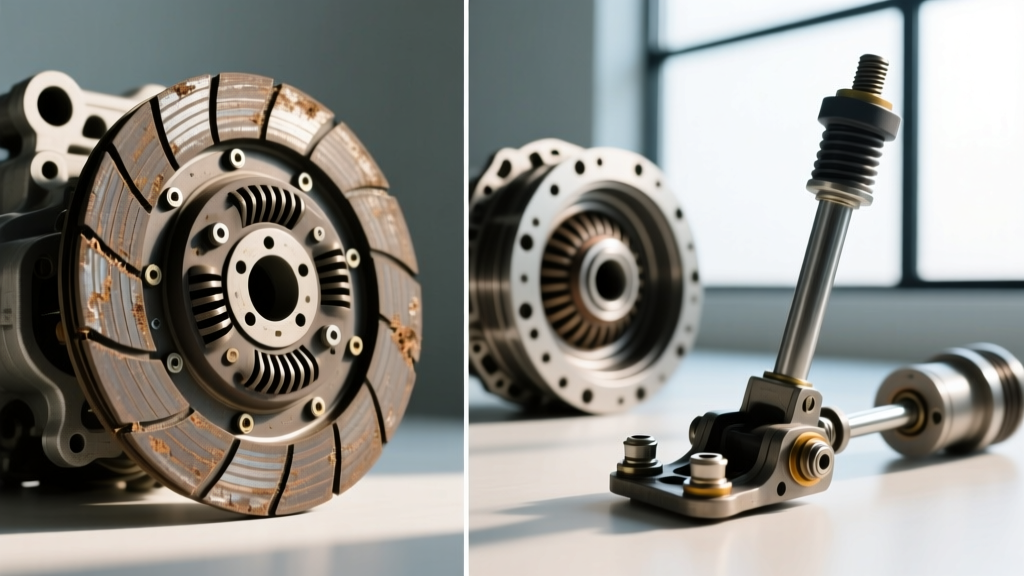
The most common mistake beginners make is assuming the slip clutch is ready to use straight out of the box or after winter storage. Friction discs rust and seize to the steel plates when left idle, turning your safety fuse into a solid, unyielding lock.
1. Free the Friction Pack
Before adjusting the tension, you must break the rust bond. Loosen the spring nuts completely so the springs are loose. Engage the PTO briefly (for no more than 2-3 seconds) while the implement is safely elevated off the ground. You should hear a loud grinding or slipping noise. This confirms the plates are free. Never stand near the shaft while performing this test. The CDC NIOSH guidelines on PTO safety emphasize maintaining a safe distance from rotating drivelines during engagement tests.
2. Set the Spring Compression
Most generic implement slip clutches (like those on King Kutter or Bush Hog adapters) do not use a strict torque spec (ft-lbs) for the nuts. Instead, they rely on spring compression length or exposed thread counts.
- The Thread Method: Tighten the nuts evenly until the bolt ends are flush with the top of the nuts, then tighten exactly 4 to 5 full turns past flush.
- The Compression Method: Use a caliper to measure the distance between the spring retainer and the friction plate. A common specification is to compress the springs until the gap is exactly 1.25 inches (32mm).
3. The Field Test
Use a paint pen to draw a straight line across the friction discs, the hub, and the outer flange. Engage the PTO and run the implement in heavy conditions (e.g., tall, wet grass). Stop and inspect the paint lines. If the lines are still perfectly aligned, the clutch is too tight and your ATV transmission is at risk. If the lines are misaligned by a few inches, the clutch is slipping correctly under peak load.
Diagnosing Main ATV & Motorcycle Clutch Problems
While the PTO slip clutch protects the implement, the main drive clutch propels the vehicle. ATV and motorcycle clutches generally fall into two categories: Continuously Variable Transmissions (CVTs) and wet multi-plate manual clutches. Here is how to diagnose failures in both.
CVT Belt Slip (UTVs and Scooters)
If your Polaris Ranger or Can-Am Defender's engine RPMs climb rapidly but your speed does not increase, your CVT belt is slipping. This is not a safety feature; it is a failure.
- The Cause: Glazed belt sidewalls, worn primary clutch sheave bushings, or a weak secondary clutch spring.
- The Fix: Remove the CVT cover and inspect the belt. If it shows hourglassing or burnt rubber, replace it. For a Polaris Ranger 800/900, the OEM belt part number is 3211167 (approx. $140-$160). Clean the aluminum sheaves with acetone and a Scotch-Brite pad to remove rubber residue before installing the new belt.
Wet Clutch Drag and Chatter (Manual ATVs and Dirt Bikes)
Sport quads (like the Yamaha Raptor 700) and dirt bikes use a wet multi-plate clutch bathed in engine oil. Symptoms of failure include the bike creeping forward in neutral, difficulty finding neutral, or violent 'chatter' when releasing the lever from a stop.
- Notched Clutch Basket: Over time, the aluminum fingers of the inner clutch basket develop grooves (notches). The friction plates get stuck in these grooves, causing clutch drag. The fix requires filing the notches smooth or replacing the basket ($80-$150).
- Wrong Oil Viscosity and Additives: This is the #1 beginner mistake. Automotive oils contain friction modifiers designed to make parts slide easily. If you put standard car oil in a motorcycle or manual ATV, the clutch will slip uncontrollably. You must use oil certified to the JASO MA or MA2 standard, which guarantees the absence of friction modifiers. The RevZilla Motorcycle Oil Guide provides an excellent breakdown of why JASO MA2 certification is non-negotiable for wet clutches.
Troubleshooting Matrix: What is Actually Slipping?
When you hear slipping or lose power, use this matrix to isolate the failing component.
| Symptom | Component | Diagnostic Test | Estimated Repair Cost |
|---|---|---|---|
| RPMs climb, speed stays same (UTV) | Main CVT Drive Belt | Inspect belt for glazing; check sheave movement | $120 - $180 (Belt) |
| Loud grinding from PTO under load | PTO Slip Clutch | Paint line test; verify spring compression | $15 - $30 (Friction Discs) |
| Bike creeps in neutral / hard to shift | Wet Clutch / Basket | Check for notched basket tangs; verify JASO MA2 oil | $80 - $250 (Basket/Plates) |
| Violent shudder upon takeoff (Dirt Bike) | Wet Clutch Plates | Measure steel plates for warping with feeler gauge | $60 - $120 (Clutch Pack) |
Summary
Mastering clutch diagnostics on off-road vehicles requires understanding the distinct roles of your drivetrain components. PTO slip clutch adjustment is a routine, necessary maintenance task designed to protect your UTV's transmission from shock loads. Conversely, slip or drag in your main CVT or wet multi-plate clutch indicates wear, improper lubrication, or component failure. By keeping your PTO friction packs free of rust and correctly tensioned, and by strictly using JASO MA2 fluids in your manual ATV, you will ensure your machine survives the harshest trails and work sites.