Understanding the Honda CRF50F Automatic Clutch System
The Honda CRF50F is widely considered the gold standard for youth dirt bikes, largely due to its forgiving 3-speed automatic transmission. However, the term 'automatic' often misleads beginners into thinking the system requires zero maintenance. In reality, the CRF50 utilizes a centrifugal multi-plate wet clutch that relies on a precise mechanical linkage to manage engagement and disengagement. When your child's bike starts creeping at idle, refuses to pull out of the hole, or clunks violently between gears, a CRF50 clutch adjustment is almost always the required fix.
Unlike a manual dirt bike with a hand lever and cable, the CRF50 uses centrifugal weights hidden behind the right-side crankcase cover. As engine RPMs rise, these weights fly outward, pulling a clutch lifter arm. This arm pushes a steel clutch pushrod through the center of the engine, which separates the friction plates and allows the transmission to shift. The external adjuster screw on the right cover dictates the resting clearance of this entire mechanism. If that clearance is off by even a millimeter, you will experience severe engagement and disengagement issues.
Diagnosing Engagement vs. Disengagement Failures
Before grabbing a wrench, you must accurately diagnose whether the clutch is failing to engage (slipping) or failing to disengage (dragging). Because the CRF50 lacks a manual lever, the symptoms manifest entirely through the bike's riding behavior and shifting characteristics.
| Symptom | Technical Cause | Adjuster Fix Direction |
|---|---|---|
| Bike creeps forward at idle | Clutch dragging; plates not fully separating | Loosen (Counter-Clockwise) |
| Engine revs but bike won't move | Clutch slipping; plates not fully clamping | Tighten (Clockwise) |
| Violent 'clunk' when shifting | Abrupt engagement; insufficient free play | Loosen slightly (Counter-Clockwise) |
| False neutral / won't find gear | Incomplete disengagement during shift cycle | Loosen (Counter-Clockwise) |
The Pushrod Wear Edge Case
If you find yourself constantly adjusting the screw but the symptoms keep returning, inspect the clutch pushrod. The OEM aluminum pushrod (Part # 22840-GN4-000) is known to wear down or mushroom at the tip after hundreds of hours of use. This wear alters the geometry between the lifter arm and the pressure plate, making standard adjustment impossible. Replacing this $4 part often instantly resolves phantom engagement issues.
Step-by-Step CRF50 Clutch Adjustment Guide
Performing the adjustment is a beginner-friendly task that takes less than ten minutes. You do not need to drain the oil or remove the crankcase cover to perform a standard external adjustment.
Required Tools
- 10mm open-end wrench or socket
- Flathead screwdriver (that perfectly fits the adjuster screw slot)
- Feeler gauges (optional, for verifying lifter arm play)
- Rag and brake cleaner (to clean the adjuster threads)
The Adjustment Procedure
- Locate the Adjuster: On the right side of the engine, locate the clutch lifter arm protruding from the center of the crankcase cover. You will see a 10mm locknut with a flathead screw in the center.
- Clean the Area: Wipe away dirt and grease. You do not want grit falling into the engine when you loosen the locknut.
- Loosen the Locknut: Use the 10mm wrench to break the locknut free. Turn it counter-clockwise a few threads, but do not remove it entirely.
- Find the Seat Point: Insert your flathead screwdriver and turn the adjuster screw clockwise (inward). Turn it slowly until you feel distinct mechanical resistance. This is the screw making contact with the clutch pushrod.
- Set the Free Play: Once seated, turn the screw counter-clockwise (outward) exactly 1/4 to 1/2 of a full turn. This creates the vital air gap (free play) between the pushrod and the pressure plate.
- Verify Lifter Arm Play: Grab the external clutch lifter arm with your fingers. You should feel about 1/8-inch (3mm) of free, wiggling play before the arm meets solid resistance from the pushrod.
- Lock it Down: Hold the flathead screwdriver perfectly still to maintain your 1/4-turn gap, and tighten the 10mm locknut clockwise. Snug it down firmly (approx. 10-12 lb-ft), ensuring the screw does not spin while the nut tightens.
The Critical Role of Wet Clutch Fluids
No amount of mechanical adjustment will fix engagement issues if your friction plates are bathed in the wrong oil. The CRF50F shares its engine oil with the transmission and clutch assembly. Using standard automotive motor oil is the number one cause of premature clutch slippage on youth bikes.
Expert Warning: Never use automotive oil labeled 'Energy Conserving' or 'Resource Conserving' in a CRF50. These oils contain molybdenum-based friction modifiers designed to make car engine parts slip smoothly. In a wet clutch, these modifiers coat the friction plates, causing catastrophic slipping and requiring a full clutch pack replacement.
Factory Fluid Specifications
- Oil Type: Honda GN4 10W-30 or 10W-40 (Must meet JASO T903 standard MA or MA2)
- Capacity: 0.6 Liters (0.63 US quarts) after a standard drain; 0.7L after a complete engine teardown.
- Drain Bolt Torque: 17 lb-ft (24 N·m) with a new 12mm aluminum crush washer.
When Adjustment Fails: Inspecting the Hard Parts
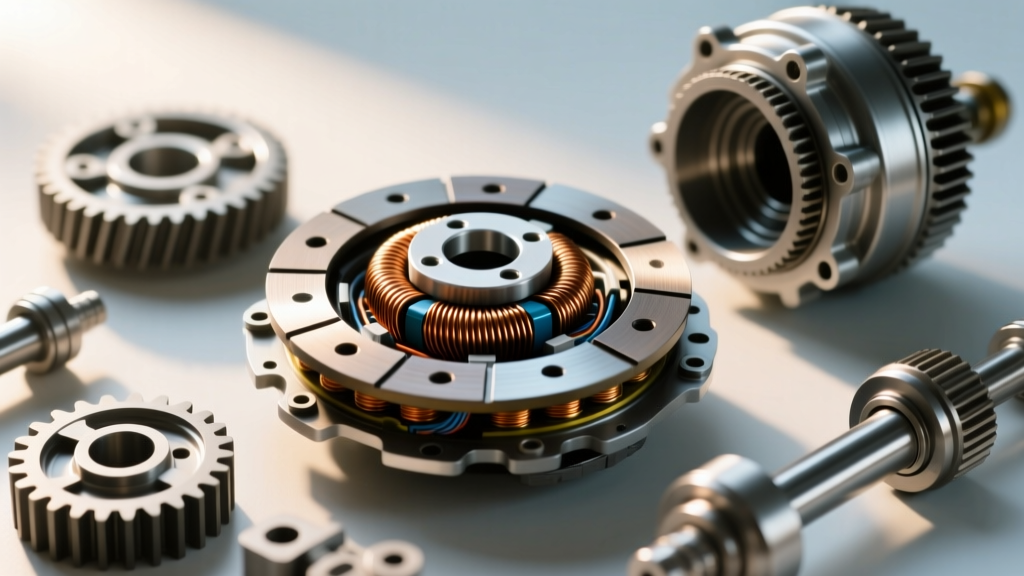
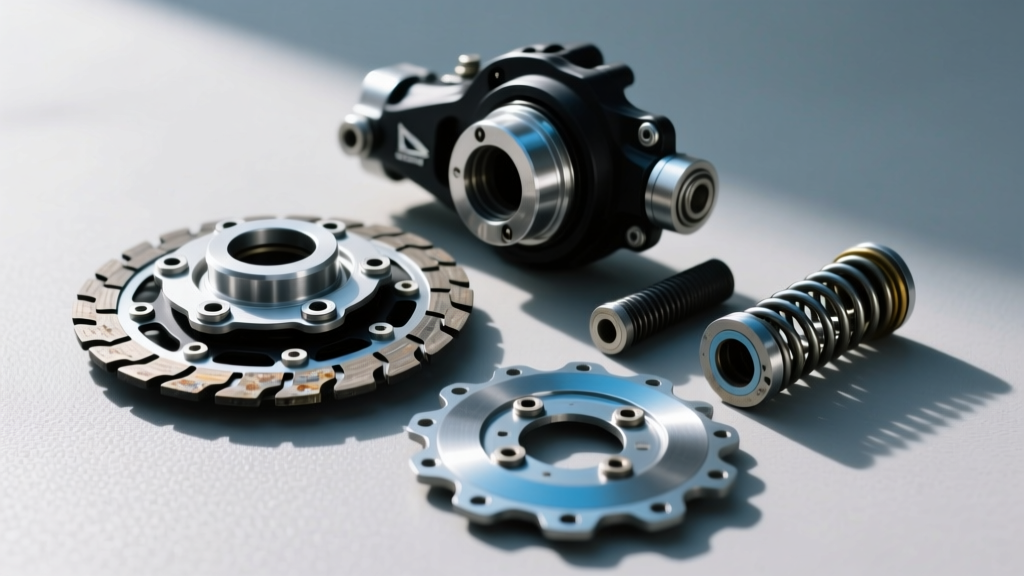
If you have set the free play correctly, verified your oil type, and the bike still suffers from engagement issues, the internal clutch pack is likely worn out. The CRF50 clutch pack consists of alternating steel drive plates and friction discs compressed by heavy-duty springs. Over time, the friction material wears thin, and the springs lose their tension, leading to a permanent disengagement failure (slipping under load).
OEM Part Numbers and Replacement Data
When rebuilding the clutch on a Honda CRF50F, always refer to the OEM catalog via trusted suppliers like CMSNL or Honda Powersports to ensure exact fitment. Aftermarket springs are often too stiff for the lightweight centrifugal weights, ruining the automatic shifting behavior.
- Friction Plate (22201-GN4-000): The CRF50 requires 3 friction plates. Minimum service thickness is 2.6mm. If they measure below 2.8mm, replace them. Expect to pay around $12 each.
- Clutch Spring (22361-GN4-000): Requires 3 springs. Minimum free length is 31.5mm. If they sag below this, the clutch will slip at high RPM. Cost is roughly $4 each.
- Steel Drive Plates: Inspect for bluing (heat damage) or deep grooves. If warped beyond 0.1mm, they must be replaced to prevent clutch drag.
Reassembly Torque Specs
If you open the right-side crankcase cover to replace the plates, precision reassembly is mandatory. The 6mm crankcase cover bolts must be torqued to exactly 7.2 lb-ft (9.8 N·m) in a crisscross pattern. Over-torquing these small bolts will strip the aluminum engine cases, leading to massive oil leaks and potential engine seizure. Furthermore, ensure the clutch pushrod is inserted with the rounded end facing outward toward the lifter arm to prevent binding inside the main shaft.
Final Thoughts on CRF50 Maintenance
Mastering the CRF50 clutch adjustment is a rite of passage for any youth motocross parent or beginner mechanic. By understanding the relationship between the centrifugal weights, the pushrod clearance, and the wet clutch pack, you can diagnose and fix engagement issues in minutes. Keep a bottle of JASO-MA certified 10W-40 on hand, check the pushrod for mushrooming during your annual top-end checks, and always set the adjuster screw with a precise 1/4-turn gap. Your young rider will enjoy buttery-smooth automatic shifts and hole-shot-winning traction for seasons to come.