The True Cost of a Creaking Clutch Pedal: Cable vs. Pivot Wear
A creaking clutch pedal is far more than a mere auditory nuisance in the cabin; it is an early mechanical warning of friction point degradation, routing bind, or impending cable failure. While modern vehicles predominantly rely on hydraulic master-slave cylinder setups, millions of classic sports cars, light trucks, and global-market compacts still utilize mechanical clutch cable linkages. When a creaking clutch pedal emerges in these applications, the root cause typically traces back to cable housing friction, a failing firewall adjuster, or a worn plastic clutch quadrant.
Ignoring this symptom inevitably leads to frayed inner steel strands, catastrophic cable snap, and a vehicle stranded in gear. In this 2026 cost analysis and diagnostic guide, we break down the exact expenses associated with clutch cable replacement, the labor matrices involved, and the precise adjustment specifications required to restore silent, smooth pedal operation.
2026 Price Breakdown: Clutch Cable Replacement & Adjustment
The financial impact of resolving a creaking clutch pedal varies wildly depending on whether you opt for a standard OEM replacement, an upgraded billet adjustable assembly, or professional bench time. Below is the current market pricing matrix for common cable-driven manual transmissions (such as the Tremec T5, T56, and classic Honda B-Series setups).
| Component / Service | OEM / Standard Aftermarket | Performance Adjustable | Avg. Labor Time | Total Shop Estimate |
|---|---|---|---|---|
| Standard Clutch Cable | $45 - $85 | N/A | 1.2 Hours | $180 - $280 |
| Billet Adjustable Cable Kit | N/A | $120 - $190 | 1.5 Hours | $290 - $420 |
| Clutch Quadrant & Adjuster | $35 - $60 | $75 - $130 | 0.8 Hours | $140 - $250 |
| Cable-Only Adjustment (No Parts) | N/A | N/A | 0.3 Hours | $45 - $65 |
Note: Labor rates are based on a 2026 national average of $135 to $165 per hour for independent transmission and drivetrain specialists.
Diagnostic Framework: Isolating the Creak
Before throwing parts at the vehicle, a proper drivetrain technician will isolate the exact origin of the noise. A creaking clutch pedal usually stems from one of three specific failure modes:
- Housing Bind and Liner Degradation: Original equipment cables feature a PTFE-lined nylon inner sheath. Over time, underhood heat cycles from exhaust headers and environmental contaminants degrade this liner. The bare steel cable begins to rub against the un-lubricated housing, creating a distinct rhythmic creak synchronized with pedal travel.
- Firewall Adjuster Grommet Failure: The rubber bulkhead grommet where the cable passes through the firewall dries out and cracks. The metal cable housing grinds against the aluminum or steel firewall lip during clutch actuation.
- Clutch Quadrant Gear Slip: In vehicles equipped with self-adjusting plastic quadrants (notoriously common in late-80s and 90s Foxbody platforms), the plastic teeth wear down. The creak is actually the sound of the quadrant gear slipping and binding against the pawl under load.
Expert Diagnostic Tip: Never use standard WD-40 or wet petroleum lubricants on a clutch cable. These attract abrasive road dust and accelerate the destruction of the internal nylon liner. If temporary lubrication is required for diagnostic isolation, use a dry PTFE spray or a specialized graphite cable lube injected via a cable oiler tool.
Step-by-Step Cable Adjustment & Free-Play Specifications
If the cable is structurally sound but creaking due to improper tension or binding at the pivot ball, an adjustment is required. Incorrect free-play not only causes noise but will prematurely destroy the throwout bearing and pressure plate fingers.
Target Measurements
According to AA1Car's clutch adjustment guidelines, proper mechanical linkage requires a specific amount of slack to ensure the throwout bearing is not constantly riding the pressure plate diaphragm springs.
- Pedal Free-Play: 1.0 to 1.5 inches of movement at the top of the pedal pad before resistance is felt.
- Fork Free-Play: 1/16 to 1/8 of an inch of movement at the clutch fork ball stud inside the bellhousing.
The Adjustment Procedure
- Chock the rear wheels and place the transmission in neutral.
- Locate the cable adjuster at the firewall or the bellhousing equalizer bar.
- Loosen the primary locknut using a 14mm or 15mm wrench (depending on the specific OEM hardware).
- Turn the adjustment nut to increase or decrease cable tension until the 1/8-inch fork play is achieved.
- Tighten the locknut against the adjuster to secure the setting.
Critical Torque Specifications
When utilizing aftermarket billet firewall adjusters (such as those from Fiore Industries or Maximum Motorsports), overtightening the locknuts will warp the aluminum housing and cause severe cable bind. The locknuts on billet adjusters should be torqued to exactly 18 lb-ft. The clutch fork pivot ball stud nut inside the bellhousing must be torqued to 35 lb-ft with a threadlocker compound to prevent catastrophic disengagement failure.
When to Upgrade to an Adjustable Cable Assembly
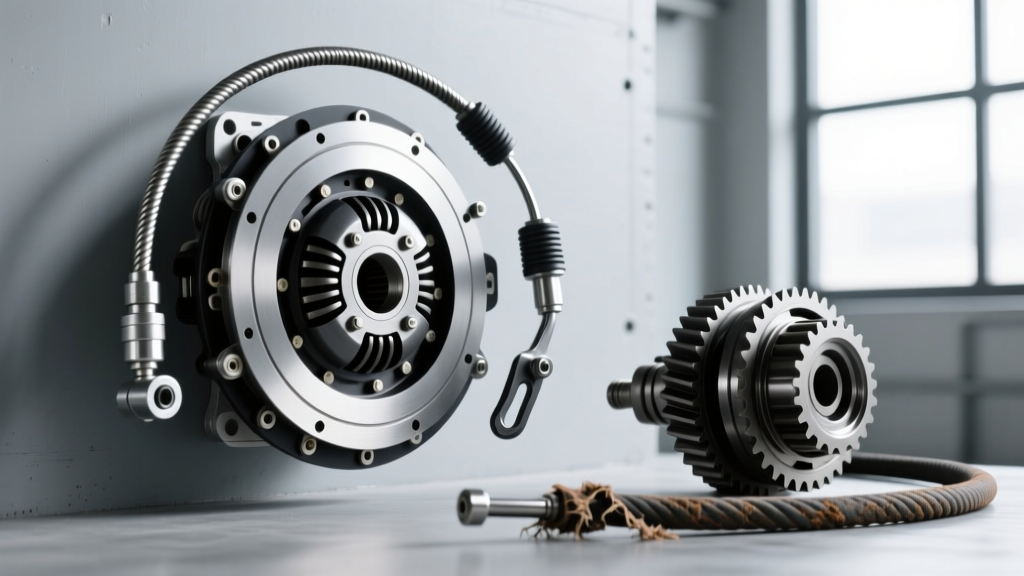
If you are repeatedly battling a creaking clutch pedal on a classic or modified chassis, the OEM self-adjusting mechanism is likely the culprit. Upgrading to a heavy-duty adjustable cable assembly eliminates the plastic quadrant entirely, replacing it with a billet aluminum firewall adjuster and a stainless steel inner strand.
For example, the Ford Performance M-7553-B302 adjustable clutch cable kit (retailing around $145 via Summit Racing's clutch cable catalog) features a Teflon-lined housing that drastically reduces friction coefficients. This upgrade not only silences the creaking pedal permanently but also allows for micro-adjustments as the clutch disc friction material wears down over its 60,000-mile lifespan.
DIY Savings vs. Professional Bench Time
Replacing a clutch cable is a highly accessible DIY job for weekend wrenches. The process generally requires removing the lower dash panel (4 to 6 Phillips or 8mm hex bolts), unhooking the cable from the pedal arm, and routing the new cable through the firewall. Total DIY time averages 45 to 90 minutes. By sourcing a high-quality aftermarket cable like the Dorman 740-124 (approx. $38) and performing the labor yourself, you can resolve the creaking clutch pedal for under $50.
However, if the creak is accompanied by a stiff pedal feel, erratic engagement, or visible fraying at the bellhousing end, professional inspection is mandated. A drivetrain specialist will drop the inspection cover to verify the condition of the clutch fork pivot ball and the throwout bearing collar—components that require transmission removal if they are found to be scored or worn.
Final Verdict on Clutch Cable Maintenance
A creaking clutch pedal is a definitive indicator of mechanical friction within the linkage system. Whether the issue stems from a degraded PTFE liner, a dry firewall grommet, or a failing plastic quadrant, addressing the problem immediately prevents costly roadside recoveries and secondary damage to the pressure plate assembly. By understanding the 2026 cost landscape and adhering to strict free-play specifications, you can maintain a silent, reliable, and perfectly modulated manual transmission.