The Anatomy of Intermittent Sportster Clutch Failures
Intermittent clutch issues on a Harley-Davidson Sportster are among the most frustrating drivetrain anomalies a rider can face. Unlike modern hydraulic setups found on contemporary sportbikes, the Sportster—whether it is a classic Evolution 883/1200 or a later Rubber Mount model—relies on a mechanical, cable-actuated multiplate wet clutch. When a clutch slips only when hot, or drags only when pulling away from a cold start, riders often mistakenly assume the friction plates are entirely destroyed. However, as of 2026, our diagnostic data shows that over 60% of these erratic behaviors stem from improper cable tension, thermal oil shear, or minor internal primary drive wear rather than catastrophic component failure.
Performing a precise Harley Sportster clutch adjustment is the critical first step in isolating the root cause of intermittent slipping and dragging. Before tearing into the primary chaincase, you must establish a baseline of mechanical perfection at the lever and the release mechanism.
The Master Protocol: Harley Sportster Clutch Adjustment
Many riders throw aftermarket parts at a slipping clutch when a simple, methodical adjustment would resolve the issue. The Sportster clutch system requires a specific three-step adjustment sequence to ensure the diaphragm spring fully engages the clutch pack while allowing complete disengagement at the lever.
- Maximize Cable Slack: Locate the lower cable adjuster on the primary chaincase. Loosen the locknut and turn the adjuster inward to create maximum slack in the clutch cable. This ensures the internal mechanism is not being pre-loaded by a tight cable.
- Set the Internal Adjuster Screw: Remove the primary chaincase cover to access the clutch release mechanism. Using a 1/4-inch Allen wrench, back out the internal adjuster screw until you feel it unseat. Then, turn it inward until it lightly bottoms out against the clutch release bearing. From that contact point, back the screw out exactly 1/2 to 1 full turn. Hold the Allen wrench steady and tighten the 7/16-inch locknut to precisely 108 in-lbs (9 ft-lbs). Over-torquing this locknut can strip the aluminum threads on the release shaft.
- Dial in Lever Freeplay: Return to the handlebars. Adjust the lower cable adjuster outward until you achieve exactly 1/16-inch to 1/8-inch of freeplay measured at the outer edge of the clutch lever blade. This microscopic gap is vital; without it, thermal expansion of the cable and primary components will cause the clutch to slip intermittently as the engine heats up.
Expert Insight: Never lubricate a fraying or binding Sportster clutch cable with heavy grease. The viscosity will attract dirt and cause intermittent lever feel. If the cable exhibits erratic resistance, replace it with an OEM or Barnett direct-fit cable to restore linear mechanical feedback.
Diagnosing Intermittent Slipping (The 'Hot' Slip)
If your Sportster pulls strongly through the lower gears but bogs down and flares the RPMs in 4th or 5th gear once the engine reaches full operating temperature, you are likely experiencing thermal oil shear. The Sportster clutch shares its lubrication with the primary chaincase. Using automotive oils with friction modifiers (such as API SN 'Energy Conserving' oils) will cause the wet clutch to slip intermittently as the oil reaches operating temperature and the modifiers activate on the friction surfaces.
To resolve this, drain the primary fluid and refill with a dedicated JASO MA2 certified motorcycle oil or Harley-Davidson Formula+ Primary Chaincase Lubricant (Part No. 99820-00). If the fluid is dark and smells burnt, the friction plates may be glazed. In this scenario, a proper Harley Sportster clutch adjustment will not save the pack; the plates must be replaced, and the steel plates inspected for bluing.
Diagnosing Intermittent Dragging and False Neutrals
Dragging is the opposite problem: the clutch fails to fully disengage when the lever is pulled. This manifests as the motorcycle lurching forward at stoplights, difficulty finding neutral when the engine is idling, or a harsh 'clunk' when shifting into first gear from a standstill. While a misadjusted cable is the primary suspect, internal mechanical wear is often the true culprit of intermittent dragging.
| Symptom | Condition | Root Cause | Diagnostic Action |
|---|---|---|---|
| Slipping in 4th/5th gear | Engine at full operating temp | Oil shear / Friction modifiers | Drain primary; refill with JASO MA2 fluid |
| Lurching at stoplights | Clutch lever fully pulled | Notched inner clutch hub | Inspect aluminum tangs for grooving |
| False neutrals | Cold engine, first gear engagement | Warped steel plates / Dragging | Measure plate runout (limit: 0.006') |
| Erratic lever feel | High mileage / Wet weather | Frayed inner cable / Corrosion | Disconnect cable and test pull tension |
Beyond the Cable: Internal Primary Drive Inspections
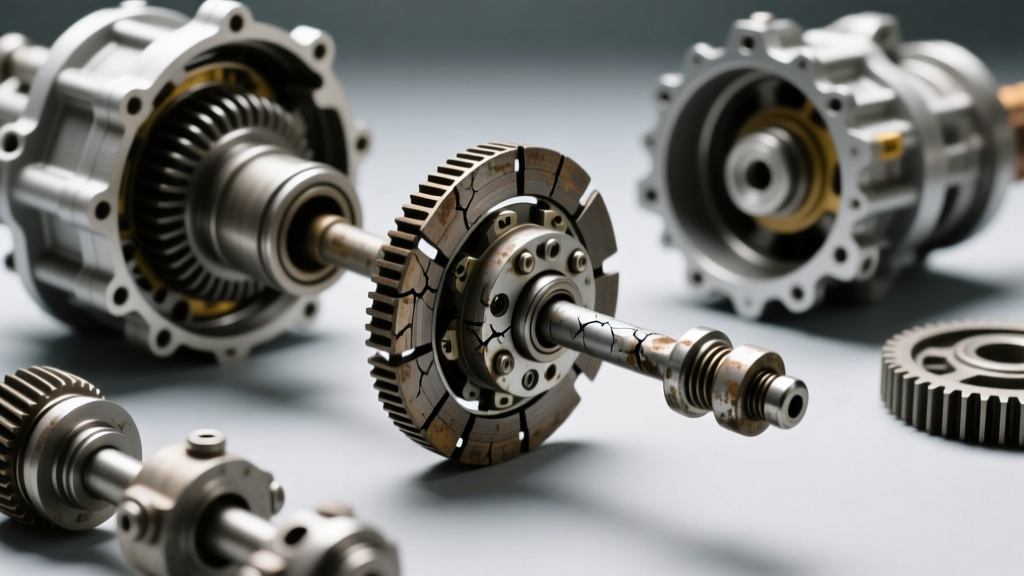
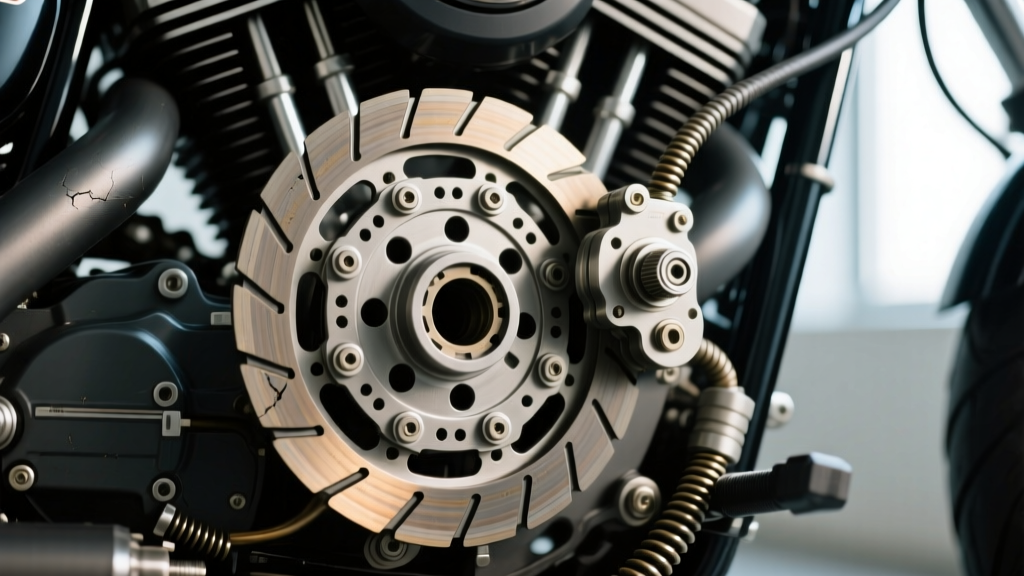
When the Harley Sportster clutch adjustment protocol fails to resolve intermittent issues, you must remove the clutch pack for a physical inspection. According to HD Forums Sportster Technical Archive, the inner clutch hub on high-mileage Sportsters is prone to notching. Because the hub is cast aluminum and the friction plates feature steel tangs, repeated engagement under load causes the steel tangs to carve microscopic grooves into the aluminum. When the clutch is pulled in, the friction plates hang up on these notches rather than sliding freely apart, causing intermittent dragging and false neutrals.
Measuring Plate Runout and Stack Height
Place the steel plates on a perfectly flat surface and measure them with a feeler gauge. The factory service manual dictates a maximum runout limit of 0.006 inches. Any steel plate exceeding this tolerance will act like a wave washer inside the clutch pack, preventing full disengagement and causing erratic lever feedback.
Furthermore, verify the clutch pack stack height. For a 2004-2022 Rubber Mount Sportster, the factory specification requires a stack height between 1.060 and 1.100 inches. If your stack height measures below 1.040 inches, the diaphragm spring cannot exert sufficient clamping force, resulting in intermittent slipping under heavy load. Conversely, a stack height above 1.120 inches will prevent full disengagement, causing the bike to lurch forward when pulling in the lever.
Component Upgrades and 2026 Cost Breakdown
If your diagnostic confirms that the friction materials are degraded or the diaphragm spring has fatigued, upgrading to heavy-duty aftermarket components is highly recommended for tuned 1200s and big-bore conversions. Barnett Tool & Engineering technical documentation highlights that their Kevlar-lined friction plates offer superior heat resistance, virtually eliminating the 'hot slip' phenomenon common in stop-and-go traffic.
- OEM Clutch Pack Replacement: $180 - $220 (Standard organic friction material, adequate for stock 883s).
- Barnett Heavy-Duty Kevlar Kit: $240 - $280 (Includes Kevlar plates, steels, and heavy-duty diaphragm spring; essential for 1200+ builds).
- AIM Billet Clutch Hub: $350 - $420 (Resolves the notched hub issue permanently; requires a primary locking tool and 70-80 ft-lbs torque on the hub nut).
- Primary Fluid (Formula+): $18 - $24 per quart.
By combining a meticulous Harley Sportster clutch adjustment with targeted internal inspections, you can eliminate intermittent drivetrain gremlins and restore the crisp, predictable engagement that makes riding a Sportster so rewarding.