The Dual Threat: Line Leaks and Inadequate Cooling
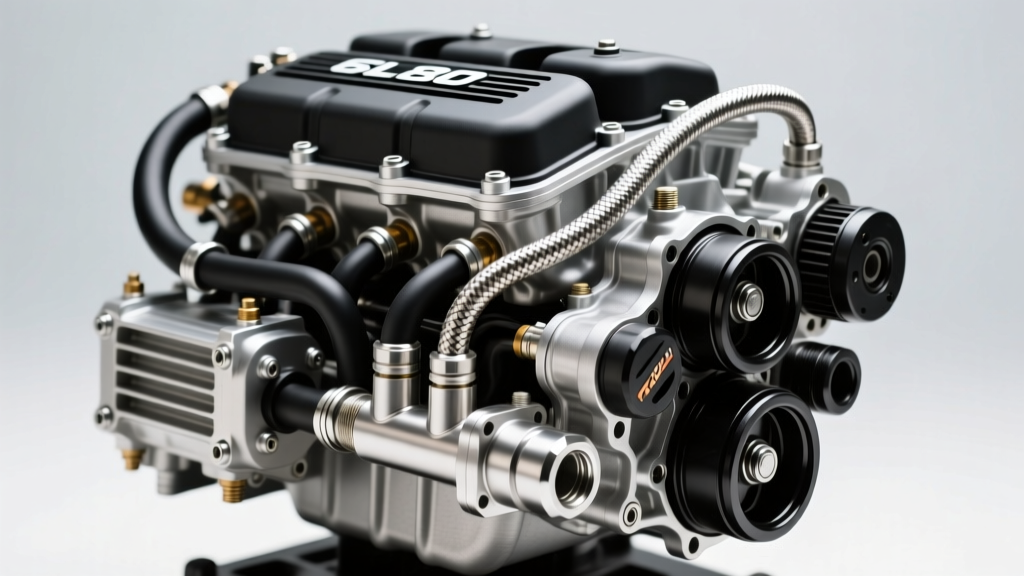
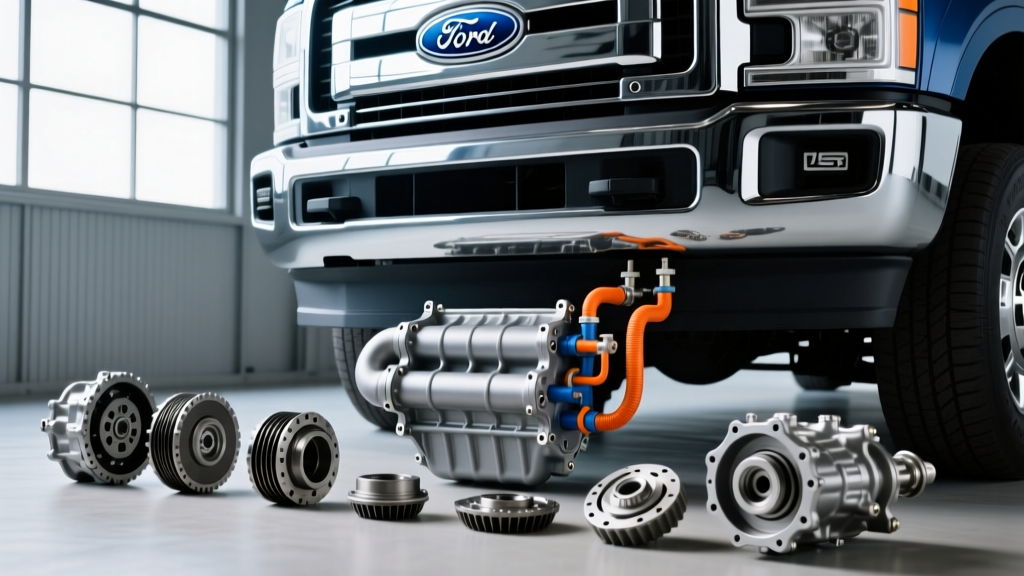
When you discover fluid pooling beneath your drivetrain, a transmission cooler line leak repair is inevitably on the agenda. However, seasoned technicians know that a leaking line is rarely an isolated failure. It is often the first symptom of a broader thermal management crisis, especially in modern high-torque platforms like the GM 6L80, Ford 10R80, or the ZF 8HP. If your factory lines are corroded, your factory cooler is likely undersized for your current gross vehicle weight rating (GVWR) or towing demands. This step-by-step guide bridges the gap between executing a permanent line repair and performing a critical transmission cooler size selection to ensure your drivetrain survives the 2026 landscape of heavier vehicles and hotter-running 10-speed automatics.
Phase 1: Diagnosing the Leak Source
Before ordering replacement hard lines or auxiliary coolers, you must isolate the exact failure point. Modern transmissions utilize a mix of aluminum hard lines, DOT-approved rubber jumpers, and plastic quick-connect fittings.
- GM 6L80 / 8L90 Platforms: Notorious for leaks at the radiator lower tank quick-connects. The internal O-rings harden and fail, or the aluminum fitting itself suffers from galvanic corrosion against the brass radiator insert.
- Ford 10R80 / 6R80 Platforms: Frequently leak at the external thermal bypass valve or the rubber-to-hard-line crimp joints near the crossmember.
- ZF 8HP (Stellantis/BMW): Leaks often originate from the integrated Thermal Management Module (TMM) O-ring seals or the plastic-to-aluminum cooler housing seams.
Pro-Tip: Use a UV dye formulated specifically for synthetic ATF (like Tracerline TP9920) and an inspection light. Never use standard oil dye, as it can alter the friction modifiers in low-viscosity fluids like Dexron ULV or Mercon ULV.
Phase 2: Transmission Cooler Size Selection
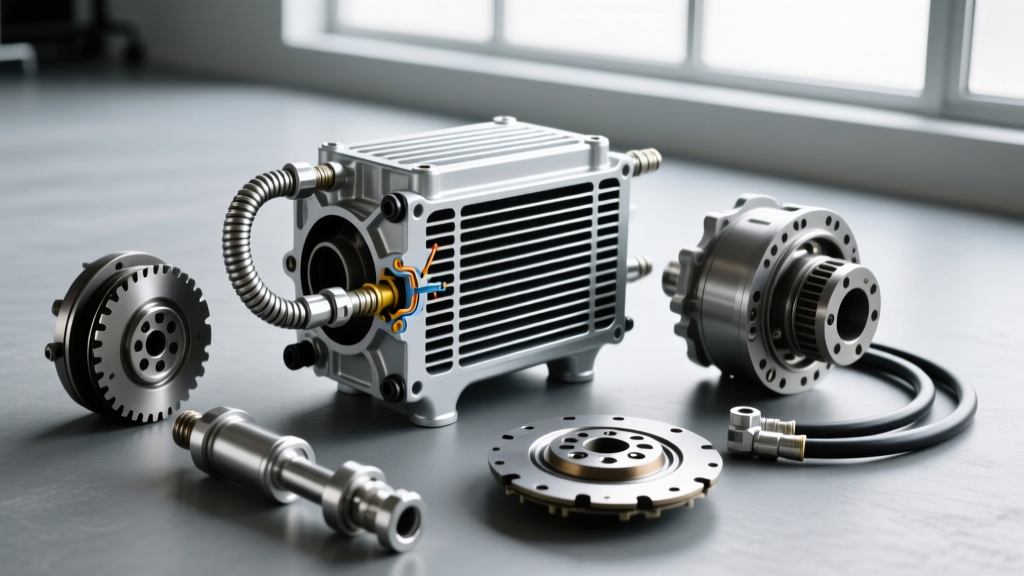
If your factory cooler is compromised, or if you are upgrading while the system is drained, selecting the correct auxiliary cooler is paramount. Sizing is not about physical dimensions alone; it is about matching the cooler's Gross Vehicle Weight Rating (GVWR) capacity and balancing heat rejection with pressure drop. According to thermal dynamics data published by Derale Performance, an undersized cooler causes fluid starvation, while an oversized cooler without a thermal bypass can prevent the fluid from reaching optimal operating temperature (180°F - 200°F), leading to torque converter shudder.
GVWR to Cooler Class Sizing Chart
| GVWR Class | Vehicle Application | Recommended Cooler Core Size | Core Technology | Example Part Number |
|---|---|---|---|---|
| Class I (up to 5,000 lbs) | Light SUVs, Commuter Sedans | 11" x 5.75" x 0.75" | Tube-and-Fin | Hayden 691 |
| Class II (5,000 - 7,500 lbs) | Half-Ton Pickups, Crossovers | 11" x 7.5" x 0.75" | Plate-and-Fin | Derale 13502 |
| Class III (7,500 - 10,000 lbs) | 3/4-Ton Trucks, Heavy Towing | 11" x 9.5" x 0.75" | Stacked-Plate | Hayden 678 |
| Class IV (10,000+ lbs) | 1-Ton Duallys, Commercial RVs | 13" x 11.5" x 1.25" | Stacked-Plate w/ Fan | Derale 13960 |
For vehicles equipped with a factory thermal bypass valve, always plumb the auxiliary cooler in series after the factory radiator cooler (the "Return Line" method). This ensures the fluid is pre-cooled by the radiator before hitting the auxiliary core, maximizing the delta-T efficiency of the stacked-plate design.
Phase 3: Step-by-Step Transmission Cooler Line Leak Repair
Once the sizing is determined and the new cooler is mounted, it is time to address the damaged lines. We will use Nickel-Copper (NiCopp) tubing for hard line replacements due to its superior corrosion resistance and ease of flaring compared to traditional steel.
Step 1: System Depressurization and Drainage
Remove the transmission fluid dipstick or fill plug to break the vacuum. Place a catch pan capable of holding at least 4 gallons beneath the radiator. Disconnect the lower (return) line first to allow gravity drainage. Use a Lisle 20110 quick-connect disconnect tool for GM and Ford push-lock fittings—never pry them with a screwdriver, as this will score the aluminum receiver.
Step 2: Cutting and Prepping the NiCopp Line
Cut out the corroded section of the factory steel line using a miniature tubing cutter to ensure a perfectly square edge. Deburr the inside and outside of the cut with a dedicated tubing reamer. Any internal swarf left behind will bypass the filter and destroy the valve body solenoids.
Step 3: Executing the ISO Bubble Flare
Modern metric transmission lines require an ISO bubble flare (DIN 45-degree), not the standard SAE 45-degree or double flare used on brake lines. Use a mastercool hydraulic flaring tool or a precision turret-style flarer. The bubble must be perfectly concentric; an off-center bubble will leak immediately under the 80-150 PSI operating pressures of a modern transmission pump.
Step 4: Hose Integration and Clamping
If your repair involves transitioning from hard line to a rubber jumper hose, you must use hose rated specifically for synthetic ATF and high temperatures (SAE J1532 specification). Standard fuel line will degrade and swell within weeks. Secure the hose using constant-torque fuel injection clamps (e.g., Breeze 9416) rather than standard worm-gear clamps, which can cut into the rubber under thermal cycling.
Phase 4: Reassembly and Critical Torque Specifications
Reconnecting the lines requires precision. Over-tightening is the leading cause of secondary leaks, as it cracks the plastic end-tanks of modern aluminum radiators. Industry standards highlighted by Hayden Automotive emphasize the following torque specifications:
- Radiator M14x1.5 Fittings: 15 - 18 lb-ft. (Use a crowfoot wrench on a beam-style torque wrench for accuracy).
- AN-6 Auxiliary Cooler Fittings: 12 - 15 lb-ft. (Always use a drop of blue Loctite 243 on the male threads).
- Hard Line to Block Bracket Bolts: 18 lb-ft.
Expert Insight: When performing a transmission cooler line leak repair on a ZF 8HP, always replace the O-rings on the Thermal Management Module with the updated Viton compound seals (Part #68303862AA for Stellantis applications). The original EPDM seals are highly susceptible to blistering when exposed to the aggressive detergent packages in modern ZF Lifeguard 8 fluids.
Phase 5: Fluid Refill and Thermal Verification
A successful repair is only complete after proper fluid refill and thermal cycling. Modern transmissions have highly specific fluid requirements. Using the wrong fluid will result in immediate clutch pack failure.
- GM 8L90 / 10L90: Dexron ULV (Ultra Low Viscosity). Capacity: ~11.5 quarts (dry fill).
- Ford 10R80: MERCON ULV. Capacity: ~13.1 quarts.
- ZF 8HP (Gen 2): ZF LifeguardFluid 8. Capacity: ~8.5 quarts.
Fill the transmission via the fill plug until it weeps, then start the engine. With the vehicle on a level lift and the wheels chocked, cycle through all gears, pausing for 3 seconds in each. Monitor the Transmission Fluid Temperature (TFT) PID via an OBD2 scanner. The fluid level must be checked at the exact temperature specified by the manufacturer (typically between 86°F and 122°F for GM, and 104°F for Ford). Top off until the fluid drips from the check plug, reinstall the plug, and verify the repair with a 20-mile test drive under load. By combining a meticulous line repair with correct transmission cooler size selection, you guarantee the longevity of your drivetrain for years to come. For further diagnostics on internal cooling failures, refer to the technical archives at Transmission Digest.