The Mechanical Link: Understanding Cable-Actuated Compressor Clutches
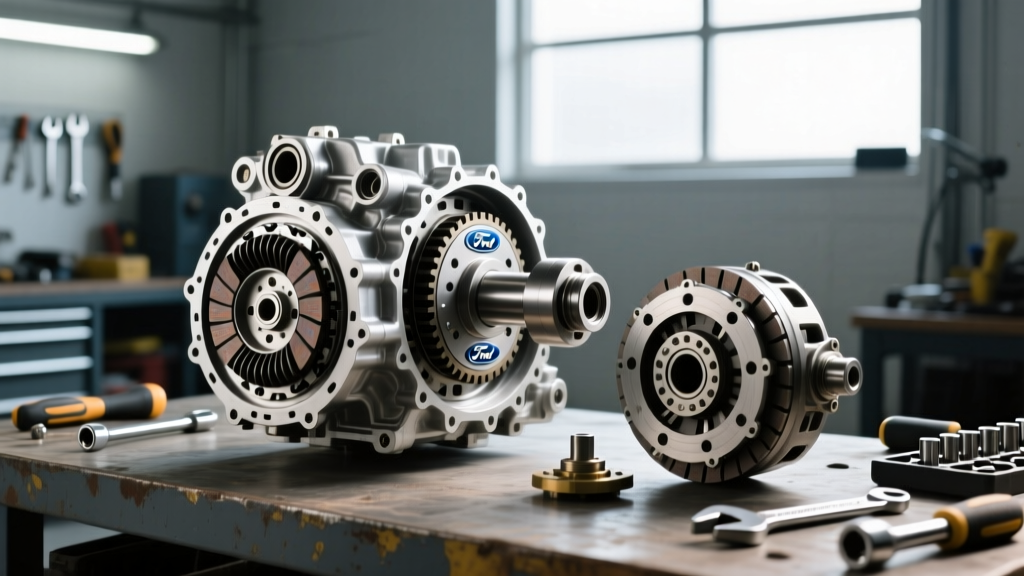
While modern passenger vehicles predominantly rely on electromagnetic coils to engage A/C compressors, a vast segment of the automotive and industrial world still depends on mechanical linkages. When you are dealing with heavy-duty commercial truck air brake compressors, industrial PTO (Power Take-Off) air systems, or classic automotive A/C setups (such as the legendary York and Tecumseh reciprocating compressors), the engagement mechanism is entirely physical. If you are troubleshooting a compressor clutch not engaging, the clutch cable and its associated mechanical quadrant are the prime suspects.
Unlike an electrical relay that simply clicks and fails, a mechanical clutch cable operates in a harsh, high-vibration environment. It is subjected to extreme under-hood or chassis temperatures, road debris, and continuous mechanical tension. In 2026, with the rising cost of heavy-duty commercial parts and classic car restoration components, understanding the exact cost breakdown of diagnosing, adjusting, and replacing these cables is critical for both fleet managers and DIY enthusiasts.
Diagnosing the 'Compressor Clutch Not Engaging' Symptom
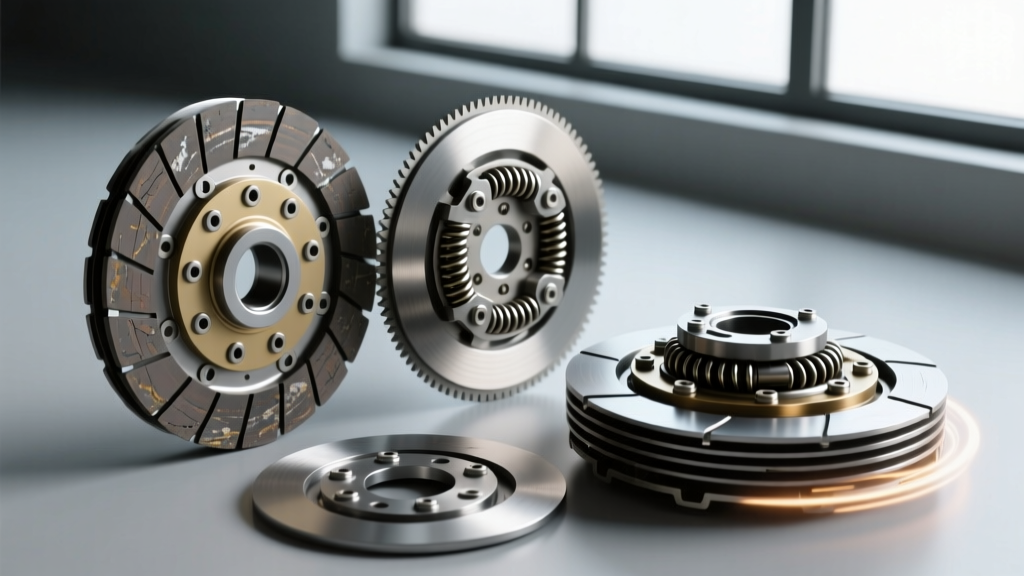
Before throwing money at parts, it is vital to confirm that the cable is the actual point of failure. A mechanical compressor clutch relies on a precise amount of lever travel to push the throwout bearing (or engagement collar) against the clutch fingers, locking the compressor pulley to the internal crankshaft.
Common failure modes that prevent engagement include:
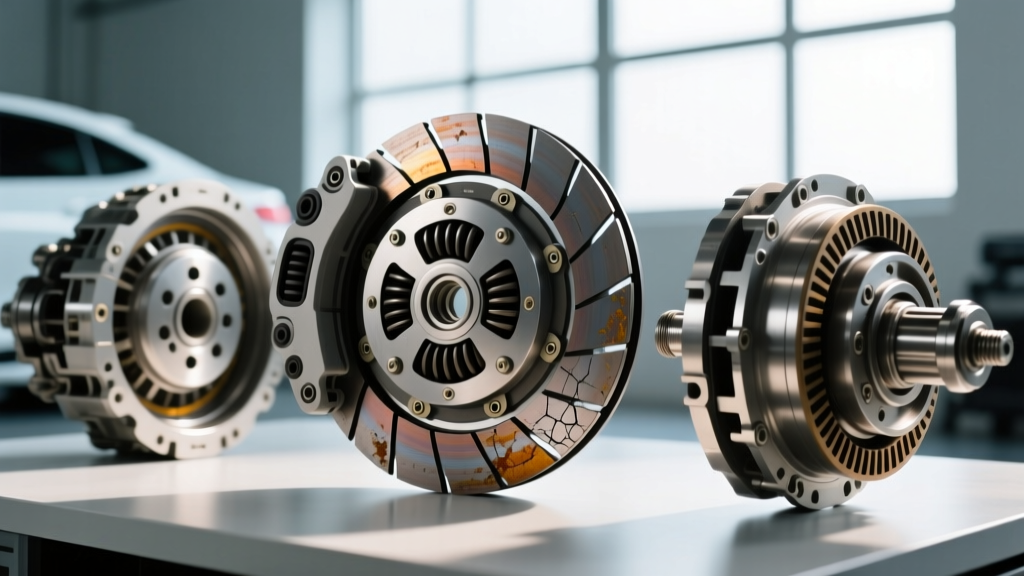
- Cable Stretch and Fraying: Over time, the inner steel wire stretches or frays at the swage points, resulting in a loss of travel at the compressor lever despite full cabin or PTO lever movement.
- Outer Housing Degradation: The PTFE-lined outer sheath can crack, allowing moisture and grit to enter. This causes binding, making the clutch impossible to engage or disengage smoothly.
- Adjuster Nut Back-Off: Vibration from diesel engines or heavy PTO loads can cause the threaded adjuster nuts at the compressor bracket to loosen, introducing excessive free-play.
- Clutch Fork Pivot Wear: The mechanical fork that the cable pulls can wear into the pivot ball, effectively 'swallowing' the cable's travel distance.
According to Bendix Commercial Vehicle Systems, improper clutch engagement on heavy-duty air compressors doesn't just result in a lack of air pressure; it can cause the clutch friction disc to slip continuously, leading to catastrophic overheating and a complete compressor seizure.
Cost Breakdown: Adjustment vs. Full Cable Replacement
The financial impact of a failed compressor clutch cable varies wildly depending on whether you are performing a simple adjustment or a full OEM replacement. Below is a detailed cost analysis based on average 2026 market rates for both commercial and classic automotive applications.
| Service Type | Part Cost (Est.) | Labor Cost (Est.) | Total Estimate |
|---|---|---|---|
| DIY Cable Adjustment | $0 | $0 (15-30 mins) | $0 |
| DIY Cable Replacement (Aftermarket) | $25 - $65 | $0 (1-2 hours) | $25 - $65 |
| DIY Cable Replacement (OEM/Heavy-Duty) | $85 - $160 | $0 (1-2 hours) | $85 - $160 |
| Professional Replacement (Independent Shop) | $90 - $180 | $145 - $290 | $235 - $470 |
| Professional Replacement (Dealership/Fleet) | $150 - $250 | $250 - $450 | $400 - $700 |
OEM vs. Aftermarket Pricing Dynamics
When sourcing replacement cables, you will encounter a distinct price divide. For classic vehicle applications (like vintage Ford or GM trucks with York compressors), aftermarket suppliers like ATP Automotive or Dorman offer universal or direct-fit cables ranging from $25 to $55. You can verify fitments via the RockAuto Catalog. However, for heavy-duty commercial PTO compressors, OEM cables from manufacturers like Bendix or Parker Hannifin often exceed $150 due to the heavy-gauge steel core and specialized fire-retardant outer sheathing required for diesel engine bays.
Step-by-Step Clutch Cable Adjustment & Torque Specifications
If your visual inspection reveals a cable that is intact but lacking proper tension, an adjustment is required. This is a zero-cost repair that requires only basic hand tools and a feeler gauge.
1. Establish Baseline Free-Play
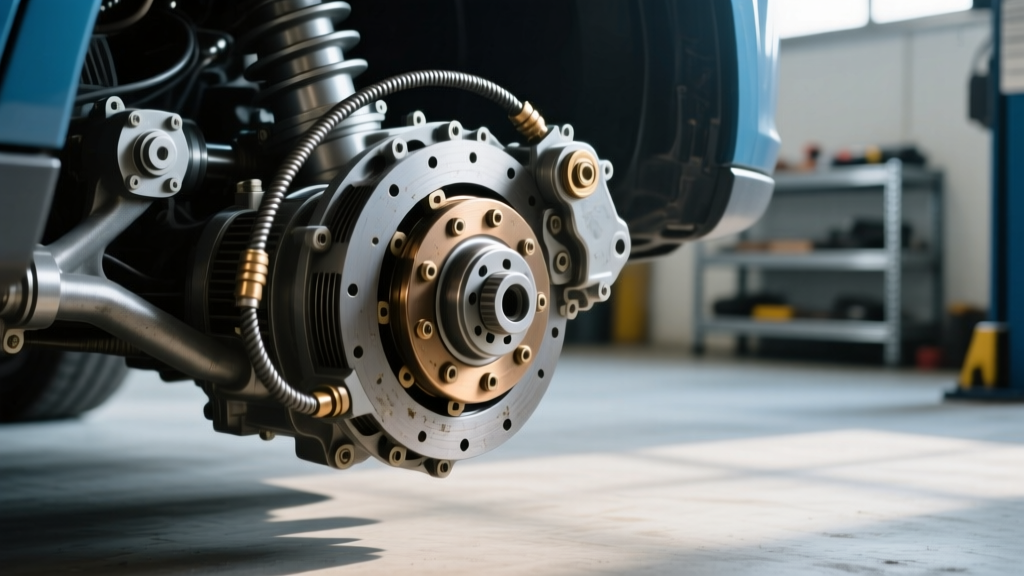
Locate the threaded adjuster where the cable housing meets the compressor mounting bracket. The goal is to achieve exactly 1/8-inch to 3/16-inch (3mm to 5mm) of free-play at the compressor clutch lever before the cable begins to pull the throwout bearing. Too little free-play will cause the clutch to slip and burn up; too much will result in the compressor clutch not engaging fully.
2. Adjusting the Quadrant
Loosen the 12mm locknut on the cable adjuster. Turn the 14mm adjuster nut clockwise to reduce free-play, or counter-clockwise to increase it. Cycle the engagement lever inside the cab or at the PTO station three times to seat the cable housing, then re-measure the free-play.
3. Torque Specifications
Once adjusted, the locknut must be secured. Apply a medium-strength threadlocker (such as Loctite 243) to the threads. Torque the locknut against the adjuster to 10 lb-ft (13.5 Nm). Furthermore, verify the torque of the cable mounting bracket to the compressor housing. These are typically M8x1.25 flange bolts and should be torqued to 18-22 lb-ft (24-30 Nm). A loose bracket will flex under load, mimicking a stretched cable.
Hidden Costs: When the Cable Isn't the Only Culprit
It is a common trap in drivetrain and accessory diagnostics to assume the cable is the sole issue. If you have maxed out the adjuster nut and the compressor clutch is still not engaging, you are likely facing internal mechanical wear. This is where the cost analysis shifts dramatically.
The Clutch Fork and Pivot Ball
The cable pulls on a stamped steel or cast iron clutch fork, which pivots on a hardened steel ball stud. Over tens of thousands of engagement cycles, the fork can wear a groove into the pivot ball. This wear effectively shortens the throw distance. Replacing a worn pivot ball and fork assembly adds roughly $45 to $85 in parts, but requires draining the compressor oil, removing the clutch housing, and resealing the unit. Labor for this procedure typically adds 2.5 to 3.5 hours, pushing the total repair cost past $600 at a commercial shop.
Throwout Bearing Failure
If the cable was previously adjusted with zero free-play, the throwout bearing has been spinning continuously against the clutch fingers. This generates immense heat and destroys the bearing. A seized or collapsed throwout bearing will cost around $35 to $70 for the part (often a standard SKF or Timken sealed bearing), but again, requires partial teardown of the compressor clutch assembly to access.
Maintenance Best Practices for 2026 and Beyond
To maximize the lifespan of your mechanical compressor clutch cable and avoid premature replacement costs, implement the following maintenance protocols:
- Proper Lubrication: Never use wet lubricants like WD-40 or standard grease on the exposed inner wire near the swage points. These attract abrasive road grit and diesel soot, which act like lapping compound and destroy the cable sheath. Use a dry PTFE (Teflon) spray or a specialized graphite-based cable lube.
- Sheath Inspection: During every major oil change or service interval, inspect the outer plastic sheath for UV cracking or crushing. If the sheath is compromised, moisture will enter and rust the inner steel core from the inside out.
- Routing Geometry: Ensure the cable maintains smooth, sweeping bends. Any bend radius tighter than 4 inches will cause severe internal friction, leading to a stiff pedal/lever and eventual cable snapping.
Final Verdict: Repair Economics
Dealing with a mechanical compressor clutch not engaging is a test of precision diagnosis. By understanding the exact cost breakdown—from a free, 15-minute DIY adjustment to a $600+ internal fork replacement—you can approach the repair with a clear financial strategy. Always start with the free-play measurement and bracket torque verification. For deeper technical specifications on classic mechanical A/C linkages, consult the Vintage Air Technical Manuals, which provide excellent baseline geometry for engine-driven compressor setups. In an era where commercial downtime and classic car restoration budgets are tighter than ever, mastering clutch cable adjustment is one of the highest-ROI skills a technician or owner can possess.