The Dual Nature of Clutch Slipping: Drivetrain vs. Cooling System
When automotive technicians and DIY enthusiasts encounter 'clutch slipping,' the immediate assumption is a failing manual transmission disc or a burnt automatic clutch pack. However, as we navigate the evolving landscape of 2026 vehicle maintenance, a comprehensive preventive maintenance guide must address the often-overlooked viscous or electronic fan clutch. A slipping fan clutch can lead to catastrophic engine overheating, parasitic drag, and air conditioning failure, while a slipping transmission clutch will leave you stranded. This guide bridges the gap between drivetrain diagnostics and front-end cooling system service, providing exact specifications, diagnostic frameworks, and a step-by-step tutorial on how to remove the fan clutch during major engine or transmission removal procedures.
Diagnosing Drivetrain Clutch Slipping: Manuals and Automatics
Manual Transmission Slipping Symptoms
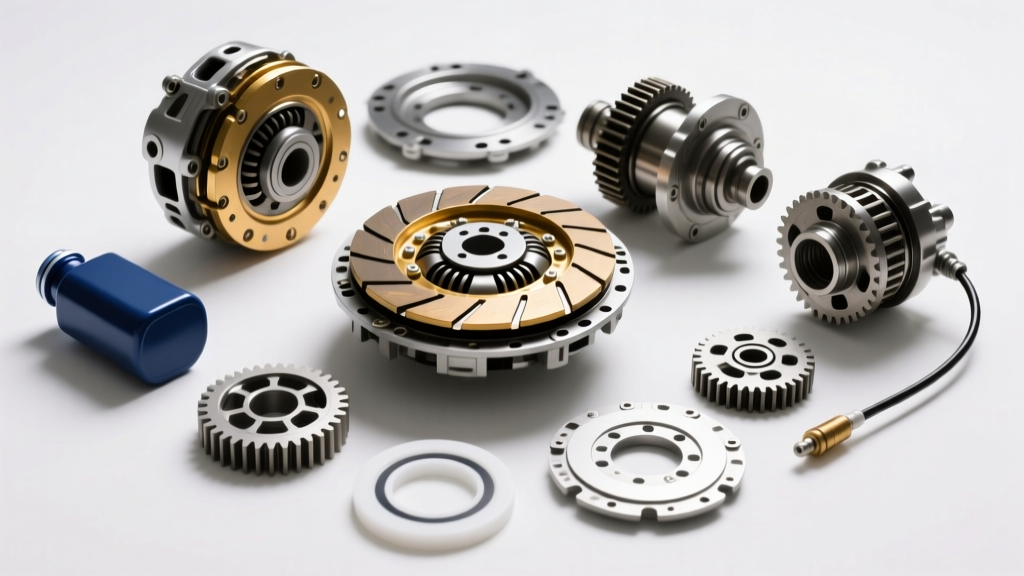
In a manual gearbox, clutch slip occurs when the friction disc (often an organic or ceramic compound from manufacturers like LuK or Sachs) fails to maintain static friction against the flywheel and pressure plate. Symptoms include a noticeable RPM flare under heavy load without a proportional increase in vehicle speed, a high pedal engagement point, and the distinct, acrid odor of burnt friction material. Preventive diagnosis involves measuring the clutch pedal free play (typically 0.5 to 1.0 inches) and checking the hydraulic master/slave cylinder for internal bypassing, which can prevent full clutch engagement and cause premature slip.
Automatic Transmission Slipping (4L60E and ZF 8HP)
Automatic transmissions rely on hydraulically applied friction packs. In the ubiquitous GM 4L60E, the 3-4 clutch pack is notorious for slipping and burning up, often due to leaky apply piston seals or worn stator support rings. According to the engineering resources at Sonnax, diagnosing automatic clutch slip requires monitoring the Turbine Speed Sensor (TSS) against the Output Speed Sensor (OSS). A ratio deviation of more than 5% during a commanded gear indicates severe slip. In modern ZF 8HP units, the Transmission Control Module (TCM) actively monitors clutch slip times; if slip exceeds the adaptive threshold (usually 150-200 milliseconds), the TCM will trigger a limp mode and log a fault code. Rebuilding these packs requires strict adherence to clearance specifications—for instance, a 4L60E 3-4 clutch pack clearance must be precisely between 0.040 and 0.060 inches to prevent both slip and drag.
The Forgotten Culprit: Viscous Fan Clutch Slipping Symptoms
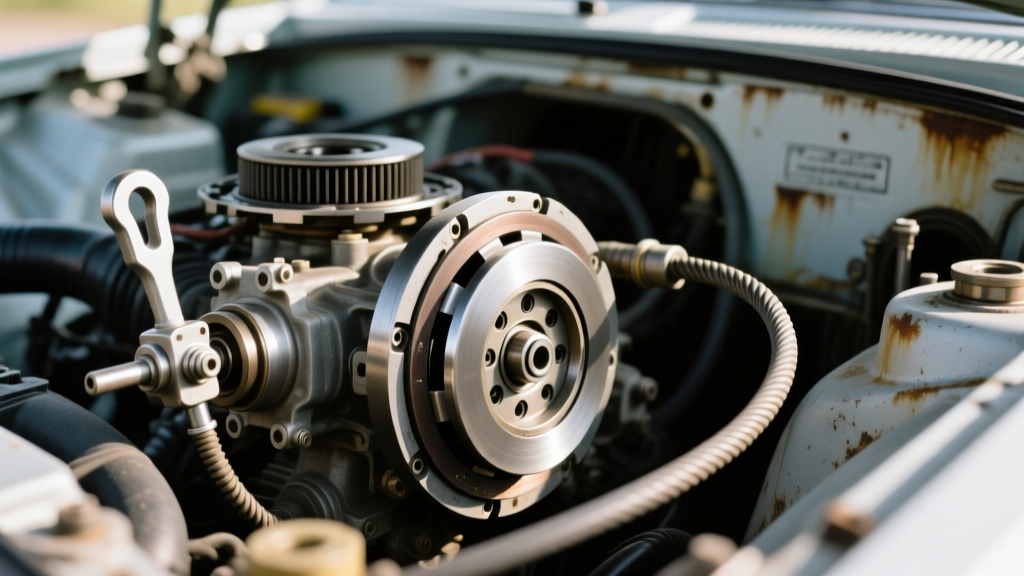
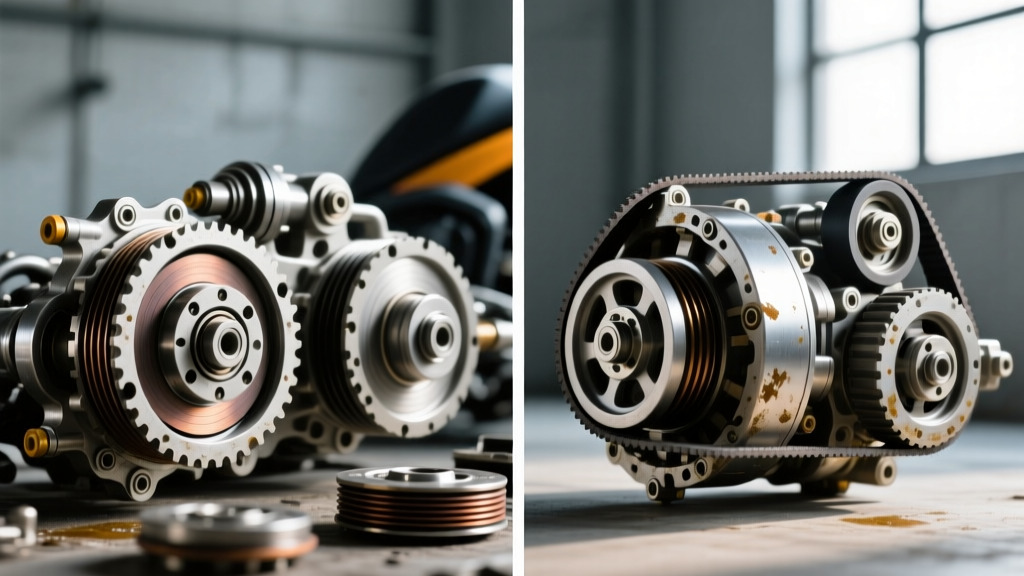
While not part of the drivetrain, the engine cooling fan clutch is a vital fluid-coupling device. Viscous fan clutches utilize a specialized silicone oil (typically rated between 10,000 and 20,000 cSt) to transfer torque from the water pump shaft to the fan blades. When the internal bimetallic strip or electronic solenoid commands engagement, the fluid is metered into the working chamber. If the clutch is slipping internally—often due to fluid degradation, shear breakdown, or a compromised shaft seal—the fan will fail to reach the necessary 60% to 80% of engine RPM under heavy thermal loads.
Symptoms of a slipping fan clutch include:
- Idle Overheating: Engine coolant temperatures spike when stationary or in stop-and-go traffic, but normalize at highway speeds (due to ram-air effect).
- AC System Failure: Insufficient airflow across the condenser causes high-side AC pressures to skyrocket, triggering the compressor safety cutoff.
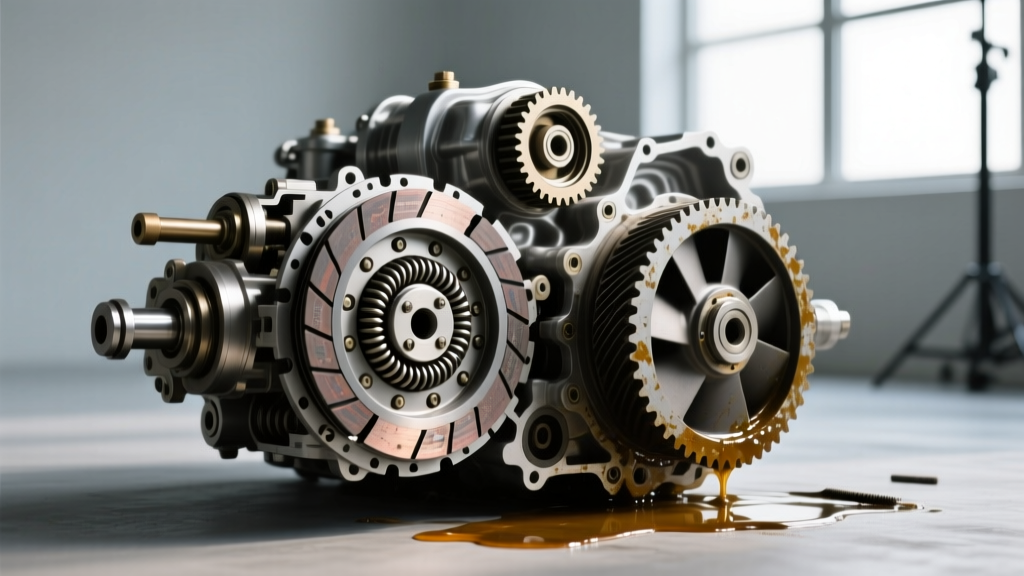
- Visible Fluid Weeping: A telltale ring of silicone fluid or debris slung around the water pump pulley and lower radiator support.
Conversely, a fan clutch that is stuck locked (failed in the engaged position) will produce a loud, jet-like roaring noise and rob the engine of 15 to 25 horsepower. Cooling system specialists at Hayden Automotive emphasize that preventive replacement of the fan clutch is highly recommended whenever the water pump is serviced or when performing an engine-out clutch replacement, as the clearance between the fan blades and the radiator shroud is minimal and a failing bearing can quickly destroy the radiator core.
Comparative Diagnostics: Drivetrain vs. Cooling Clutches
| System | Primary Slipping Symptom | Diagnostic Tool / Method | Average 2026 Replacement Cost |
|---|---|---|---|
| Manual Clutch | RPM flare under load, burnt smell | Pedal free-play check, stall test | $1,200 - $2,500 |
| Auto Clutch Pack (e.g., 4L60E) | Delayed shifts, TCC slip codes (P0741) | OBD-II TSS/OSS PID ratio monitoring | $2,500 - $4,000 |
| Viscous Fan Clutch | Overheating at idle, AC cutoff | Newspaper roll test, thermal gun | $150 - $350 |
Preventive Maintenance Guide: How to Remove the Fan Clutch
Whether you are replacing a slipping viscous clutch or removing it to gain the necessary 3 to 4 inches of clearance to extract an engine or manual transmission, knowing how to remove the fan clutch safely is a fundamental preventive maintenance skill. The process is complicated by the fact that many manufacturers utilize left-hand (reverse) threads to prevent the rotational inertia of the engine from loosening the hub.
Step 1: Identify Thread Direction and Size
Before applying force, verify the thread pitch. Most GM LS/LT V8s and Ford Modular engines use a left-hand thread (typically M22x1.5 or a 32mm hex nut). Chrysler HEMI applications often use standard right-hand threads. Consult the factory service manual. Applying standard 'lefty-loosey' force to a left-hand thread will snap the water pump shaft or destroy the impeller.
Step 2: Select the Proper Tooling
Do not use an adjustable crescent wrench; the tolerance is too loose and will round the soft alloy nut. Invest in a dedicated fan clutch wrench set (such as the Lisle 39260 or OEMTOOLS 27138), which includes the specific 32mm, 36mm, and 47mm thin-profile wrenches required to clear the water pump pulley brackets.
Step 3: Secure the Water Pump Pulley
The primary challenge is holding the water pump pulley stationary while breaking the hub nut loose. Use a serpentine belt tensioner tool or a dedicated pulley-holding strap wrench. If the belt is removed, you can use a specialized pulley-holding tool that bolts to the water pump pulley face to immobilize it.
Step 4: The Shock Method
Position the correct fan clutch wrench onto the hub nut. If dealing with a left-hand thread, position the wrench to the passenger side (clockwise to loosen). Strike the end of the wrench handle sharply with a 3-pound dead-blow hammer. The sudden kinetic shock is usually enough to break the factory threadlocker loose without transferring damaging torque to the water pump bearings.
Step 5: Extraction and Radiator Protection
Once broken loose, unthread the fan clutch by hand. Carefully lift the assembly straight up and out of the engine bay. Critical Warning: The fan blades are angled and sit mere millimeters from the radiator fins. Tilting the assembly during extraction will bend the radiator fins or, worse, puncture the coolant tubes. Always slide a piece of cardboard between the fan and the radiator as a preventive shield during removal.
Reassembly and Torque Specifications
When installing the replacement fan clutch (such as a heavy-duty Hayden 2730 or an OEM electronic equivalent), clean the water pump shaft threads with a brass wire brush and apply a single drop of medium-strength threadlocker (e.g., Loctite 243). Torque the fan clutch hub nut to the manufacturer's specification—typically 15 to 20 lb-ft for most domestic V8 applications. Remember to reverse the tightening direction if dealing with left-hand threads. Finally, verify the fan clutch air gap and ensure the bi-metallic coil or electronic connector is properly seated and free of debris.
Conclusion
Diagnosing clutch slipping requires a holistic view of the vehicle's mechanical systems. Whether you are tracking down a 3-4 clutch pack failure in a 4L60E or diagnosing a silent, slipping viscous fan clutch causing idle overheating, precision diagnostics and the right preventive maintenance procedures are key. Mastering how to remove the fan clutch not only saves you hundreds of dollars in dealership labor but also protects your radiator and water pump during major drivetrain overhauls. Stay proactive, use the correct specialty tools, and always reference exact torque specifications to ensure longevity in your 2026 maintenance regimen.