The Hidden Cause of Clutch Slipping: Free-Play and the Adjustment Screw
When a manual transmission vehicle experiences clutch slipping, the immediate assumption is often a worn friction disc or a failing pressure plate. However, in cable-actuated drivetrains, the root cause is frequently a misadjusted clutch cable adjustment screw. As a core component of preventive maintenance, understanding the relationship between cable tension, throwout bearing preload, and clutch clamping force is essential for accurate diagnostics. A slipping clutch not only destroys drivability but can rapidly escalate into catastrophic transmission damage if the underlying actuation geometry is ignored.
Modern hydraulic systems self-adjust via the master and slave cylinders, but mechanical cable systems—found in classic muscle cars, lightweight sports cars like the Honda S2000, many motorcycles, and entry-level compacts—require manual calibration. Over time, the inner steel wire of a Bowden cable stretches, and the outer housing compresses. If the clutch cable adjustment screw is not periodically backed out to compensate for this wear, the system loses its critical "free-play," leading to premature slip and bearing failure.
The Mechanics of Cable-Induced Clutch Slip
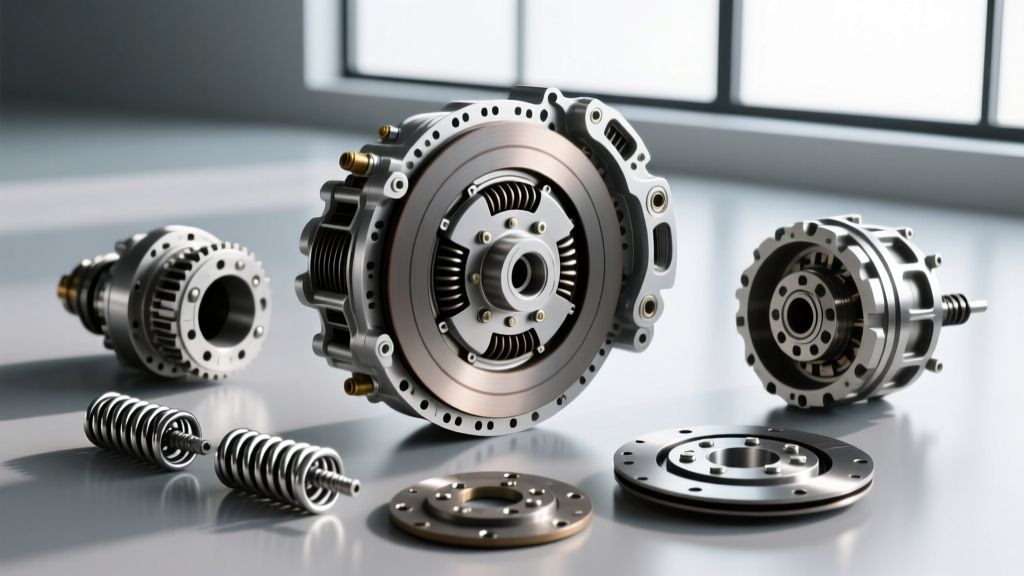
To diagnose the issue, we must examine the release mechanism. The clutch pressure plate utilizes a diaphragm spring that requires a specific air gap—typically between 1/16" and 1/8"—between the spring fingers and the face of the throwout bearing (release bearing). This gap translates to the "free-play" you feel at the top of the clutch pedal or hand lever.
When the clutch cable adjustment screw is tightened too far, it pulls the cable taut and eliminates this gap. The throwout bearing is forced to ride constantly against the spinning diaphragm spring fingers. This constant contact applies a slight, continuous outward pressure on the fingers, which in turn reduces the clamping force of the pressure plate against the friction disc. Under high-load scenarios (such as accelerating in 3rd or 4th gear at wide-open throttle), the reduced clamping force is overcome by engine torque, and the clutch slips.
Recognizing the Symptoms of a Cable-Induced Slip
Diagnosing a cable-induced slip requires differentiating it from internal friction material failure. According to Haynes repair manuals, a slipping clutch will manifest as a rise in engine RPM without a proportional increase in vehicle speed. However, the accompanying symptoms will tell you whether the fault lies at the adjustment screw or inside the bellhousing.
| Diagnostic Indicator | Cable Adjustment Screw Fault (Zero Free-Play) | Internal Friction Disc Wear |
|---|---|---|
| Clutch Pedal Engagement Point | Engages very high (near the top of pedal travel) | Engages very low (near the floor) |
| Throwout Bearing Noise | Constant whirring or grinding noise at idle (bearing riding fingers) | Noise only present when the pedal is depressed |
| Smell / Heat | Burning organic friction smell after highway driving | Slipping only under heavy load; less heat at cruising |
| Pedal Resistance | Stiff, with no initial "dead" free-play zone | Normal resistance, but lacks holding power |
Step-by-Step: Adjusting the Clutch Cable Adjustment Screw
Before tearing into the transmission, perform a mechanical adjustment. This procedure applies to vehicles utilizing a threaded barrel adjuster at the firewall, a bellhousing turnbuckle, or an aftermarket firewall adjuster (such as those from Steeda or Maximum Motorsports for Ford Mustangs).
1. Measure Existing Free-Play
With the engine off, press the clutch pedal or hand lever by hand. Measure the distance the pedal travels before you feel the distinct resistance of the diaphragm spring engaging. This is your free-play.
2. Loosen the Locknut
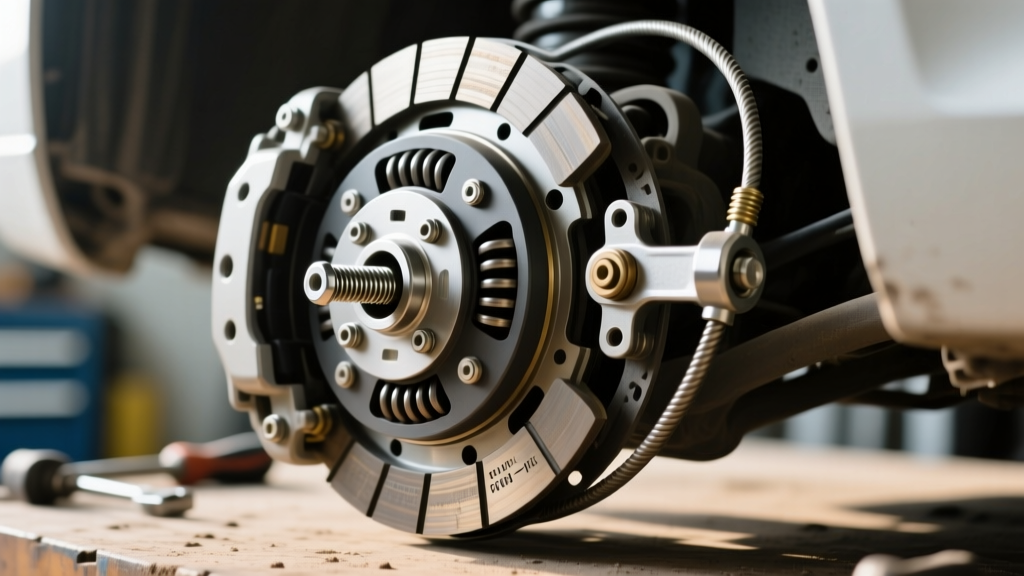
Locate the clutch cable adjustment screw. It is typically secured by a 12mm or 14mm locknut. Use a wrench to break the locknut loose, threading it away from the adjustment barrel.
3. Introduce Slack
Turn the adjustment screw counter-clockwise to lengthen the housing or shorten the cable pull, effectively introducing slack into the system. Re-measure the free-play at the pedal.
4. Verify Against Manufacturer Specifications
Consult your specific service data. As a general rule endorsed by Tremec and various OEM guidelines, manual transmissions require adequate free-play to ensure the throwout bearing retracts fully.
| Vehicle Platform | Required Free-Play (Pedal/Lever) | Adjuster Type |
|---|---|---|
| Foxbody Mustang 5.0L (T-5) | 1/2" to 1" at pedal | Firewall quadrant / threaded screw |
| Honda S2000 (AP1/AP2) | 0.98" to 1.18" (25-30mm) at pedal | Bellhousing inline barrel adjuster |
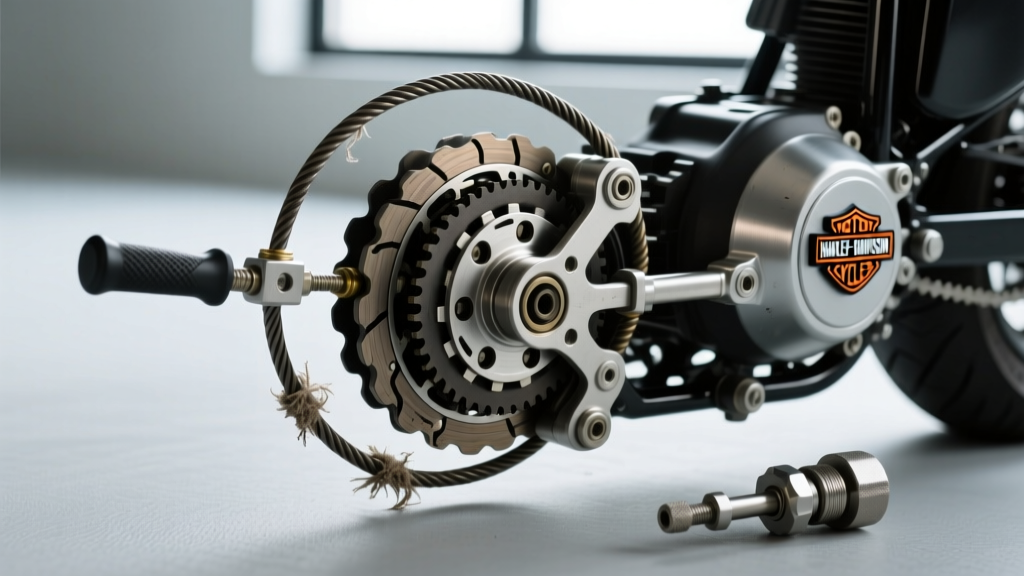
| Harley-Davidson Softail (Cable Clutch) | 1/16" to 1/8" at lever grip | Mid-cable turnbuckle / transmission screw |
| Jeep Wrangler YJ/TJ (2.5L/4.0L) | 1/2" to 3/4" at pedal | Bellhousing push-rod / cable screw |
When Adjustment Fails: Internal Drivetrain Diagnostics
If you have backed out the clutch cable adjustment screw to its maximum safe thread limit (leaving at least 3/8" of thread engagement to prevent pull-out) and the clutch continues to slip, the issue has migrated internally. The friction disc is worn beyond its service limit, the pressure plate diaphragm spring has fatigued, or the flywheel surface is glazed.
Friction Material Failure Modes
Organic friction materials (found in standard OEM replacements like the LuK RepSet or Sachs kits) will glaze and burn when subjected to cable-induced slipping. Conversely, cerametallic or Kevlar pucks (such as those in an Exedy Mach 400 or ACT HD/PerfStreet) will not slip quietly; they will aggressively chatter and grab once overheated, often leading to cracked flywheels or sheared input shaft splines.
Expert Diagnostic Tip: If the cable adjustment screw is maxed out and the vehicle has over 80,000 miles, do not attempt to "tighten" the cable to gain more life out of a worn disc. This will only destroy the throwout bearing and score the transmission input shaft retainer collar, turning a standard clutch job into a transmission rebuild.
Internal Component Torque Specifications & Costs
When internal replacement is required, strict adherence to torque specifications is mandatory to prevent recurring slip or vibration. Always use a calibrated torque wrench and follow a star-pattern sequence for the pressure plate.
- Flywheel to Crankshaft (GM LS V8): 65 lb-ft + 90 degrees torque-to-yield.
- Flywheel to Crankshaft (Ford 5.0L Coyote): 59 lb-ft + 90 degrees.
- Pressure Plate to Flywheel (Standard 11"): 25 to 35 lb-ft (refer to specific manufacturer, e.g., Tremec TKO applications often spec 35 lb-ft).
- Bellhousing to Engine Block: 35 to 50 lb-ft depending on fastener diameter.
Estimated Replacement Costs (2026 Market Rates)
- OEM Clutch Cable Replacement: $30 - $65
- Aftermarket Firewall Adjuster Kit: $45 - $90
- Standard OEM Clutch Kit (LuK/Sachs): $180 - $280
- Performance Clutch Kit (Exedy/ACT): $350 - $600
- Flywheel Resurfacing (Machine Shop): $60 - $120
- Professional Labor (R&R Transmission): $600 - $1,200
Preventive Maintenance Intervals for Cable Systems
To prevent clutch slipping and save hundreds of dollars in premature drivetrain repairs, integrate cable inspection into your standard preventive maintenance routine. SAE International literature on mechanical actuation systems highlights that steel braided cables experience microscopic yielding over thousands of actuation cycles.
- Every 10,000 Miles or Oil Change: Check pedal/lever free-play. Adjust the clutch cable adjustment screw as necessary to maintain OEM specifications.
- Every 30,000 Miles: Inspect the cable housing for fraying, cracking, or sharp bends that increase internal friction and cause sluggish pedal return.
- Lubrication: If utilizing a non-Teflon-lined cable, apply a dry PTFE or molybdenum disulfide (MoS2) based cable lubricant annually. Avoid wet greases that attract dirt and bind the inner wire.
By treating the clutch cable adjustment screw as a critical, dynamic calibration point rather than a set-and-forget fastener, you ensure optimal clamping force, maximize friction disc life, and preserve the mechanical integrity of your manual transmission.