The True Cost of Clutch Cable and Pedal Adjuster Failures
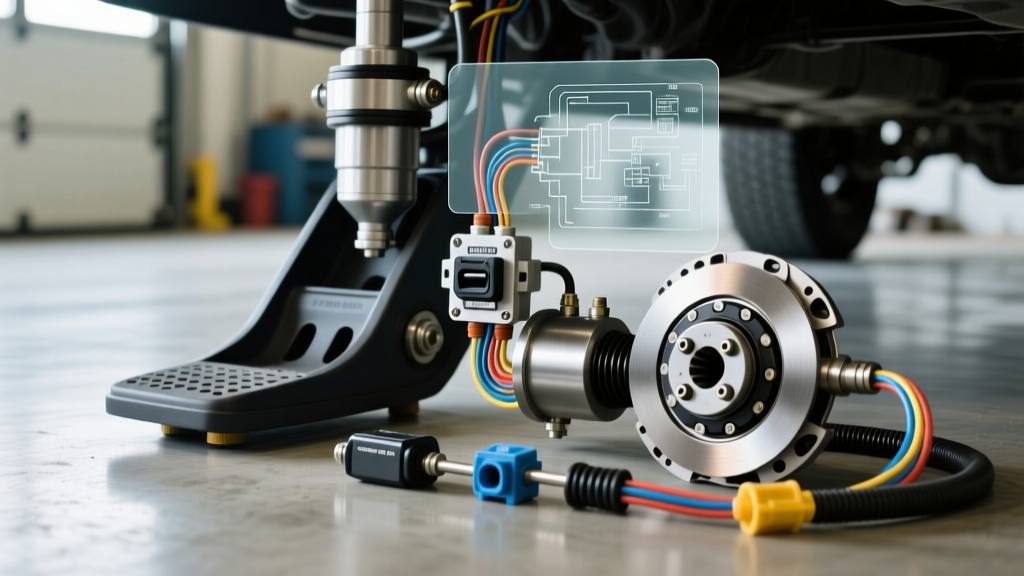
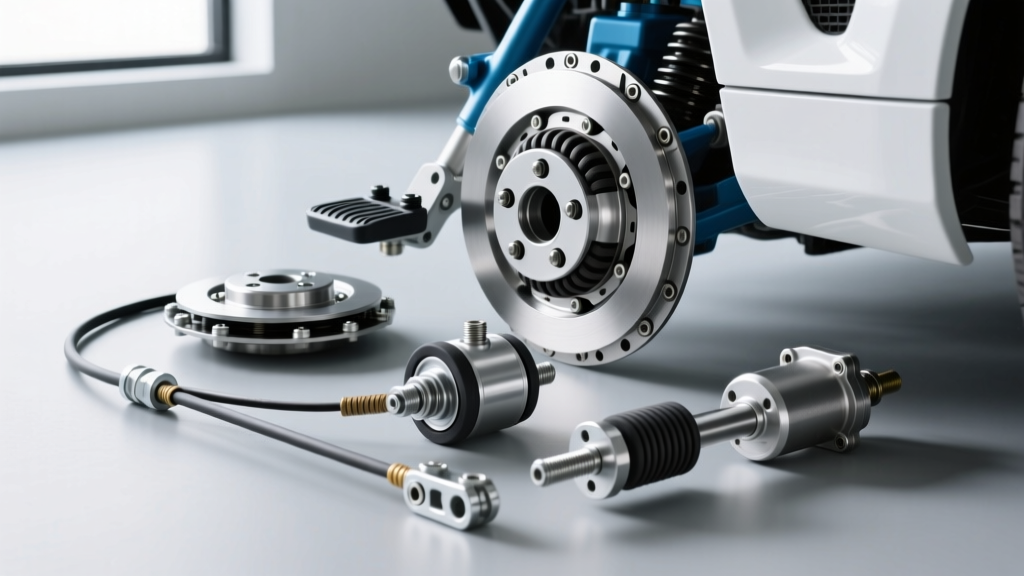
When your manual transmission begins to exhibit erratic engagement, slipping under load, or difficulty dropping into gear, the culprit is often far simpler—and cheaper—than a catastrophic internal gearbox failure. In cable-actuated manual transmissions, the clutch pedal adjuster and its associated cable are the critical mechanical link between your left foot and the clutch fork. By 2026, the aging fleet of beloved manual cars, from Honda K-Series Civics to Ford Mustangs and VW Mk4 Golfs, are experiencing widespread fatigue in these exact components.
Ignoring a stretched cable or a failing clutch pedal adjuster does not just make driving frustrating; it creates a domino effect of expensive mechanical failures. An over-tightened cable eliminates freeplay, causing the throwout bearing to ride against the pressure plate fingers. This generates immense heat, leading to a melted bearing cage, a scored clutch fork, and ultimately, a complete clutch assembly replacement. Conversely, a stretched cable with excessive slack prevents full disengagement, causing gear grinding and premature synchronizer wear in transmissions like the Tremec T5 or the VW 02M.
2026 Parts Pricing: OEM vs. Aftermarket Adjusters and Cables
Understanding the parts landscape is the first step in controlling your repair costs. The market for clutch cables and pedal adjuster mechanisms is split between Original Equipment Manufacturer (OEM) replacements and performance-oriented aftermarket solutions. Below is a comprehensive cost analysis for three of the most common manual platforms on the road today.
| Vehicle Platform | OEM Part Number & Cost | Aftermarket Alternative & Cost |
|---|---|---|
| Honda Civic (2002-2005 K20) | 54310-S5A-000 ($95 - $125) | Dorman / Muteki ($45 - $75) |
| Ford Mustang (1999-2004 V8) | Motorcraft OEM ($80 - $105) | Steeda Adjustable w/ Firewall Adjuster ($110 - $145) |
| VW Golf Mk4 (1.8T / 2.0L) | VAG 1J1 721 335 ($65 - $90) | FAG / Sachs ($40 - $60) |
The Economics of Upgrading to an Adjustable Firewall Clutch Pedal Adjuster
For platforms like the SN95 Mustang or older Honda Civics, the factory clutch pedal adjuster quadrant is notorious for stripping its plastic teeth. Replacing the OEM plastic quadrant with a billet aluminum firewall adjuster (such as those from Steeda or Maximum Motorsports) costs roughly $40 to $60 more upfront. However, this one-time investment allows for micro-adjustments from the engine bay in under 30 seconds, completely eliminating the need to crawl under the dash with a wrench. Over the lifespan of a vehicle that goes through two or three clutches, the time saved and the prevention of stripped adjuster teeth makes the billet upgrade mathematically superior.
Labor Rates and Shop Diagnostic Fees
If you are not turning your own wrenches, labor will constitute the bulk of your invoice. In 2026, the national average independent shop rate hovers between $135 and $165 per hour, while dealership rates frequently exceed $185 per hour. Unlike hydraulic clutch systems that require bleeding and fluid disposal, cable systems are mechanically straightforward, keeping book times relatively low.
- Diagnostic Fee: Most shops charge a flat 0.5 to 1.0-hour diagnostic fee ($75 - $165) to confirm the issue is the cable/adjuster and not a failing hydraulic master cylinder or internal transmission fault.
- Cable Replacement Book Time: Standard flat-rate manuals (like Mitchell1 or Alldata) typically allocate 0.8 to 1.4 hours for a complete clutch cable removal and installation. This includes routing the cable through the firewall, attaching it to the pedal assembly, and securing it to the transmission bellhousing bracket.
- Adjustment and Road Test: An additional 0.2 hours is usually billed for fine-tuning the clutch pedal adjuster and performing a road test to verify disengagement and engagement points.
Therefore, expect a total shop bill for parts and labor to range from $240 to $410 for a standard cable and adjuster replacement. If a shop quotes you over $600 for a cable job, they are likely padding the labor time or unnecessarily recommending a full pedal assembly replacement.
DIY Adjustment Specs and Torque Values
For the DIY mechanic, replacing and adjusting a clutch cable requires precision, not just brute force. Incorrect adjustment is the leading cause of premature clutch wear post-installation. Here are the exact specifications for common platforms to ensure optimal clamping force and complete disengagement.
Honda K-Series (Civic Si / RSX)
- Freeplay Measurement: Measure the pedal travel before resistance is felt. Target freeplay is 15mm to 25mm (0.6 to 1.0 inches).
- Adjustment Method: Loosen the 12mm locknut on the clutch pedal adjuster rod located above the pedal arm. Turn the pushrod until freeplay is achieved.
- Torque Spec: Once adjusted, tighten the 12mm locknut to 10 Nm (7.2 lb-ft). Do not overtighten, as the adjuster rod threads are easily stripped.
Ford Mustang (T5 / Tremec T45 / TR-3650)
- Freeplay Measurement: Target 1.0 to 1.5 inches of freeplay at the top of the pedal stroke.
- Adjustment Method: If using an aftermarket firewall clutch pedal adjuster, loosen the knurled locknut and thread the adjuster barrel in or out. If using the stock under-dash adjuster, use a 10mm wrench on the cable stud.
- Torque Spec: The firewall adjuster locknut should be snugged securely by hand or with a soft-jaw wrench to prevent marring the anodized aluminum. The bellhousing cable bracket nuts require 18 Nm (13 lb-ft).
VW Mk4 (02M Transmission)
- Freeplay Measurement: Target 10mm to 15mm of freeplay. Note that the 02M uses a self-adjusting mechanism at the bellhousing.
- Adjustment Method: If the self-adjuster is functioning, simply pump the pedal 5 times. If bypassing the broken self-adjuster with a manual cable, adjust the nut at the transmission bracket.
- Torque Spec: Secure the adjustment locknut to 15 Nm (11 lb-ft).
Common Failure Modes of the Clutch Pedal Adjuster
Expert Insight: Never ignore a clutch pedal that suddenly feels 'lighter' or has a higher engagement point. This is the classic signature of a clutch pedal adjuster skipping a tooth on the quadrant gear or a cable stretching under high-torque loads.
Understanding how these components fail helps you diagnose issues before they strand you. The three primary failure modes include:
- Quadrant Gear Stripping: In vehicles like the Foxbody and SN95 Mustangs, the factory plastic clutch quadrant gears wear down. Under heavy clutch pressure plate loads (especially with aftermarket ceramic or twin-disc clutches), the plastic teeth shear off, resulting in a pedal that drops to the floor with zero resistance.
- Cable Fraying at the Firewall: The clutch cable rubs against the metal grommet or firewall pass-through. Over years of actuation, the outer sheath wears through, and the inner steel cable frays. This increases friction, making the pedal feel notchy and requiring significantly more leg effort to operate.
- Self-Adjuster Mechanism Seizure: Many European vehicles (like the VW Mk4 with the 02M transmission) utilize a self-adjusting clutch cable mechanism at the transmission bellhousing. These plastic spring-loaded housings become brittle from engine bay heat cycles and crack, causing the cable to lose tension entirely.
Cost-Saving Decision Framework: Repair vs. Replace
When diagnosing a clutch engagement issue, use this framework to determine the most cost-effective path forward:
- Scenario A: Pedal feels notchy, but engagement point is normal. The cable is likely fraying internally or lacking lubrication. Action: Replace the entire cable assembly. Do not attempt to lubricate a frayed cable, as it will inevitably snap.
- Scenario B: Engagement point is too high (near the top of the pedal travel), but pedal feel is smooth. The cable has stretched, or the clutch disc is worn. Action: Adjust the clutch pedal adjuster to restore 1 inch of freeplay. If you run out of adjustment threads, the clutch disc is likely worn to the rivets, necessitating a full clutch replacement ($800 - $1,500+).
- Scenario C: Pedal drops to the floor with a loud 'pop' under the dash. The clutch pedal adjuster quadrant has broken or the cable end has snapped. Action: Replace the broken component. Upgrade to a billet aluminum quadrant and firewall adjuster to permanently resolve the weak link.
By accurately diagnosing the specific failure point of your clutch cable and adjuster system, you can avoid the unnecessary expense of a full transmission drop. Whether you are sourcing an OEM VAG cable or upgrading to a Steeda adjustable setup, maintaining the correct freeplay specifications is the single most effective way to maximize the lifespan of your clutch assembly and throwout bearing.
Authoritative References and Sourcing
For real-time pricing and exact fitment verification, consult the following industry resources:
- RockAuto Parts Catalog - Excellent for cross-referencing OEM and aftermarket clutch cable pricing and part numbers.
- Honda TechInfo - The official portal for factory service manuals, including precise torque specs and freeplay adjustment procedures for K-Series and D-Series transmissions.
- Steeda Autosports - Detailed installation guides and engineering specs for billet firewall clutch pedal adjuster upgrades on Ford platforms.