The Sealed Loop: Why Master and Slave Cylinders Age Together
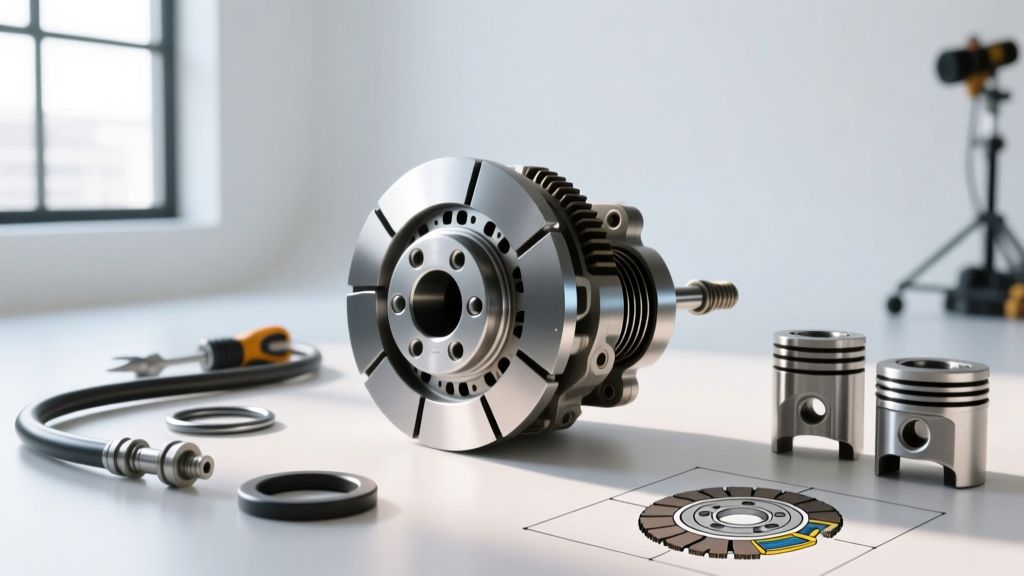
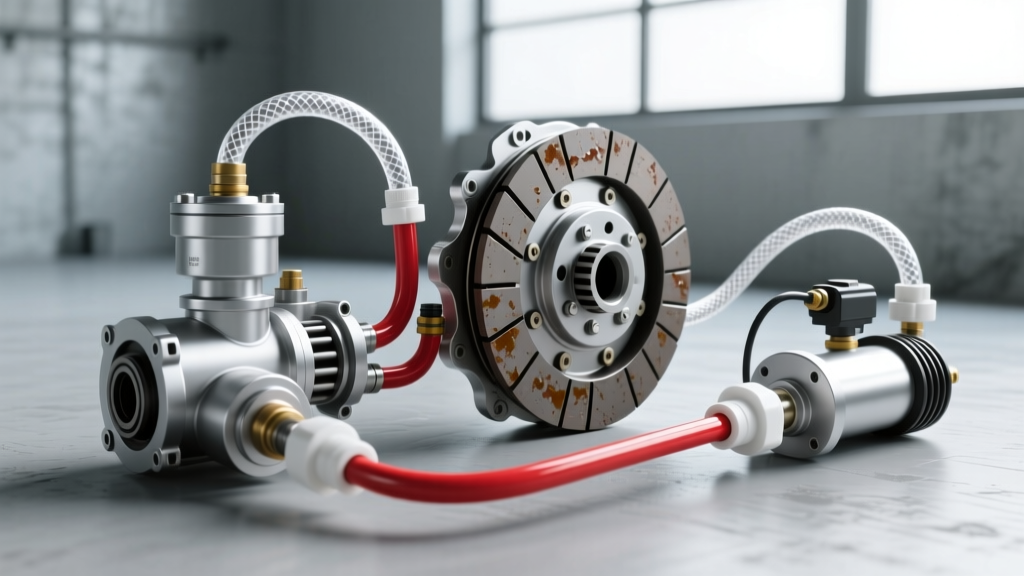
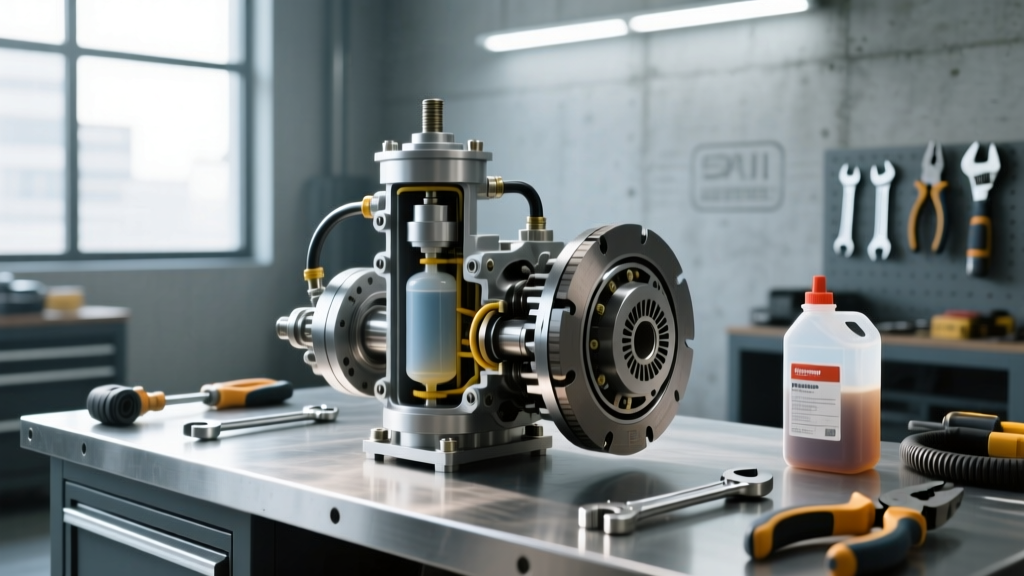
The manual transmission hydraulic clutch system operates as a closed-loop hydraulic circuit. When preventive maintenance is neglected, hygroscopic brake fluid absorbs moisture, leading to internal corrosion, rubber seal degradation, and eventual hydraulic failure. As we navigate the 2026 automotive landscape, the scarcity of new manual transmission platforms means preserving existing hydraulic setups is more critical than ever. Enthusiasts and daily drivers alike must understand that the master cylinder and slave cylinder share the same fluid, the same age, and the same internal wear characteristics.
Breaking Down the Clutch Master Cylinder Replacement Cost
When calculating the clutch master cylinder replacement cost, many DIYers and repair shops fall into the trap of treating the master cylinder as an isolated failure point. The financial outlay for the master cylinder alone is relatively modest, but the labor and downstream implications dictate your true maintenance budget.
- Parts (OEM vs. Aftermarket): A standard OEM-equivalent master cylinder (e.g., Aisin or Sachs) typically ranges from $45 to $120. High-performance or specialized European units (like FTE or Brembo) can push this to $250–$350.
- Labor (Professional): Most engine-bay-mounted master cylinders require 1.0 to 1.5 hours of shop labor ($150–$250), though firewall-accessed units in modern unibody chassis can double this time.
- Total Master-Only Cost: Expect to pay between $195 and $600 at an independent shop.
However, replacing only the master cylinder on a high-mileage vehicle is a known preventive maintenance error. A brand-new master cylinder generates crisp, unyielding hydraulic line pressure. When this renewed pressure is applied to an aged, weakened slave cylinder seal, the slave cylinder frequently blows out within 500 to 1,000 miles.
The Preventive Pivot: Locating the Slave Cylinder
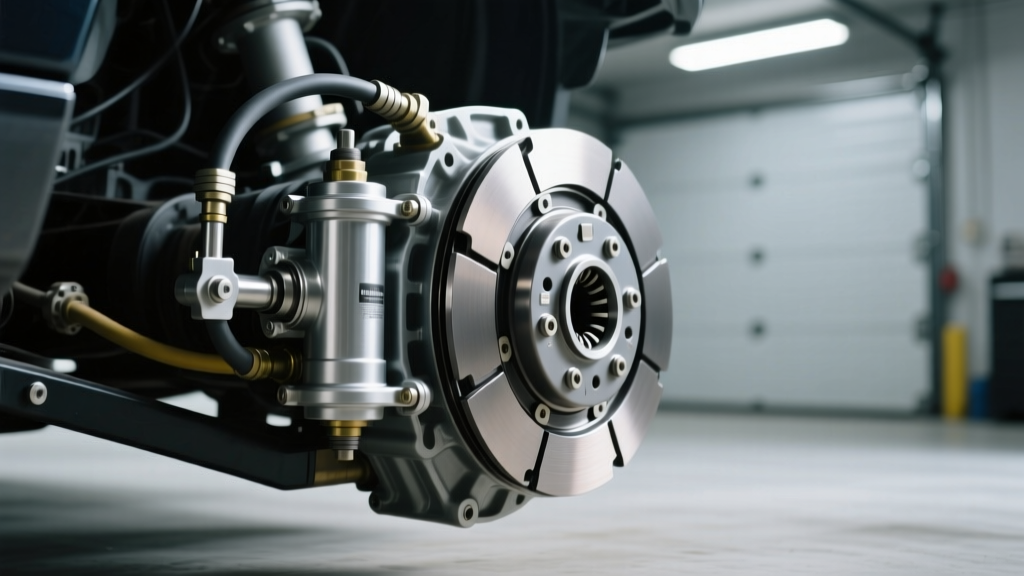
A comprehensive preventive maintenance overhaul requires inspecting or replacing the entire hydraulic loop. To do this, you must know exactly where the slave cylinder is located, as this dictates the labor intensity of the job. Slave cylinders are broadly categorized into two architectures: External Mounted and Concentric (Internal).
External Mounted Slave Cylinders
External slaves are bolted directly to the outside of the transmission bellhousing. They act upon a mechanical clutch fork, which in turn pushes the release bearing against the pressure plate diaphragm.
- Location: Typically found on the driver's side (left-hand) or passenger side (right-hand) exterior of the bellhousing, tracking the clutch fork pivot ball.
- Access: Excellent. Usually requires removing a single hydraulic hard-line or soft-line fitting (often a 12mm or 14mm flare nut, or a quick-disconnect clip) and two mounting bolts (commonly 13mm or 15mm).
- Preventive Advantage: Because the transmission does not need to be removed, replacing the slave cylinder concurrently with the master cylinder adds only $60–$120 in parts and 0.5 hours of labor.
Concentric Slave Cylinders (CSC)
Modern manual transmissions—especially those paired with high-torque engines or designed for compact packaging—utilize a Concentric Slave Cylinder. The CSC wraps directly around the transmission input shaft, eliminating the need for a clutch fork and pivot ball.
- Location: Inside the bellhousing, mounted directly to the transmission front bearing retainer or input shaft sleeve.
- Access: Poor. The vehicle must be lifted, the driveshaft/axles removed, and the transmission dropped to access the CSC.
- Preventive Reality: If your vehicle uses a CSC (e.g., GM LS platforms with Tremec T56 Magnum, Ford ZF S6-650, or Porsche G50/PDK-manual conversions), the slave cylinder must be replaced whenever the transmission is out of the car. Reusing an old CSC during a clutch job or master cylinder overhaul is a catastrophic preventive maintenance failure.
Expert Insight: When servicing a Concentric Slave Cylinder, always inspect the transmission input shaft collar for scoring. The internal PTFE seal of the CSC rides directly on this collar. If the collar is grooved, a new CSC (such as the FTE KG19011.4.1) will leak prematurely. Use a fine emery cloth to polish minor imperfections, or install a stainless-steel repair sleeve.
Platform-Specific Slave Cylinder Location Data
Use the reference table below to identify your slave cylinder architecture and plan your preventive maintenance workflow accordingly.
| Transmission Model | Slave Type | Location Specifics | Preventive Action Required |
|---|---|---|---|
| Tremec T56 (GM F-Body) | External | LH side bellhousing, acts on forged steel fork | Inspect fork pivot ball for wear; replace slave every 80k miles |
| ZF S6-650 (Ford 6.0L/6.4L) | Internal CSC | Inside bellhousing, over input shaft | Requires trans drop; replace CSC and pilot bearing concurrently |
| Honda K-Series (Civic Si) | External | Top-front of trans case, pushrod acts on fork | Check pushrod clevis pin for elongation; flush fluid bi-annually |
| Aisin AZ6 (Mazda Miata NC) | External | LH side bellhousing, rubber boot exposed | Inspect rubber boot for dry rot and fluid weeping at the piston |
| Porsche G50 (911 964/993) | Internal CSC | Inside bellhousing, requires transaxle removal | Use OEM FTE or Sachs CSC; inspect input shaft seal simultaneously |
Advanced Preventive Maintenance: Firewall Flex and Pushrod Geometry
Locating and replacing the cylinders is only half the battle. True preventive maintenance in the hydraulic clutch system requires addressing chassis deflection and mechanical geometry.
Firewall Deflection
In many unibody vehicles (notably the Chevy S10, Ford Mustang S197/S550, and Honda S2000), the clutch master cylinder is mounted to thin sheet metal. Under heavy pedal pressure, the firewall flexes backward, absorbing hydraulic travel and resulting in incomplete clutch disengagement or a 'spongy' pedal feel. According to chassis dynamics data, up to 3mm of pedal travel can be lost to firewall flex. Preventive Fix: Install a billet aluminum or stamped steel firewall reinforcement plate behind the master cylinder mounting nuts inside the cabin.
Pushrod Adjustment and Dead Travel
The pushrod connecting the clutch pedal to the master cylinder piston must have a precise amount of free play (typically 0.5mm to 1.0mm). If adjusted too tight, the piston never fully returns, blocking the compensation port and causing the clutch to slip under heat. If adjusted too loose, you experience excessive dead travel. Upgrading to an adjustable pushrod (available from manufacturers like Wilwood or McLeod) allows for exact calibration during your preventive overhaul.
Fluid Selection and the Reverse-Bleed Protocol
The lifeblood of your hydraulic system is the fluid. Never mix fluid types, and avoid DOT 5 (silicone-based) unless the entire system was specifically engineered for it, as it traps air bubbles and degrades pedal feel.
- DOT 3: Minimum spec, high moisture absorption. Avoid for performance applications.
- DOT 4: The industry standard. High-performance variants like Motul RBF 600 offer dry boiling points of 617°F (325°C) and superior seal lubrication.
- DOT 5.1: Excellent for cold climates due to lower viscosity, ensuring rapid pedal return in sub-zero temperatures.
The Reverse-Bleed Technique
When replacing both the master and slave cylinders, air becomes trapped in the highest points of the line (often near the master cylinder or in looped hardlines). Traditional top-down bleeding often fails to push these micro-bubbles out through the slave bleeder valve.
- Connect a reverse-bleeder syringe or pneumatic fluid extractor to the slave cylinder bleeder valve.
- Ensure the bleeder valve is cracked open exactly 1/4 turn. (Warning: Over-torquing or forcing a seized bleeder can snap the valve. Use a 6-point flare nut wrench and apply penetrating oil 24 hours prior. Replacement bleeder screws are typically M10x1.0; torque spec is 10-14 Nm).
- Slowly inject fresh DOT 4 fluid upward through the system.
- Watch the master cylinder reservoir. As fluid rises, use a turkey baster to extract the old, aerated fluid before it overflows onto your paint (DOT fluid will strip clear coat in minutes).
- Once clear, bubble-free fluid reaches the reservoir, close the bleeder valve, and cycle the clutch pedal 20 times to seat the internal seals.
Sourcing Quality Replacements
When executing this preventive maintenance guide, avoid unbranded, ultra-cheap aftermarket cylinders found on auction sites. Internal bore pitting and poor-quality EPDM rubber seals will fail within months. Rely on OEM suppliers such as RockAuto's catalog of Sachs, FTE, Aisin, and LUK components to ensure exact bore diameters and proper pushrod lengths. For specific transmission torque specs and bellhousing alignment procedures, always consult the manufacturer's service documentation, such as the Tremec Technical Resource Library, to ensure your external slave cylinder mounting bolts are torqued to the correct 25-35 ft-lbs specification, preventing hairline fractures in the aluminum bellhousing.
By understanding the true clutch master cylinder replacement cost and proactively addressing the slave cylinder location and condition, you transform a reactive breakdown into a bulletproof, long-term preventive maintenance victory.