The Performance Paradox: Why Your Upgraded Drivetrain Chatters
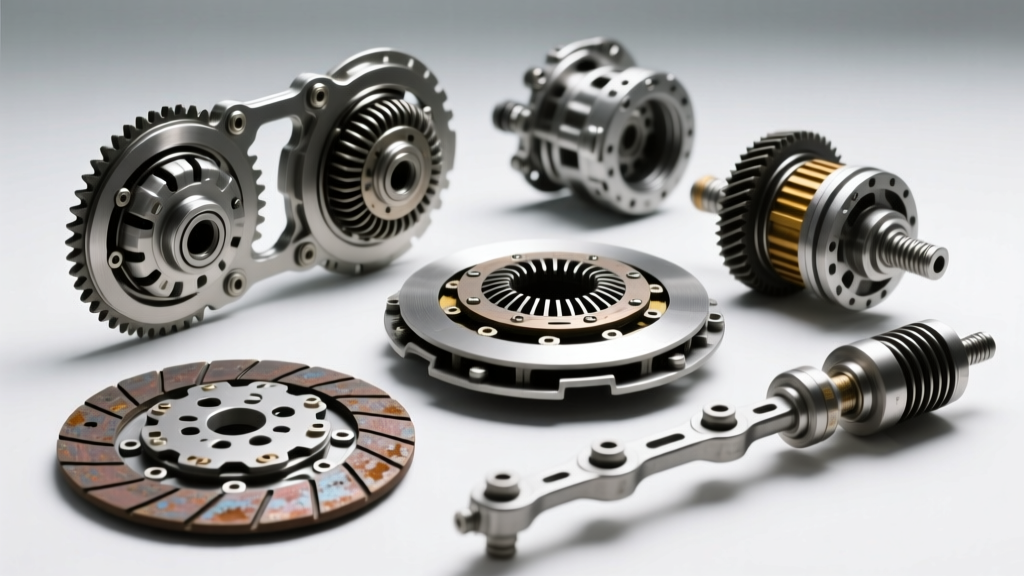
When you invest in a high-performance drivetrain upgrade—swapping a factory single-disc organic clutch for an aggressive twin-disc ceramic setup or a lightweight aluminum flywheel—the expectation is razor-sharp shifts and immediate power delivery. However, a common and deeply frustrating side effect of these upgrades is severe clutch chatter and drivetrain vibration during engagement. As we navigate the 2026 performance aftermarket landscape, integrated concentric slave cylinders (CSCs) and complex drive-by-wire throttle mappings have made hydraulic tuning and friction management more critical than ever.
Clutch chatter is fundamentally a stick-slip phenomenon. It occurs when the friction material alternately grabs and releases the flywheel surface at a high frequency, sending violent torsional oscillations through the transmission input shaft and into the chassis. While many enthusiasts immediately blame the friction material or the flywheel, a massive percentage of engagement vibration stems from an overlooked component: the hydraulic actuation system. Understanding the interplay between hydraulic lag, flywheel mass, and friction coefficients is the first step in diagnosing and curing drivetrain shudder.
Hydraulic Lag: The Hidden Culprit Behind Engagement Vibration
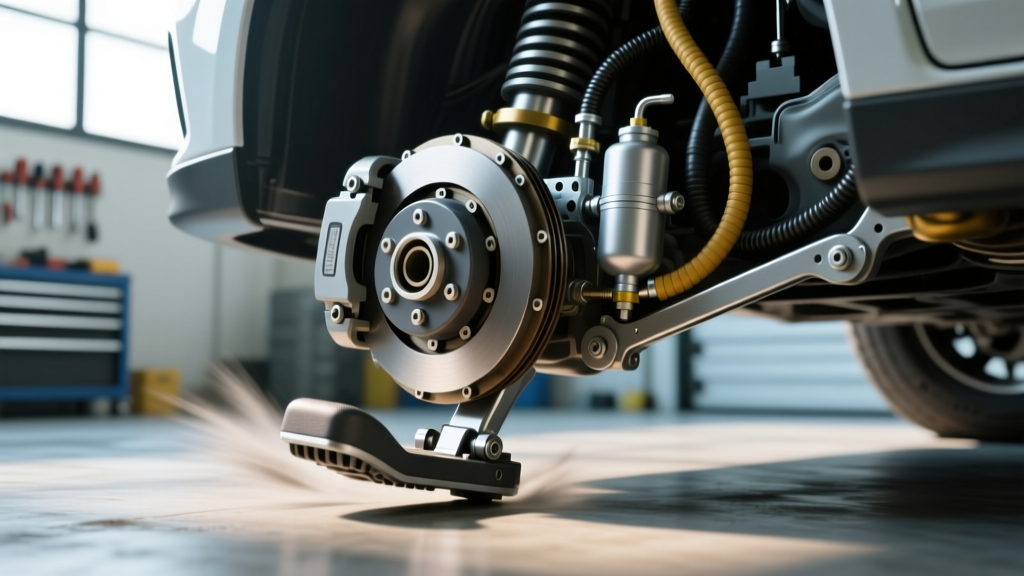
Performance clutches, such as the Exedy USA twin-disc kits or ACT XTSS assemblies, utilize high-clamp-force diaphragm springs. These springs require precise, linear hydraulic pressure to modulate engagement. If your clutch fluid is degraded, hygroscopic (moisture-laden), or harboring micro-bubbles, the hydraulic system becomes spongy. When you release the pedal, the slave cylinder does not apply pressure linearly. Instead, the compressible air and boiling fluid cause the release bearing to oscillate, resulting in an uneven clamping force that manifests as violent chassis chatter.
Breaking Down the Clutch Fluid Replacement Cost and Intervals
Many enthusiasts overlook the hydraulic system, assuming the clutch fluid replacement cost is an unnecessary expense compared to the price of a new multi-disc setup. This is a critical error. Brake and clutch fluid is highly hygroscopic, meaning it absorbs moisture from the atmosphere over time. This moisture drastically lowers the fluid's boiling point and introduces compressibility into the system.
Cost Analysis: Shop vs. DIY
The clutch fluid replacement cost varies significantly depending on your approach and the fluid selected. For a standard OEM DOT 3 or DOT 4 fluid flush at a dealership or independent shop, expect to pay between $90 and $160 in labor and basic materials. However, for a performance application requiring high-temperature fluid, the cost and procedure change.
- DIY High-Performance Flush: $25 - $45. This includes a premium fluid like Motul RBF 600 (Dry boiling point 626°F / 328°C) and a set of stainless steel speed bleeders.
- Professional Performance Bleed: $120 - $180. Shops utilizing a reverse-bleeding system (like a Motive Power Bleeder) to ensure zero air entrapment in complex internal release bearings.
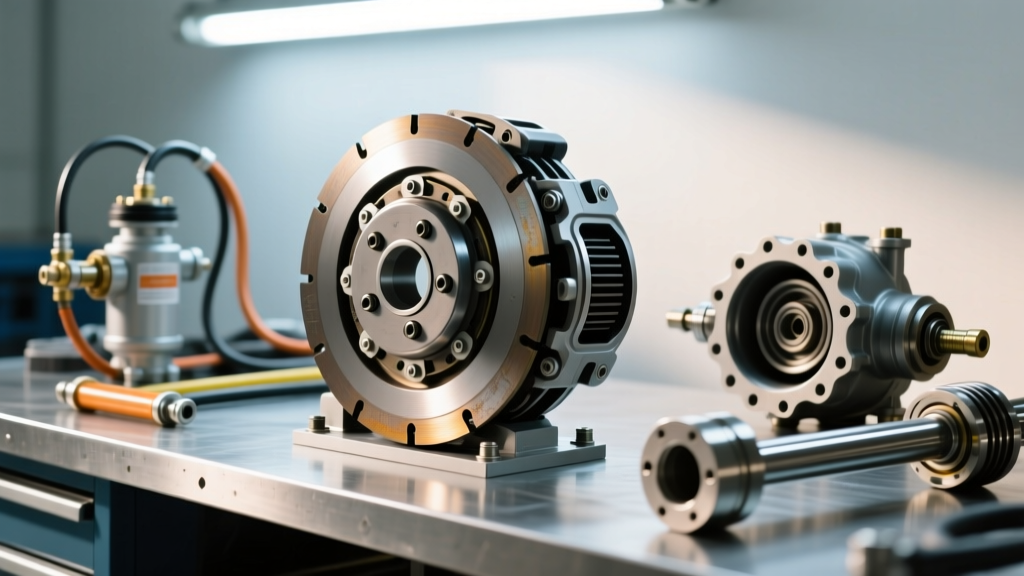
- Complete Hydraulic Upgrade: $450 - $850. Upgrading to a Tilton 78-Series master cylinder and braided PTFE lines to eliminate rubber hose expansion under high pedal effort.
Expert Recommendation: For track-driven vehicles or those with aggressive ceramic pucks, replace the fluid every 12 months. The minimal clutch fluid replacement cost is a fraction of the price of replacing a glazed, chatter-inducing friction disc.
Diagnostic Matrix: Isolating the Chatter
Before tearing into the bell housing, use this diagnostic framework to isolate the root cause of the vibration. According to Tilton Engineering Technical Support, misdiagnosing chatter often leads to unnecessary transmission removals when the issue is peripheral.
| Symptom Profile | Probable Root Cause | Performance Upgrade / Fix |
|---|---|---|
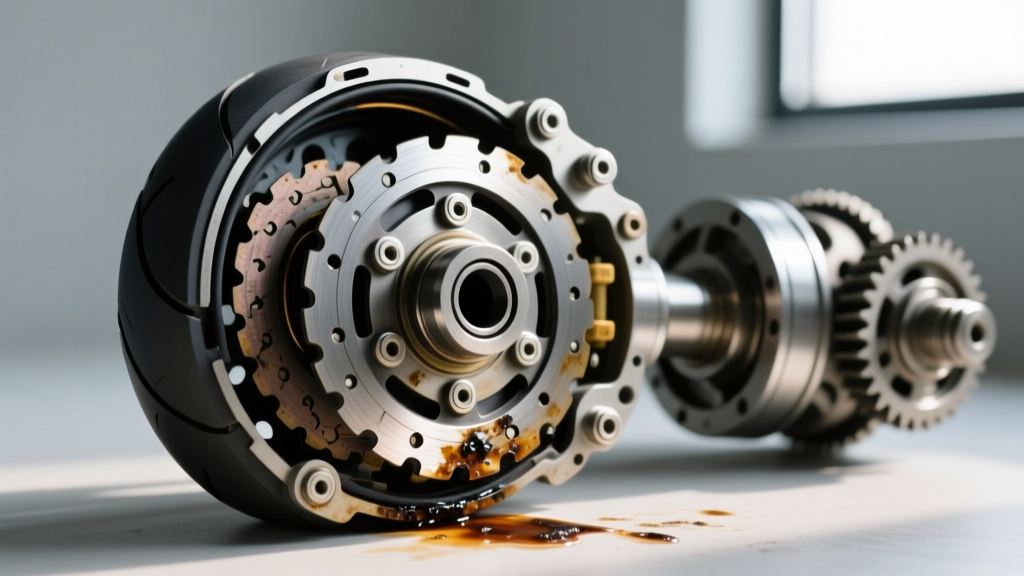
| Chatter only when cold, smooths out when hot | Glazed ceramic friction material or contaminated flywheel | Resurface/replace flywheel; bed-in procedure required |
| Violent shudder at 1,500 RPM, pedal feels spongy | Aerated fluid, worn CSC, or rubber hose expansion | Flush with high-temp fluid; install braided PTFE line |
| Chatter accompanied by metallic ringing noise | Unsprung hub ceramic disc on lightweight aluminum flywheel | Switch to a sprung-hub (marcel spring) disc for dampening |
| Chatter worsens under high-boost / high-torque load | Insufficient clamp load or flywheel step height error | Verify flywheel step; upgrade to higher clamp pressure plate |
Flywheel Step Height and Torque Specifications
If you have eliminated hydraulic sponginess and the chatter persists, the next suspect is the flywheel step height and hardware torque. The step height is the distance between the flywheel friction surface and the pressure plate mounting surface. If this dimension is incorrect, the diaphragm spring operates outside its optimal mechanical range, leading to erratic clamping and severe chatter.
Critical Torque Specs for Drivetrain Stability
When installing a performance flywheel (such as a Fidanza chromoly unit), you must adhere to precise torque specifications to prevent warping and localized hot-spotting, which are primary drivers of chatter.
- ARP Flywheel Bolts (e.g., Part # 146-2800 for GM LS): Torque to 90 lb-ft using ARP molybdenum disulfide lubricant. Do not use standard oil, as it alters the friction coefficient and leads to under-torquing.
- Pressure Plate to Flywheel: Torque to 35 lb-ft (for 8mm bolts) in a star pattern, advancing in 10 lb-ft increments to ensure even diaphragm seating.
- Flywheel Step Height Verification: Most GM LS push-type clutches require a 0.030-inch step. If using a pull-type clutch (like a Tilton OT-II), the step requirement is entirely different and often requires a zero-step or negative-step flywheel.
'Chatter in a multi-disc performance clutch is rarely a defect in the clutch itself. It is almost always a failure in the system's ability to modulate the release bearing smoothly. Hydraulics and flywheel mass are your primary tuning variables.' — Drivetrain Engineering Consensus, 2026
Upgrading the Master Cylinder: Bore Sizing and Pedal Feel
If your clutch fluid replacement cost and subsequent flush did not cure the spongy pedal and resulting chatter, your OEM master cylinder bore may be too small for the high-clamp-force pressure plate. OEM master cylinders typically feature a 3/4-inch (0.750") or 5/8-inch bore. When paired with a 3,500+ lb clamp force pressure plate, the hydraulic pressure required exceeds the volumetric efficiency of the small bore, resulting in a dead, vague pedal that makes smooth engagement impossible.
Upgrading to a Tilton 7/8-inch (0.875") bore master cylinder increases fluid displacement per inch of pedal travel. This provides a firmer, more linear pedal feel, allowing your left foot to precisely modulate the engagement zone of a ceramic or carbon-carbon clutch. By eliminating the hydraulic guesswork, you can feather the throttle and clutch together seamlessly, effectively eliminating the stick-slip chatter that plagues poorly matched hydraulic systems.
Final Diagnosis: The Bed-In Procedure
Finally, if you have verified the hydraulics, confirmed the flywheel step, and torqued the hardware, the chatter may simply be a result of improper bedding. Performance friction materials require a heat-cycling process to transfer an even layer of friction material onto the flywheel. Perform 5 to 8 hard engagements from 40 MPH to 20 MPH in second gear, allowing 60 seconds of cooling between each. This microscopic transfer layer is what ultimately smooths out the engagement and banishes drivetrain vibration for good.