The Physics of Clutch Chatter in Performance Builds
In the realm of high-performance manual transmissions and heavy-duty drivetrain swaps, clutch chatter remains one of the most frustrating and misunderstood NVH (Noise, Vibration, and Harshness) issues. As we navigate the 2026 landscape of 1,000+ horsepower twin-turbo builds and hybridized manual platforms, the tolerance for driveline shudder is lower than ever. Clutch chatter is fundamentally a stick-slip friction phenomenon. It occurs when the coefficient of friction (CoF) between the clutch disc and the flywheel fluctuates rapidly during the engagement phase, causing the disc to alternately grab and release the flywheel surface at a frequency typically between 15 Hz and 50 Hz.
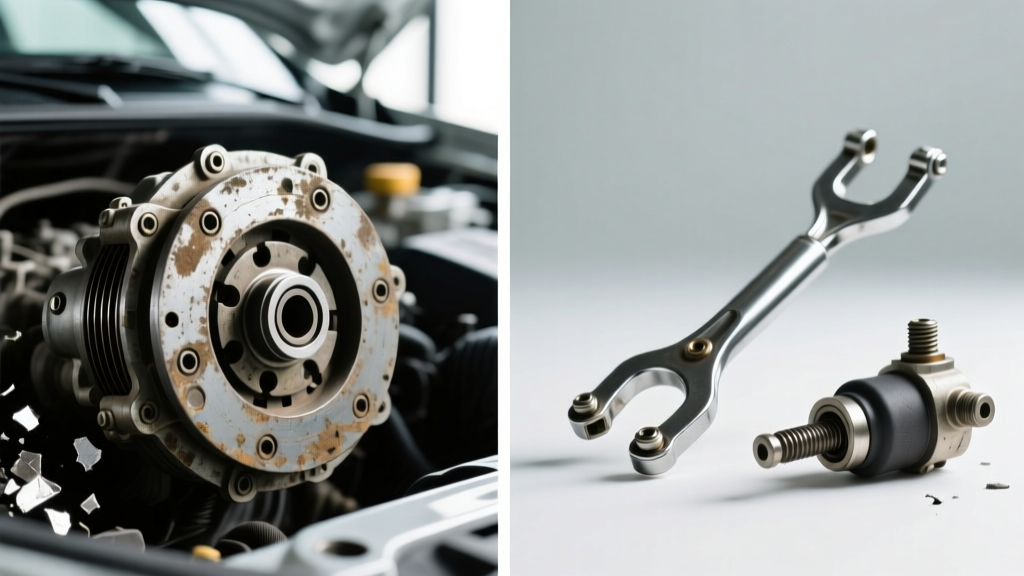
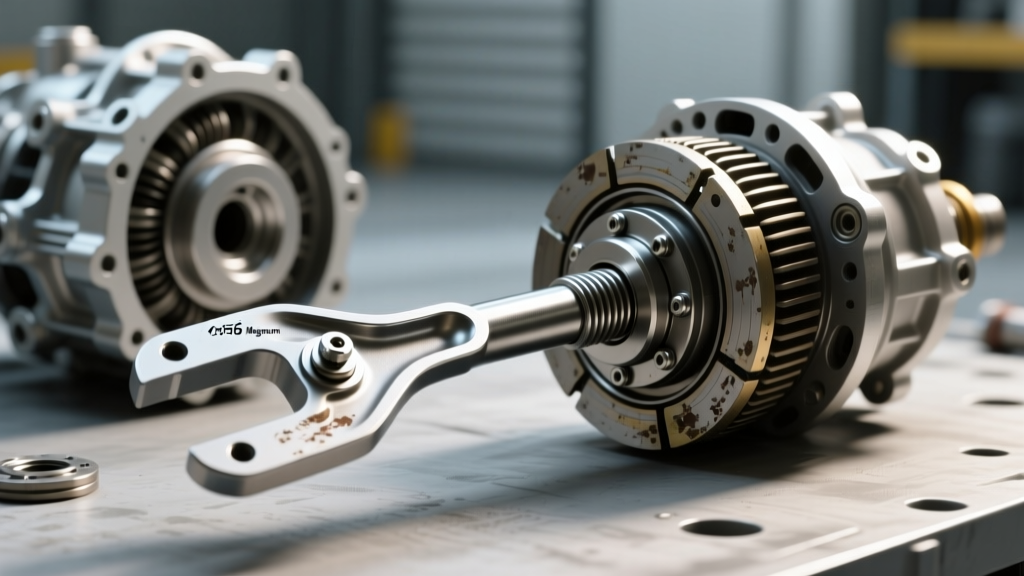
This rapid engagement cycle transfers severe torsional vibrations through the input shaft, into the transmission case, and ultimately into the chassis. While aggressive friction materials like sintered iron or cerametallic pucks are notorious for inducing chatter, the root cause often lies in improper clamping force, flywheel hot-spotting, or catastrophic bellhousing misalignment. However, before tearing down a Tremec T-56 Magnum or Ford MT-82 to inspect the friction assembly, master technicians must rule out parasitic accessory harmonics that perfectly mimic driveline shudder.
Advanced NVH Isolation: Ruling Out Parasitic Accessory Harmonics
One of the most common diagnostic traps in modern performance vehicles is misattributing engine-driven accessory vibrations to the manual clutch assembly. When a driver complains of severe chassis shudder at idle, during clutch pedal depression, or at low-RPM takeoff, the immediate suspicion falls on the clutch pressure plate, dual-mass flywheel (DMF), or throw-out bearing. Yet, an unbalanced AC compressor clutch or a failing compressor internal bearing can transmit identical harmonic frequencies through the engine block and motor mounts.
Modern high-displacement compressors, such as the Sanden SD7 or Denso 10S series used in many late-model performance vehicles, place a massive rotational load on the serpentine belt system. If the compressor clutch air gap is out of specification, or if the clutch coil is failing to fully engage the pulley, the resulting slip creates a violent 40-60 Hz vibration. Learning how to jump ac clutch relay circuits is a critical, non-invasive diagnostic step to isolate whether the shudder originates from the engine's accessory drive or the manual transmission's friction assembly.
Diagnostic Bypass: How to Jump AC Clutch Relay
By forcing the AC compressor to engage and disengage independently of the ECU's climate control logic, you can instantly determine if the accessory drive is contributing to the chatter. Here is the professional workflow for isolating the vibration:
- Locate the Relay: Open the underhood fuse block and identify the AC compressor clutch relay (refer to the diagram under the fuse box lid).
- Extract and Inspect: Pull the relay. Identify terminals 30 (constant 12V B+) and 87 (load side leading to the compressor clutch coil).
- Jump the Circuit: Using a heavy-gauge fused jumper wire (minimum 15A fuse), bridge terminals 30 and 87. This bypasses the relay switch and sends direct battery voltage to the AC clutch coil.
- Observe NVH Changes: With the engine idling and the cabin experiencing the 'chatter', engage the jumper. If the vibration frequency drastically changes pitch, worsens, or completely vanishes when the compressor load is applied, your issue is accessory-driven, not drivetrain-driven.
- Measure Air Gap: If the AC clutch is the culprit, use a feeler gauge to check the clutch air gap. Specifications typically range from 0.015" to 0.030". An out-of-spec gap causes the magnetic field to slip, creating the exact shudder profile of a failing clutch disc.
For comprehensive NVH standards and diagnostic methodologies, refer to the SAE International NVH Standards documentation, which outlines the precise frequency mapping required to separate accessory resonance from driveline torsional vibration.
Performance Upgrades: Eliminating True Drivetrain Shudder
Once the accessory drive is ruled out, you must address the mechanical reality of the clutch system. In high-torque applications (800+ lb-ft), single-disc organic clutches reach their thermal and frictional limits. Upgrading to a multi-disc setup is mandatory, but the choice of friction material dictates the streetability and chatter propensity of the vehicle.
Friction Material Dynamics and Upgrade Paths
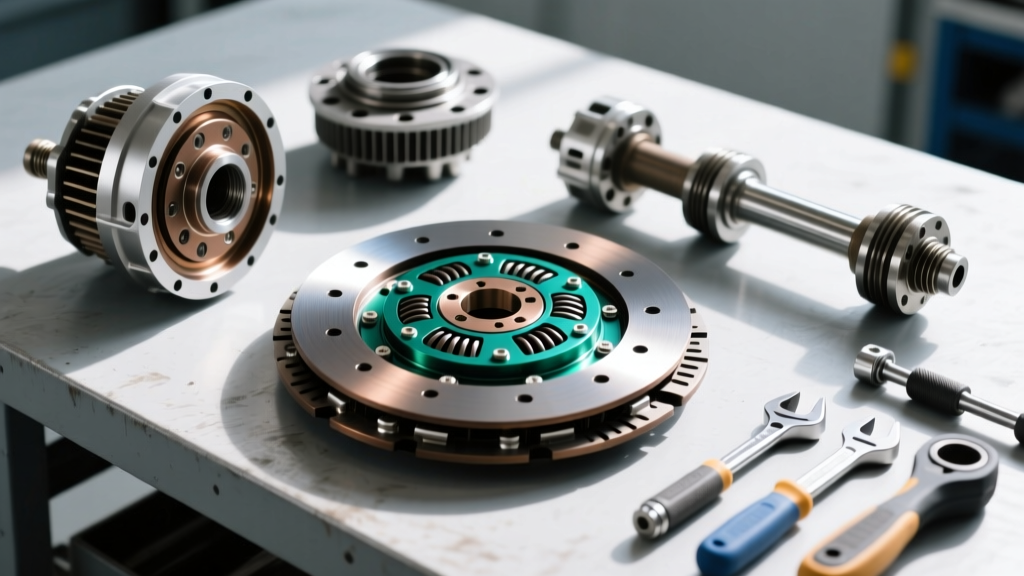
According to McLeod Racing Tech Tips, selecting the correct friction material requires balancing torque capacity with the coefficient of friction's engagement curve. Sintered iron offers immense heat tolerance but features an abrupt 'on/off' engagement that guarantees chatter in stop-and-go traffic. For dual-purpose track and street builds, a hybrid organic/cerametallic setup or a dampened multi-disc system is the superior choice.
| Friction Material | Torque Capacity | Chatter Propensity | Recommended Application |
|---|---|---|---|
| Full-Face Organic | Up to 450 lb-ft | Very Low | OEM Replacement, Mild Bolt-Ons |
| Kevlar / Carbon Composite | Up to 650 lb-ft | Low to Moderate | Naturally Aspirated Track Builds |
| Cerametallic (Puck) | Up to 900 lb-ft | High | Dedicated Drag / Rolling Race |
| Sintered Iron | 1,200+ lb-ft | Extreme | Pro Mod / High-Boost Race Only |
For a 2026 street/track build pushing 850 lb-ft, the McLeod RXT Street Twin (Part # 691103) or the Centerforce DYAD DS (Part # 011351800) are industry benchmarks. Both utilize dampened hubs and organic/ceramic hybrid friction surfaces that absorb torsional spikes, drastically reducing the stick-slip effect that causes chatter.
Critical Installation Specs: Bellhousing and Flywheel Runout
Even the most advanced multi-disc clutch will chatter violently if the foundational geometry is flawed. Bellhousing concentricity and flywheel runout are the silent killers of performance clutches. As outlined in the TREMEC Transmission Installation Guidelines, the maximum allowable bellhousing runout for a T-56 Magnum is a strict 0.005" Total Indicator Reading (TIR). If the bellhousing is misaligned, the input shaft bends slightly upon engagement, causing the clutch disc to wobble and chatter against the pressure plate.
Precision Measurement and Torque Specifications
When performing a clutch upgrade, the flywheel must be mounted and checked with a dial indicator. Any runout exceeding 0.003" requires the use of precision machined shims between the bellhousing and the engine block. Furthermore, clamping force is entirely dependent on proper fastener yield. Below are the critical torque specifications for two of the most common performance manual platforms:
| Platform / Component | Fastener Size | Torque Specification |
|---|---|---|
| GM LS Flywheel Bolts | M10 x 1.5 | 74 lb-ft + 30 degrees |
| GM LS Pressure Plate | M8 x 1.25 | 35 lb-ft (criss-cross pattern) |
| Ford MT-82 Flywheel Bolts | M12 x 1.25 | 59 lb-ft + 90 degrees |
| Tremec Bellhousing to Block | M10 / M12 | 35-40 lb-ft |
Always use new, high-tensile OEM or ARP fasteners when installing performance flywheels. Reusing stretched torque-to-yield (TTY) bolts will result in uneven clamping pressure across the friction surface, creating localized hot spots that guarantee chatter within the first 500 miles of driving.
Summary: A Methodical Approach to Driveline NVH
Diagnosing clutch chatter in modern performance vehicles requires a holistic understanding of the entire powertrain ecosystem. By utilizing advanced diagnostic bypass techniques—such as knowing how to jump AC clutch relay circuits to rule out compressor harmonics—you save countless hours of unnecessary transmission teardowns. When the drivetrain is confirmed as the source of the shudder, addressing bellhousing runout, upgrading to dampened multi-disc assemblies, and adhering to strict torque-yield specifications will ensure your high-horsepower build remains smooth, predictable, and chatter-free on both the street and the track.