Is the Clutch Part of the Transmission? Defining the Repair Boundary
When a manual transmission vehicle begins to exhibit shifting issues, slipping, or a spongy pedal feel, owners are often hit with a daunting repair estimate. This inevitably leads to one of the most common questions asked in our diagnostic forums: is the clutch part of the transmission? The answer requires a mechanical distinction between the internal transmission assembly and the external clutch actuation system.
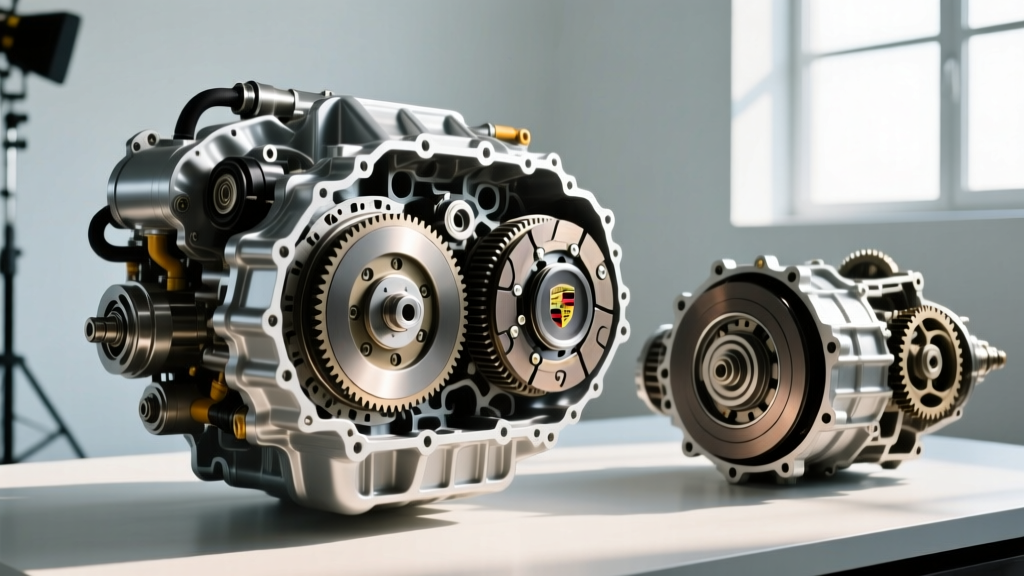
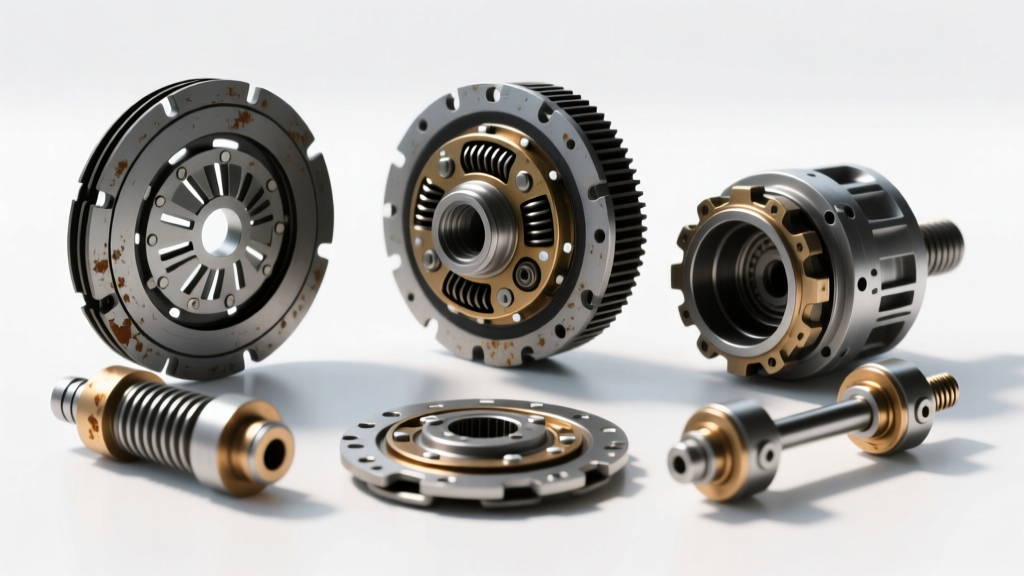
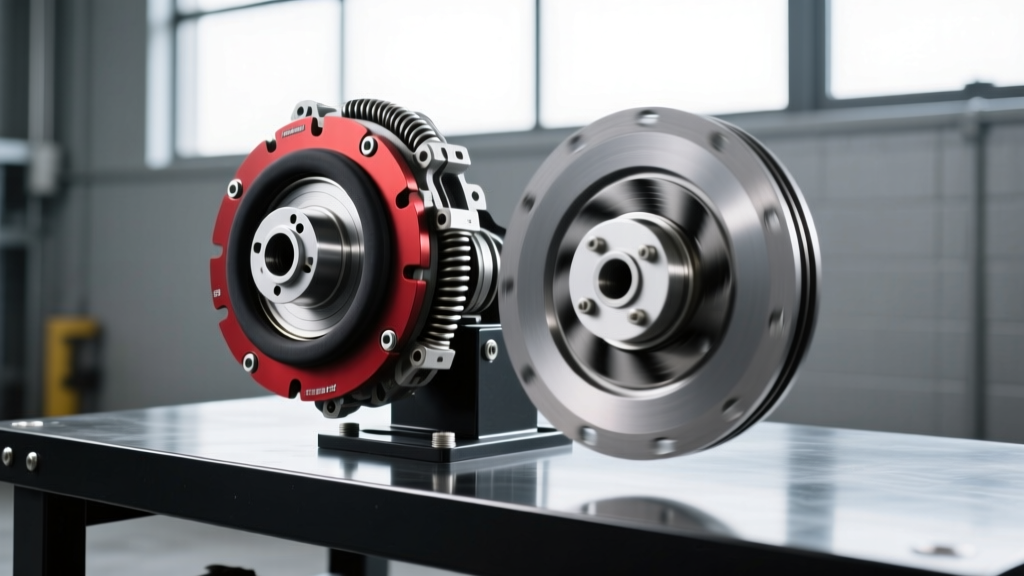
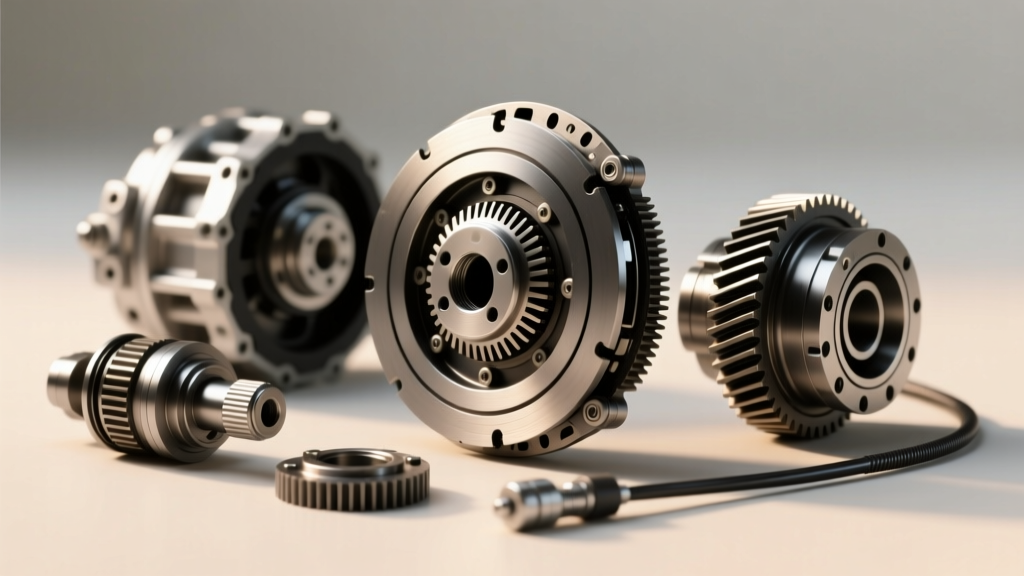
Technically, the clutch assembly (flywheel, pressure plate, friction disc, and release bearing) is sandwiched between the engine and the transmission bell housing. It is not inside the transmission case itself. However, because the transmission must be completely removed from the vehicle to access the clutch, shops often group the labor under a 'transmission removal' or 'drivetrain' job. The clutch cable, on the other hand, is an entirely external peripheral component. Understanding this boundary is the difference between a $150 cable adjustment and a $2,500 internal transmission rebuild.
The 2026 Cost Breakdown: Cable vs. Internal Transmission
Before authorizing a massive drivetrain teardown, it is critical to isolate whether the fault lies in the external cable/linkage or the internal friction components. Below is a comprehensive cost analysis based on 2026 independent shop labor rates (averaging $145 to $195 per hour) and OEM/aftermarket parts pricing.
| Component / Service | Location | Part Cost (2026) | Labor Time | Total Estimated Cost |
|---|---|---|---|---|
| Clutch Cable Adjustment | External | $0 | 0.2 - 0.5 hrs | $30 - $100 |
| Clutch Cable Replacement | External | $35 - $95 | 0.8 - 1.5 hrs | $150 - $390 |
| Clutch Pedal Quadrant/Linkage | External | $45 - $120 | 1.0 - 2.0 hrs | $190 - $510 |
| Internal Clutch Friction Kit | Internal (Bell Housing) | $180 - $450 | 4.5 - 7.0 hrs | $830 - $1,815 |
| Internal Transmission Rebuild | Internal (Case) | $900 - $2,800 | 12.0 - 18.0 hrs | $2,640 - $6,310 |
Note: Labor times sourced from standard automotive repair databases. Vehicles with complex subframe drops or AWD transfer cases will push internal labor times toward the higher end of the spectrum.
Diagnosing Clutch Cable Problems vs. Internal Failure
Because a stretched or binding clutch cable mimics the symptoms of a worn internal friction disc, misdiagnosis is incredibly common. Here is how to differentiate the two before the mechanic pulls the transmission.
Symptoms of a Failing Clutch Cable
- Incomplete Disengagement: The pedal goes to the floor, but the transmission grinds when shifting into first or reverse. The cable has stretched, or the outer casing has compressed, preventing the fork from traveling fully.
- High Engagement Point: The clutch only 'catches' when the pedal is released almost entirely to the top of its travel. This indicates excessive free-play due to cable wear.
- Slipping Under Load (False Slipping): If the cable lacks sufficient free-play, it remains under constant tension. This slightly pulls the release bearing against the pressure plate diaphragm, preventing full clamping force and causing the disc to slip under heavy acceleration.
- Physical Fraying: Visible rust, fraying steel strands, or cracked rubber boots at the firewall or bellhousing inspection cover.
Symptoms of Internal Clutch/Transmission Failure
- Slipping with Correct Pedal Free-Play: If the pedal has the correct 1/2-inch of free-play but the RPMs flare during upshifts, the internal friction material is glazed or worn to the rivets.
- Chatter or Vibration: A violent shuddering upon initial take-off usually points to oil contamination on the clutch disc, a warped flywheel, or broken internal transmission motor mounts.
- Whining or Growling Noises: A growl that disappears when the clutch pedal is depressed indicates a failing internal transmission input shaft bearing or release bearing, not a cable issue.
Technical Deep Dive: Clutch Cable Adjustment Procedures
If you have determined the issue is external, adjusting or replacing the cable is a highly accessible DIY repair. According to expert DIY maintenance guides, proper adjustment relies on achieving the exact factory free-play specification, typically measured at the clutch pedal pad.
The Golden Rule of Free-Play
Almost all cable-actuated manual transmissions require between 0.50 inches and 0.75 inches (12mm - 19mm) of free-play at the pedal. This slack is non-negotiable; it ensures the release bearing backs off the pressure plate fingers when the pedal is released. Zero free-play will destroy your internal clutch in under 5,000 miles.
Adjustment Type 1: The Threaded Rod (e.g., Honda Civic, Jeep Wrangler YJ)
Vehicles utilizing a traditional Bowden cable with a threaded rod at the bellhousing fork require manual adjustment.
- Locate the clutch fork protruding from the transmission bellhousing.
- Identify the 12mm or 14mm locknut and the adjoining adjuster nut on the cable's threaded rod.
- Loosen the locknut using a flare-nut wrench to prevent rounding.
- Turn the adjuster nut clockwise to reduce free-play, or counter-clockwise to increase it.
- Measure the pedal play with a ruler. Adjust until you achieve exactly 5/8-inch of resistance-free travel.
- Tighten the locknut against the adjuster nut to secure the setting.
Adjustment Type 2: The Self-Adjusting Quadrant (e.g., 1979-2004 Ford Mustang)
Ford's Fox Body and SN95 Mustangs are notorious for clutch cable issues, largely due to the plastic self-adjusting quadrant mechanism located behind the dashboard. When replacing a cable on these vehicles (such as the popular Dorman 78119 replacement assembly found on RockAuto), the adjustment process is unique:
- Install the new cable through the firewall and attach the hook to the clutch fork.
- From under the dash, locate the plastic quadrant gear connected to the pedal shaft.
- Pull the clutch pedal upward (toward the dashboard) with moderate force.
- You will hear a series of 'clicks' as the internal ratchet mechanism takes up the slack in the new cable.
- Release the pedal and verify that the pedal returns to the top and that the cable housing is taut, but the fork is not pre-loaded.
Expert Tip: The factory plastic Mustang quadrants are prone to stripping teeth under heavy-duty clutch pressure plates. If you are installing a high-clamp-load aftermarket clutch (like a Spec Stage 2 or McLeod), upgrade to a CNC-machined aluminum billet quadrant and firewall adjuster to prevent catastrophic cable snap events on the highway.
When to Replace the Cable Entirely
Adjustment is only a temporary fix if the physical integrity of the cable is compromised. You must replace the cable assembly if you observe:
- Casing Compression: Over decades of use, the outer plastic and metal winding of the cable housing compresses. Even if the inner steel wire is intact, a compressed housing effectively 'steals' pedal travel. If you max out the threaded adjuster and still cannot achieve disengagement, the housing has failed.
- Corrosion at the Firewall Grommet: Water ingress at the firewall rubber boot leads to internal rust. If the pedal feels 'notchy' or binds on the return stroke, the internal wire is dragging against rusted casing walls.
- Frayed Strands at the Z-Bend: Inspect where the cable loops through the clutch fork. If individual steel strands are snapping, catastrophic failure is imminent. A snapped cable in traffic leaves you stranded in gear with no ability to disengage the drivetrain.
Summary: Protecting Your Drivetrain Investment
So, is the clutch part of the transmission? From a labor and removal standpoint, they are inextricably linked. But from a diagnostic and financial perspective, separating the external actuation system (cables, pedals, quadrants) from the internal friction assembly is the key to saving thousands of dollars. By understanding proper free-play specifications, recognizing the symptoms of a stretched Bowden cable, and utilizing accurate 2026 cost breakdowns, you can confidently diagnose your manual transmission issues without falling victim to unnecessary internal teardowns.