The Dual Nature of Under-Hood Clutches: Drivetrain vs. Accessory
When automotive enthusiasts and DIY mechanics hear the word 'clutch,' their minds immediately jump to the manual transmission drivetrain. However, modern and legacy vehicles alike rely on a secondary, equally critical clutch system located at the front of the engine block: the A/C compressor clutch. In 2026, as shop labor rates continue to climb—averaging between $145 and $195 per hour depending on your region—understanding the diagnostic nuances and cost breakdowns of both systems is essential for protecting your wallet. This comprehensive cost analysis and diagnostic guide will dissect manual clutch cable problems and adjustment procedures, before pivoting to the accessory drivetrain to explain exactly how to remove an AC clutch pulley and what it will cost you to fix it.
Manual Transmission: Clutch Cable Problems and Adjustment
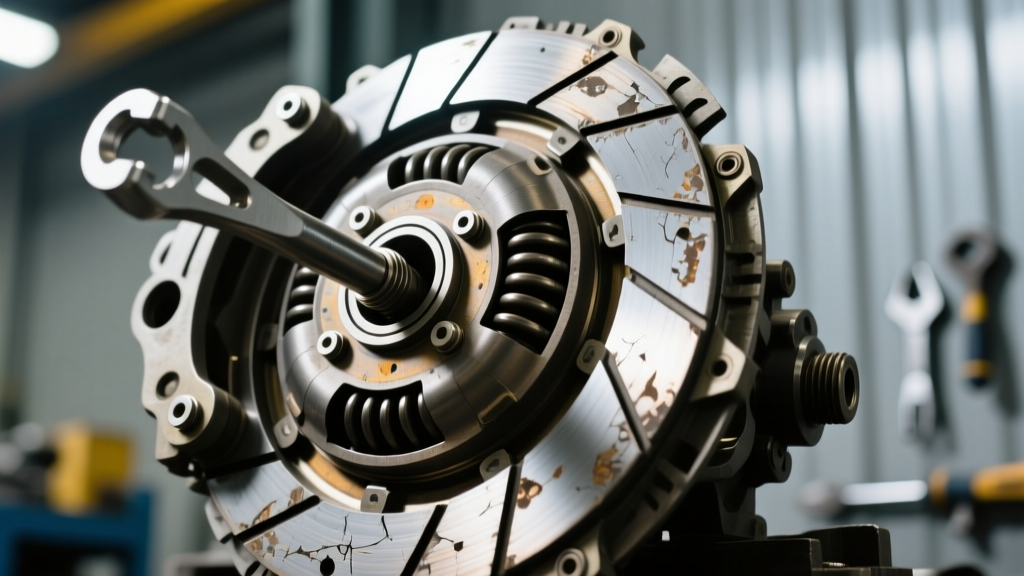
While hydraulic throwout bearings dominate modern manual transmissions, cable-actuated clutches remain prevalent in classic muscle cars, legacy off-roaders (like the 1997-2006 Jeep Wrangler TJ), and various global market compacts. The clutch cable is a high-tension braided steel wire housed in a Teflon-lined sheath. Over time, friction, heat cycling, and mechanical stress lead to predictable failure modes.
Diagnosing Common Clutch Cable Symptoms
Before throwing parts at a stiff pedal, you must verify whether the issue lies in the cable, the firewall adjuster, or the internal bellhousing components. Look for these hallmark symptoms:
- High Engagement Point: If the clutch only disengages when the pedal is pressed to the floor, the cable has likely stretched, or the internal friction disc is worn to the rivets.
- Pedal Sticking or Binding: Often caused by a frayed cable rubbing against the inner sheath, or a deteriorated firewall grommet allowing water and debris to enter the housing.
- Slipping Under Load: If the cable lacks sufficient free-play, it may continuously pull on the release fork, preventing the pressure plate from fully clamping the disc against the flywheel.
The Adjustment Procedure and Torque Specs
Proper adjustment requires establishing the correct 'free-play'—the distance the pedal travels before you feel the resistance of the release bearing contacting the pressure plate fingers. For most cable-actuated systems, the factory specification dictates 15mm to 20mm (approx. 5/8 to 3/4 inch) of free-play measured directly at the pedal pad.
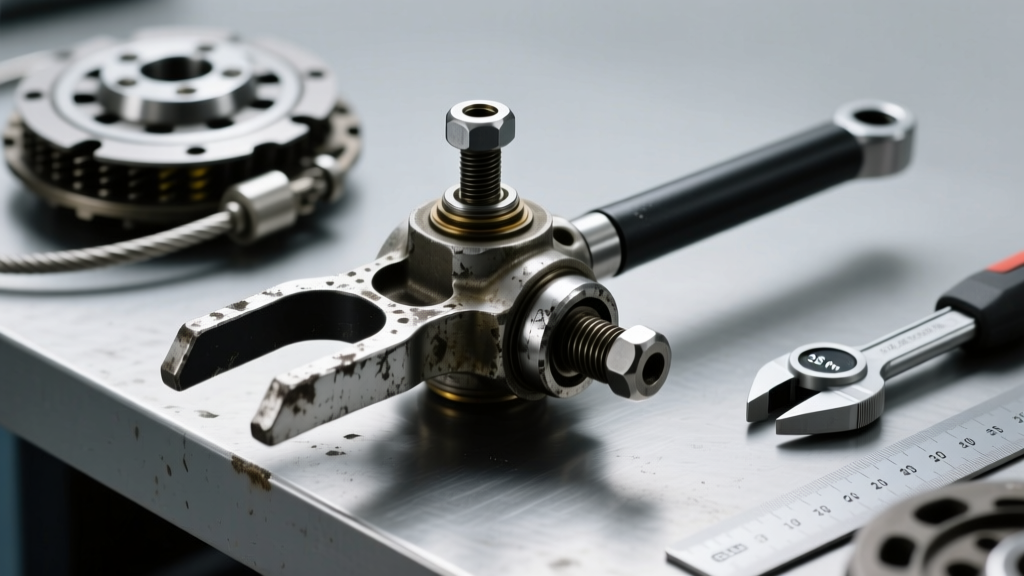
On vehicles like the Fox-body or SN95 Ford Mustang, this involves adjusting the aftermarket or OEM adjustable cable quadrant and firewall adjuster. On a Jeep Wrangler TJ, adjustment is made via a turnbuckle-style threaded rod located on the bellhousing fork. When securing the locknut on a bellhousing adjuster, always apply a torque of 18 lb-ft to prevent vibration from backing the nut off, which would result in sudden pedal slack and gear-grinding.
2026 Cost Breakdown: Clutch Cable Repair and Replacement
If adjustment fails to resolve binding or slack, the cable assembly must be replaced. Below is a realistic cost analysis for 2026, factoring in current OEM and aftermarket pricing sourced from RockAuto's 2026 parts catalog and national average labor times.
| Component / Service | Part Number Example | Parts Cost (2026) | Labor Time | Total Estimated Cost |
|---|---|---|---|---|
| OEM Cable (e.g., Mopar TJ) | Mopar 52087531 | $85 - $115 | 1.2 Hours | $260 - $350 |
| Aftermarket Heavy-Duty Cable | Fidanza / Universal | $45 - $75 | 1.2 Hours | $220 - $310 |
| Adjustable Quadrant Kit (Ford) | F4ZZ-7A548-A Style | $55 - $90 | 0.8 Hours | $170 - $245 |
| Firewall Adjuster & Grommet | Billet Aluminum Kit | $35 - $60 | 0.5 Hours | $105 - $155 |
Note: Labor costs are calculated at an average independent shop rate of $145/hour. Dealership rates will push the total 20-30% higher.
Accessory Drivetrain: How to Remove AC Clutch Pulley
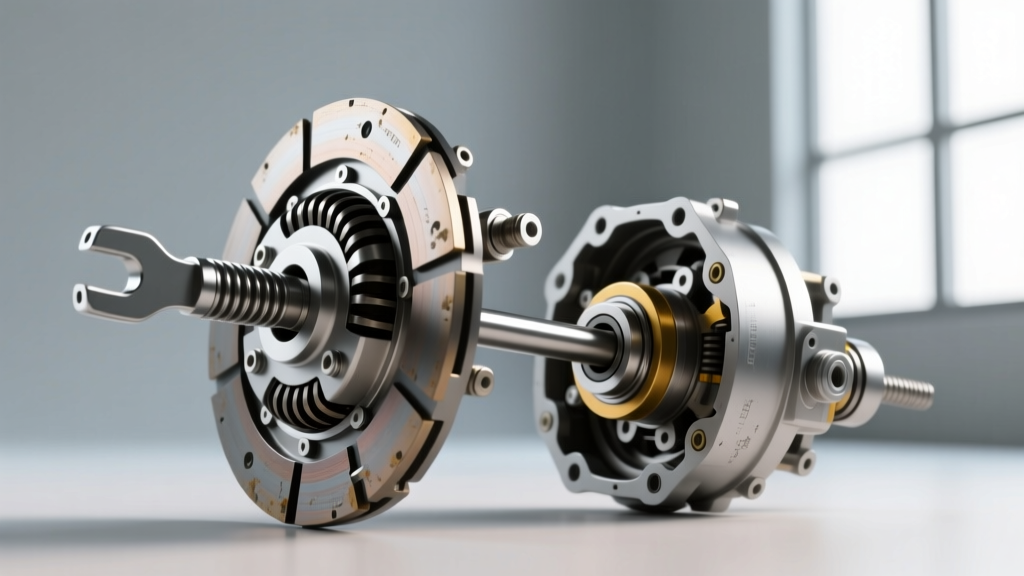
Shifting focus to the front of the engine, the A/C compressor clutch is an electromagnetic device that engages and disengages the compressor's internal swashplate or scroll mechanism. The pulley itself rides on a sealed ball bearing and spins freely via the serpentine belt until the electromagnet is energized. When this bearing fails, it produces a distinct metallic growl that changes pitch with engine RPM, regardless of whether the A/C is turned on or off.
Learning how to remove an AC clutch pulley is a highly cost-effective DIY skill, as it saves you from replacing the entire compressor assembly—a job that requires refrigerant recovery, vacuuming, and system recharging.
Step-by-Step Pulley Extraction Guide
To execute this repair safely and without damaging the compressor snout (such as on the ubiquitous Denso 10S17C or Sanden SD7V16 compressors), follow this precise sequence:
- Serpentine Belt Removal: Relieve tension on the automatic belt tensioner using a 15mm or 1/2-inch breaker bar and route the belt off the A/C pulley.
- Center Bolt Extraction: Remove the center hub retaining bolt. This is typically a 10mm hex head or a 6mm Allen bolt. Note: This bolt is often secured with medium-strength threadlocker. Apply localized heat with a micro-torch if it refuses to break loose, but avoid heating the electromagnetic coil directly behind the pulley.
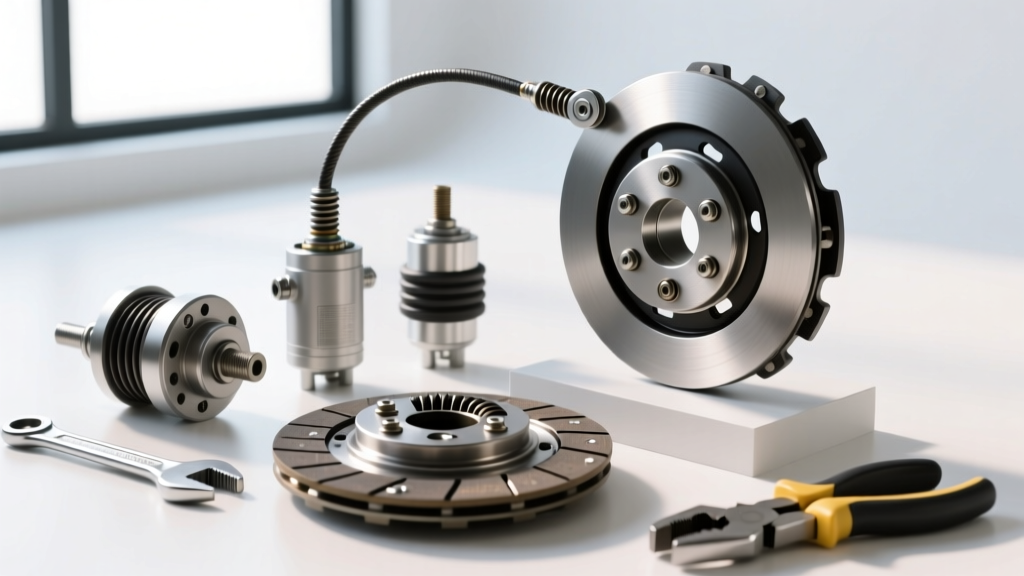
- Hub Pulling: Do not pry the hub off with screwdrivers, as this will crack the cast aluminum snout. Thread a dedicated A/C clutch hub puller (or a generic 3-jaw puller with the correct metric adapters) into the threaded holes on the hub face. Tighten the center forcing screw until the hub pops free.
- Snap Ring Removal: With the hub off, you will expose a large internal snap ring securing the pulley bearing to the compressor housing. Use 90-degree internal snap ring pliers to compress and remove the ring.
- Pulley Extraction: Slide the pulley assembly straight off the snout. If it is seized due to galvanic corrosion, apply penetrating oil and use a specialized pulley puller tool that grips the inner bearing race.
Cost Analysis: AC Clutch Pulley and Bearing Replacement
Once the pulley is on the bench, you have a decision to make. You can either press out the old bearing and install a new one, or replace the entire pulley assembly. According to Denso Global A/C specifications, ensuring the exact air-gap and bearing tolerance is critical for coil longevity.
| Repair Strategy | Required Tools | Parts Cost (2026) | Shop Labor Equivalent | Total DIY / Shop Cost |
|---|---|---|---|---|
| Bearing Only Replacement | Hydraulic Press, Snap Ring Pliers | $18 - $35 | 2.0 Hours ($290+) | $18 - $35 (DIY) |
| Complete Pulley Assembly | Snap Ring Pliers, Puller | $65 - $120 | 1.5 Hours ($215+) | $65 - $120 (DIY) |
| Full Clutch Kit (Coil + Hub + Pulley) | Standard Hand Tools | $140 - $260 | 1.5 Hours ($215+) | $140 - $260 (DIY) |
| Complete Compressor Replacement | Manifold Gauges, Vacuum Pump | $250 - $500+ | 3.0 Hours + Refrigerant | $750 - $1,200+ |
The Hidden Cost of Improper Air-Gap Shimming
When reinstalling the clutch hub after replacing the pulley, the air-gap between the hub friction plate and the pulley face must be precisely shimmed. The industry standard air-gap is between 0.4mm and 0.6mm (0.016 to 0.024 inches). If the gap is too wide, the electromagnetic coil will overheat and burn out trying to pull the hub in. If the gap is too tight, the hub will drag against the pulley when disengaged, generating massive heat and ultimately destroying the new bearing. A set of metric feeler gauges and selective thickness shims (usually included in the clutch kit) are mandatory for this step.
Final Verdict: Where Should You Invest Your Wrench Time?
Both manual clutch cable adjustment and A/C pulley service represent areas where DIY mechanics can achieve massive financial victories in 2026. A sticking clutch cable can often be resolved with a $15 bottle of synthetic cable lube and 20 minutes of free-play adjustment, saving you a $300 shop bill. Similarly, mastering how to remove an AC clutch pulley and swapping a $25 bearing prevents a catastrophic $1,000 compressor and refrigerant replacement. By understanding the exact torque specs, part numbers, and diagnostic symptoms outlined above, you can confidently tackle these under-hood clutch systems while keeping your repair budget firmly in the green.