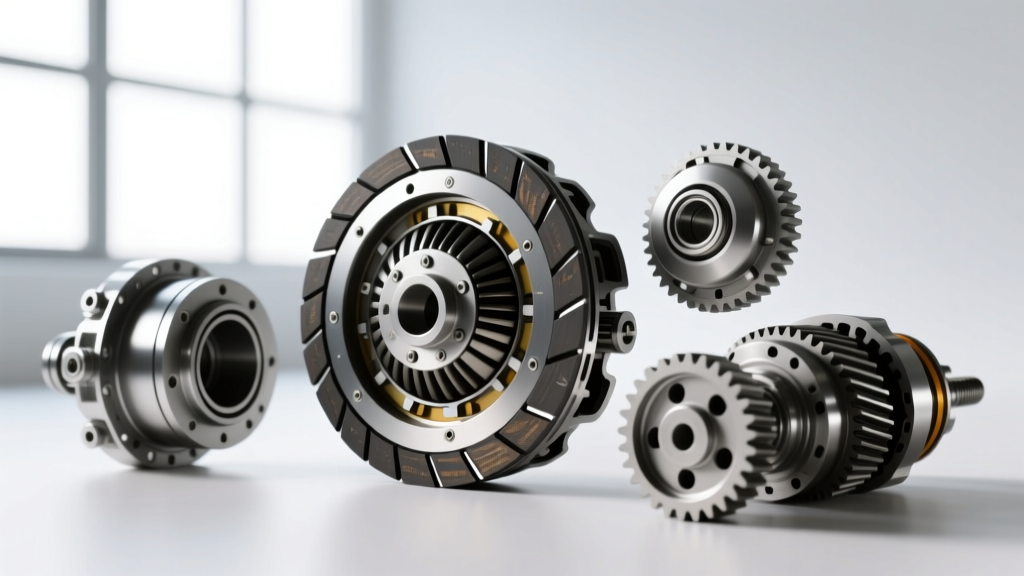
The Anatomy of a Burning Clutch Smell
An acrid, pungent odor emanating from your drivetrain is never a good sign. In manual transmissions and motorcycle wet-clutch systems, a burning smell is the olfactory signature of kinetic energy violently converting into thermal energy. When friction surfaces slip under load, temperatures can spike past 500°F (260°C) in mere seconds, baking the resin binders out of organic clutch plates and boiling transmission fluid. While a slight 'hot brakes' smell is normal during the initial 500-mile break-in period of a new clutch pack, a persistent burning odor during normal operation indicates a severe engagement failure.
At AutoGearNexus, we see this symptom most frequently in cable-actuated motorcycle systems and aging automotive hydraulic setups. The root cause is almost always a lack of proper clamping force or incomplete throw-out bearing retraction. Below, we break down the thermal thresholds of friction materials, provide a masterclass on how to adjust clutch cable Harley-Davidson systems to eliminate slip, and compare these fixes to automotive hydraulic diagnostics.
Friction Material Thermal Breakdown & Odor Profiles
Not all burning smells are created equal. The specific odor can help you diagnose which layer of the clutch pack is failing. Refer to the thermal breakdown table below to identify your friction material's failure point.
| Friction Material | Max Temp Threshold | Odor Profile | Common Application |
|---|---|---|---|
| Organic (Kevlar Blend) | 400°F (204°C) | Sweet, acrid, burning hair | OEM Harley, Daily Driver Manuals |
| Sintered Iron | 800°F (426°C) | Metallic, ozone, hot brake dust | Drag Racing, Heavy Diesel Towing |
| Carbon/Carbon | 1200°F+ (649°C+) | Sharp chemical, dry dust | High-End Track Cars, MotoGP |
| Wet Clutch Oil (Type F) | 250°F (121°C) | Rotten eggs, burnt toast | Harley Primary Chaincase, Wet Auto |
Source: Barnett Tool & Engineering friction material testing data.
Case Study: Cable-Actuated Systems (Harley-Davidson)
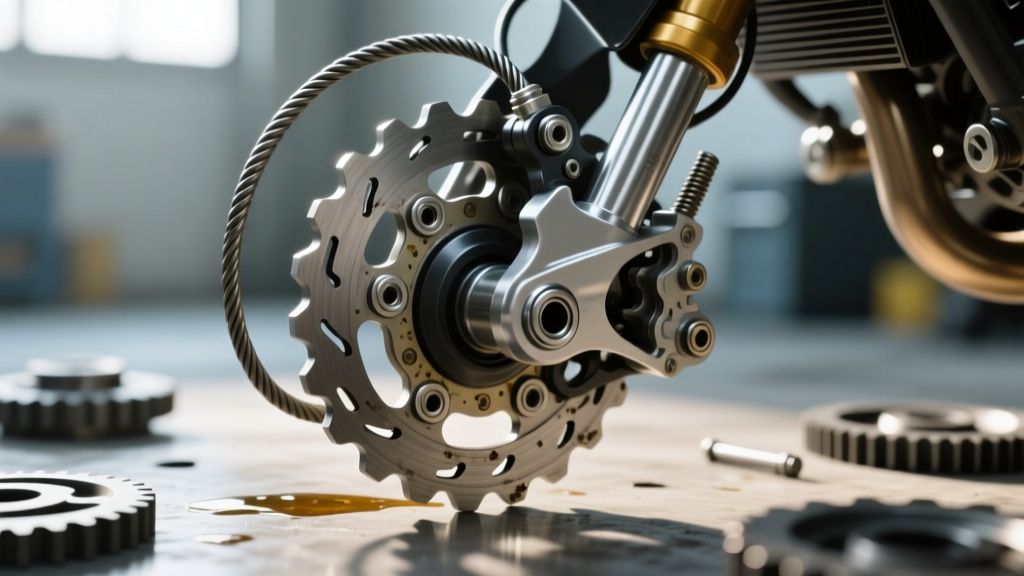
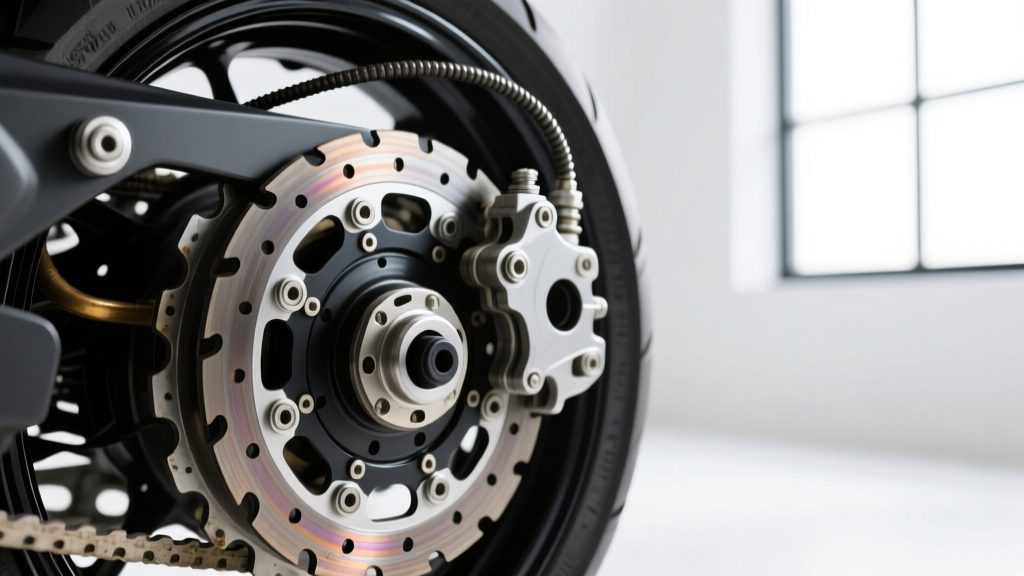
Cable-actuated diaphragm spring clutches, such as those found on Harley-Davidson Twin Cam and Milwaukee-Eight engines, are highly susceptible to thermal degradation if freeplay is not meticulously maintained. Steel clutch cables stretch over time, and heat cycling causes the inner liner to compress. When the cable becomes too tight, it applies constant inward pressure on the clutch release mechanism (the ramp and ball bearing or pushrod), slightly lifting the pressure plate off the friction stack. This results in micro-slipping at highway speeds, generating massive heat and the dreaded burning smell.
Many riders realize they need to adjust clutch cable Harley mechanisms only after the friction plates have already begun to glaze. Proper adjustment requires a two-stage process: internal pushrod calibration and external cable freeplay setting.
How to Adjust Clutch Cable Harley Freeplay Specs
To eliminate the burning smell caused by cable-induced slip, follow this exact OEM-spec procedure. You will need a 1/2-inch wrench, a 7/16-inch wrench, and a torque wrench capable of inch-pounds.
- Access the Derby Cover: Remove the primary chaincase inspection cover (derby cover). Torque spec for removal is typically 84-108 in-lbs (7-9 ft-lbs). Clean the mating surface to prevent primary fluid leaks.
- Adjust the Internal Pushrod: Loosen the locknut on the clutch release adjusting screw. Turn the screw inward (clockwise) until you feel slight resistance against the clutch release bearing. Do not apply heavy pressure.
- Set the Back-Off: Back the screw out exactly 1/2 to 3/4 of a turn. Hold the screw in place and tighten the locknut to 70 in-lbs. This ensures the release bearing is not pre-loaded when the clutch is engaged.
- Set External Cable Freeplay: Move to the handlebar lever. Loosen the cable adjuster locknut. Turn the barrel adjuster to achieve exactly 1/16-inch to 1/8-inch (1.6mm - 3.2mm) of freeplay at the lever perch before you feel the cable pull the internal mechanism.
- Verify Under Heat: Cables expand and contract. Re-check the 1/16-inch freeplay when the engine is at full operating temperature (approx. 210°F).
Expert Diagnostic Tip: If you adjust the cable to spec and the burning smell persists after a 50-mile test ride, your clutch pack is likely glazed. Glazing creates a glass-like surface on the friction plates that prevents mechanical bite, meaning the cable is no longer the primary culprit. A primary chaincase fluid analysis will reveal suspended friction material and a dark, burnt odor.
Automotive Hydraulic Comparisons: Tremec & Ford MT-82
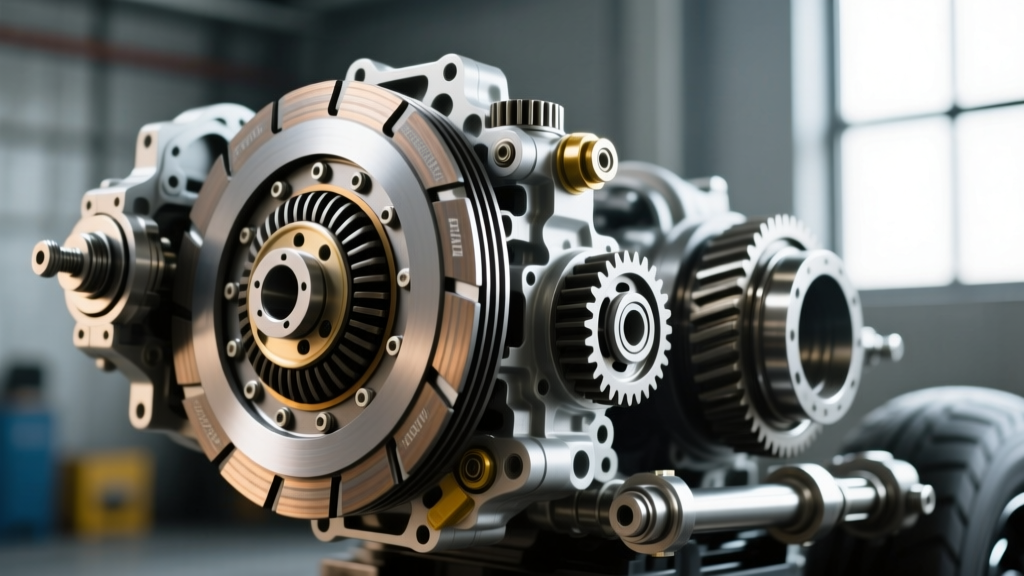
While Harley owners must manually adjust cables, automotive technicians face similar burning clutch symptoms in hydraulic systems like the Tremec T56 Magnum or the Ford MT-82. In these vehicles, the burning smell is rarely caused by a stretched cable, but rather by a failing Concentric Slave Cylinder (CSC) or an improperly adjusted clutch pedal stop.
If the hydraulic fluid boils or the CSC fails to fully retract due to a blocked return line or a collapsed flexible hose, the throw-out bearing 'rides' the diaphragm spring fingers. This mimics a rider resting their foot on a motorcycle clutch lever. The resulting slip will bake an organic organic clutch disc (like an Exedy OEM replacement, approx. $250-$350) in under 1,000 miles. Diagnosing this requires checking the clutch master cylinder pushrod gap; there must be a minimum 0.020-inch air gap between the pushrod and the master cylinder piston to allow fluid to return to the reservoir.
Step-by-Step Diagnostic Protocol for Burning Odors
Use this systematic checklist to isolate the source of the burning smell before ordering replacement parts:
- Step 1: The Static Slip Test. With the vehicle in top gear and the parking brake engaged, slowly release the clutch while applying moderate throttle. If the engine RPMs climb without the vehicle stalling immediately, the clamping force is compromised.
- Step 2: Fluid & Primary Oil Inspection. Drain the manual transmission fluid or motorcycle primary chaincase oil. If it smells like rotten eggs or contains metallic flakes, the friction material has delaminated and contaminated the lubricant.
- Step 3: Freeplay Verification. Measure lever/pedal freeplay. For Harley cables, verify 1/16-inch. For automotive hydraulic pedals, verify 1/2-inch to 1-inch of dead travel before hydraulic pressure builds.
- Step 4: Visual Glaze Inspection. On motorcycles, inspect the friction plates through the derby cover using a borescope. Look for shiny, blackened surfaces (glazing) or blued steel separator plates, which indicate temperatures exceeded 600°F.
When to Replace: Cost & Part Number Guide
If adjusting the cable or bleeding the hydraulic system does not resolve the slip and the burning smell returns, the clutch pack must be replaced. Continuing to ride with a slipping clutch will eventually warp the steel separator plates and score the inner clutch hub, turning a $400 repair into a $1,200 engine teardown.
Below are typical replacement costs and part numbers for common applications (pricing reflects 2026 aftermarket averages):
- Harley-Davidson Twin Cam (Kevlar Upgrade): Barnett Part # 303-30-10015 (Friction Pack). Cost: $180 - $220. Add $45 for OEM primary fluid (Formula+).
- Harley Clutch Cable Replacement: Barnett Part # 101-30-10005 (Standard Length). Cost: $130 - $160. Required if the inner cable is frayed or the outer jacket is melted from exhaust routing.
- Automotive (Tremec T56 / LS Application): Exedy OEM Organic Clutch Kit. Cost: $300 - $450. Labor: 6-8 hours ($720 - $1,100 at $120/hr shop rate).
For official service intervals and torque specifications, always cross-reference your specific VIN or model year with the Harley-Davidson Service Manuals or Tremec Corporation technical bulletins. Proper diagnosis of a burning clutch smell saves thousands in secondary drivetrain damage, ensuring your machine transfers power to the ground efficiently and safely.