The Physics of Friction Material Degradation
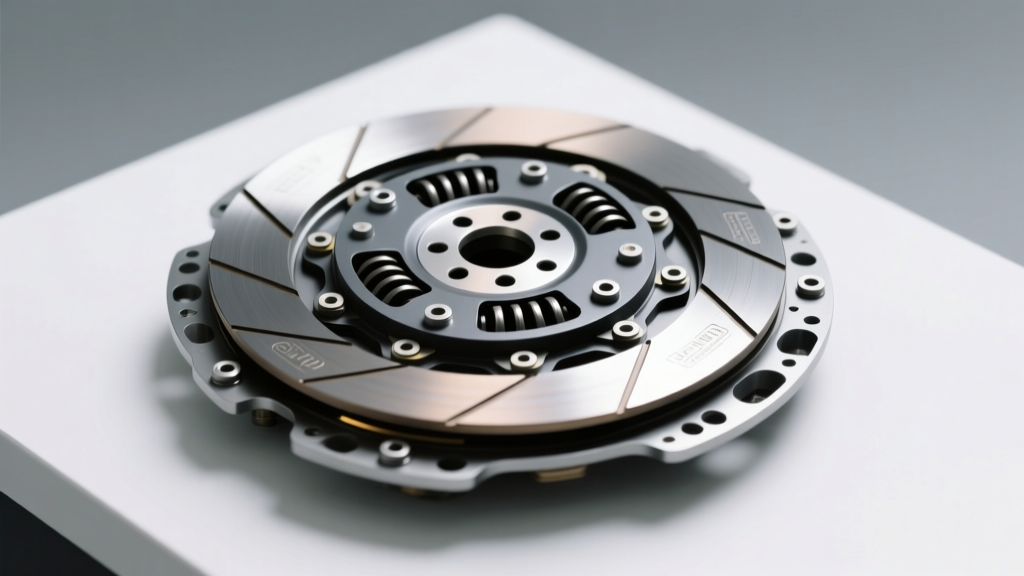
Understanding manual transmission longevity requires looking past the simplistic notion of "slipping" and examining the tribology of friction materials. As organic, ceramic, or Kevlar-based clutch discs interact with the flywheel and pressure plate, they undergo continuous thermal cycling and shear stress. According to SAE International technical papers on tribology, the wear rate of a standard organic friction disc is not linear. It follows a bathtub curve: initial break-in wear, a prolonged steady-state operational phase, and a rapid exponential degradation phase once the resin binders begin to thermally break down.
For automotive technicians and advanced DIYers, recognizing the transition from steady-state to exponential degradation is critical. This is where precise clutch adjusting and the interpretation of mechanical lifespan indicators become your primary diagnostic tools. Ignoring these micro-metrics often leads to catastrophic diaphragm spring failure or flywheel scoring, turning a standard $250 maintenance procedure into a $1,500 drivetrain overhaul.
Clutch Adjusting: Establishing the Diagnostic Baseline
Before you can diagnose wear, you must establish a baseline through proper clutch adjusting. The clutch system relies on a specific amount of mechanical free-play to ensure the throwout bearing (release bearing) is not applying parasitic preload against the diaphragm spring fingers during steady-state cruising. When a clutch disc wears, it becomes thinner. In a cable-actuated system, this thinning pulls the pressure plate fingers closer to the transmission, effectively taking up the pedal free-play.
Manual Cable Systems vs. Hydraulic Self-Adjusters
In legacy and performance cable-actuated systems (such as those found in older Mustangs or aftermarket setups), clutch adjusting is a manual process. The industry standard for pedal free-play is between 1.0 inch and 1.5 inches (25mm to 38mm) measured at the pedal pad. If the free-play drops below 0.5 inches, the release bearing is constantly engaged, generating excess heat and accelerating wear.
Conversely, modern hydraulic systems utilize a Concentric Slave Cylinder (CSC) or an external slave with a self-adjusting master cylinder pushrod. Furthermore, many European and late-model domestic vehicles utilize Self-Adjusting Clutch (SAC) technology. As documented in Schaeffler's SAC technology documentation, SAC pressure plates feature a built-in wear sensor ring that automatically rotates to compensate for friction material thinning, maintaining a consistent pedal feel and engagement point until the mechanical limit of the adjuster is reached. When a SAC-equipped vehicle suddenly exhibits a low engagement point, the internal adjuster has maxed out—an absolute indicator of end-of-life friction material.
Quantifiable Lifespan Indicators and Wear Telemetry
Relying on "feel" is insufficient for modern diagnostics. Below is a structured telemetry matrix used by drivetrain specialists to correlate clutch adjusting metrics with physical wear states.
| Measurement Metric | Nominal Spec (New) | Wear Stage Indicator | Diagnostic Action Required |
|---|---|---|---|
| Pedal Free-Play (Cable) | 1.0" - 1.5" (25-38mm) | 0.25" or less: Severe Wear | Adjust cable; if free-play won't hold, replace disc. |
| Engagement Point (Pedal Travel) | 2.0" - 3.0" from floor | Top 1" of travel: Worn Disc | Inspect CSC travel and bleed hydraulics. |
| SAC Adjuster Ring Rotation | 0° - 10° (New) | >45° Rotation: End of Life | Replace LuK RepSet and resurface flywheel. |
| Release Bearing Preload Gap | 0.050" - 0.100" | 0.000" (Riding Fingers) | Immediate clutch adjusting required to prevent bearing failure. |
| Slip Ratio (OBD2 Telemetry) | 0% (Locked in gear) | >2% under WOT: Glazing/Wear | Check for oil contamination or thermal glazing. |
The Role of Flywheel Step Height in Clutch Adjusting
A frequently overlooked aspect of clutch adjusting and lifespan maximization is the flywheel step height. The "step" is the vertical distance between the friction surface of the flywheel and the mounting pad where the pressure plate bolts down. As friction material wears, the step height effectively increases relative to the clamping load. If a flywheel has been improperly machined (or not machined at all during a previous clutch job), the step height will be out of specification.
Expert Insight: Most OEM single-mass flywheels require a step height between -0.020" and +0.020" (negative meaning the friction surface is below the mounting pad). If the step is too high, the diaphragm spring is over-centered, resulting in a heavy pedal and premature release bearing failure. If the step is too low, clamping force drops exponentially, causing immediate slip regardless of how perfectly your clutch adjusting at the pedal is performed.
Always measure step height using a precision straight-edge and a feeler gauge or dial indicator before installing a new clutch assembly. For example, GM LS-series engines typically require a step of 0.000" to 0.020", while many Ford Modular V8s require a negative step of -0.010" to -0.020".
OBD2 Telemetry and Clutch Position Sensors
For vehicles manufactured in the last decade, physical clutch adjusting is often supplemented by electronic monitoring. Transmissions like the Tremec T-56 Magnum or the Mazda Skyactiv-MT are frequently paired with Clutch Position (CPP) sensors. Using a bi-directional OBD2 scan tool, technicians can monitor the CPP PID alongside Engine RPM and Vehicle Speed Sensor (VSS) data.
By logging this data during a 3rd-to-4th gear wide-open-throttle (WOT) pull, you can calculate the exact slip ratio. If the engine RPM increases at a rate that mathematically exceeds the gear ratio multiplied by the VSS delta, the ECU will often log a soft code for clutch slip (e.g., P0810 or manufacturer-specific variants). This electronic telemetry provides a definitive lifespan indicator long before the driver physically notices the slip through the seat of their pants.
Economic Thresholds: When Adjustment Fails
There is a definitive point where clutch adjusting transitions from a maintenance procedure to a delay tactic. If you have maximized the cable adjustment or verified that the hydraulic system is free of air (master cylinder pushrod clearance is within the 0.5mm to 1.0mm spec), and the engagement point remains within the top 10% of pedal travel, the friction material is exhausted.
Consider the economics of delayed replacement based on current 2026 aftermarket pricing:
- Standard Replacement (LuK Pro Gold / Sachs OEM): $180 - $350 for the kit (Disc, Pressure Plate, Release Bearing, Alignment Tool).
- Flywheel Resurfacing: $45 - $85 at a local machine shop (Must not exceed OEM maximum material removal spec, usually 0.030").
- Preventative Rear Main Seal: $15 - $25 part cost while the transmission is dropped.
- Total Job Cost: $800 - $1,400 depending on shop labor rates and vehicle RWD/AWD configuration.
Attempting to compensate for severe wear by aggressively altering pedal geometry or ignoring hydraulic bypass ports will only result in the throwout bearing welding itself to the transmission input shaft collar. For comprehensive engineering tolerances and torque specifications (such as the standard 18-22 lb-ft pressure plate-to-flywheel torque for most domestic V8s), always refer to Tremec's drivetrain engineering resources or the specific OEM service manual. Proper clutch adjusting is not just about comfort; it is the ultimate safeguard for your drivetrain's mechanical integrity.