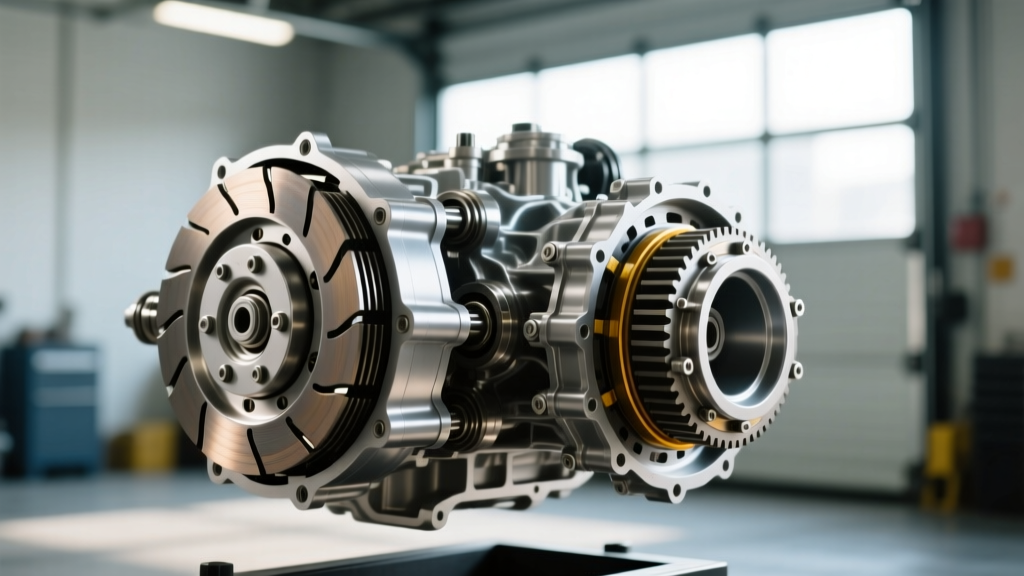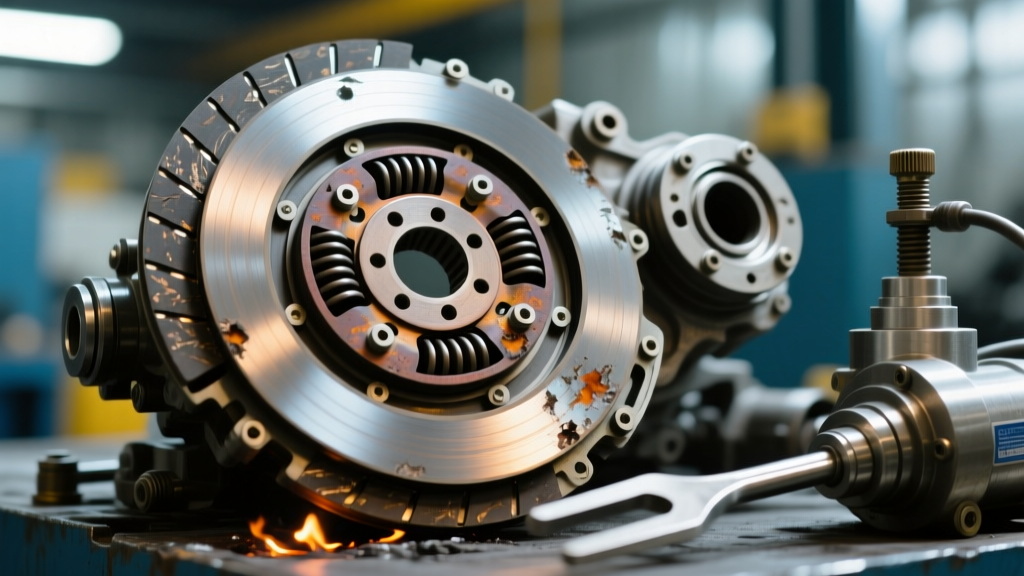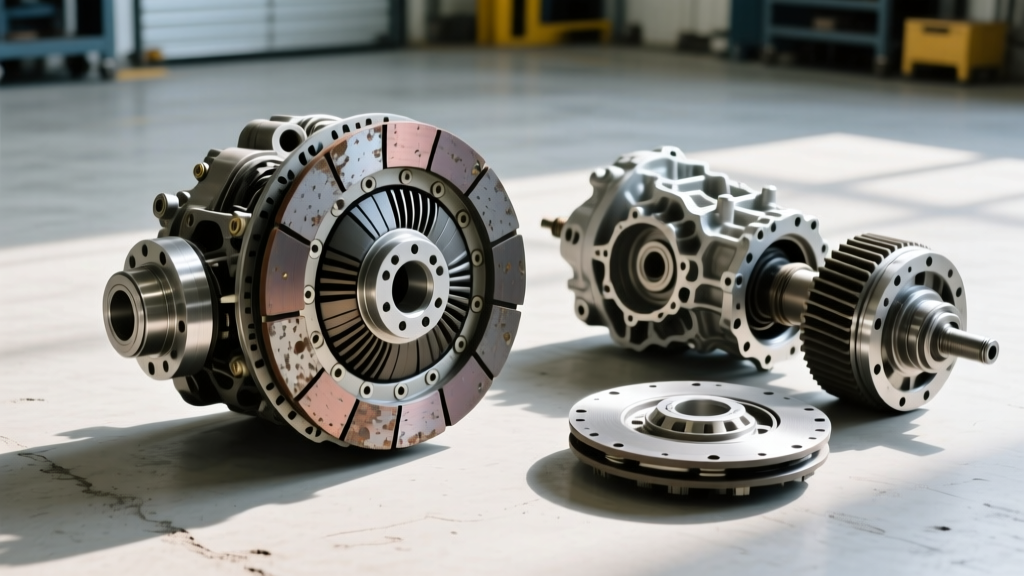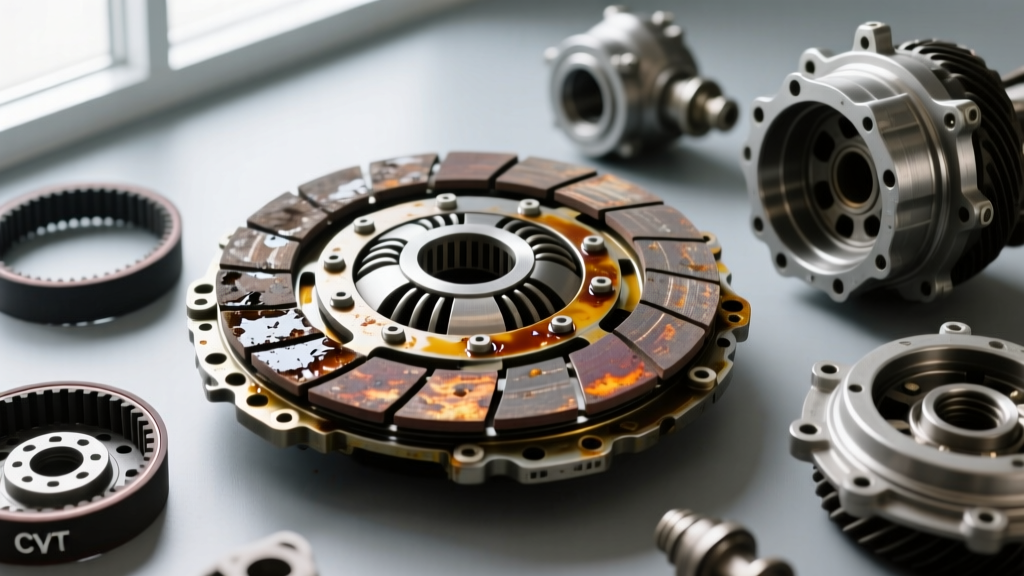
When operating a golf cart, the sudden onset of an acrid, burning smell is an immediate red flag that demands attention. In the realm of Continuously Variable Transmissions (CVTs), this odor usually points to severe friction, slipping components, or catastrophic binding. For owners of Club Car DS, Precedent, and Onward models, the club car drive clutch (the primary clutch mounted directly to the engine crankshaft) is the most frequent culprit behind these thermal events.
Ignoring a burning smell will inevitably lead to a stranded cart, a melted drive belt, or worse, a scored crankshaft. As of 2026, with the increased use of lifted carts and larger off-road tires putting extra parasitic drag on the CVT system, drive clutch failures are occurring at higher rates. This comprehensive diagnostic guide will help you isolate the exact source of the burn, measure component wear, and execute a proper teardown and repair.
Decoding the Odor: Rubber vs. Metallic Burn
Before unbolting a single component, use your senses to narrow down the failure point. The CVT system generates distinct odors depending on which material is undergoing extreme friction.
- Acrid, Burning Rubber: This almost always indicates the drive belt is slipping against the sheaves. It points to a glazed belt, incorrect belt tension, or sheaves that are failing to close properly under load.
- Hot Metal and Burning Grease: This sharper, more pungent smell originates from the internal components of the drive clutch. It typically signifies a failing one-way bearing (roller clutch), a dry crankshaft binding the moveable sheave, or ramp shoes that have worn completely through their coating and are grinding metal-on-metal.
The Anatomy of Club Car CVT Heat Generation
To diagnose the issue, you must understand the mechanical forces at play. The Club Car CVT relies on centrifugal force and mechanical ramping. The primary drive clutch consists of a fixed sheave, a moveable sheave, a spider, ramp shoes, and a one-way bearing. When you press the throttle, the engine RPMs increase, causing the weights inside the spider to push the moveable sheave inward, pinching the drive belt and forcing it higher in the pulley groove.
If any part of this sequence encounters resistance, the belt slips. Slipping generates immense surface heat—easily exceeding 400°F (204°C)—which vulcanizes the belt surface, creating a hard, glossy glaze that perpetuates further slipping and burning.
Step-by-Step Diagnostic Protocol
Follow this structured diagnostic sequence to pinpoint the exact failure mode. Safety first: ensure the cart is in tow mode, the key is off, and the spark plug wire is disconnected before beginning any CVT work.
Phase 1: The Cold Spin Test
Remove the CVT cover. With the engine cold and the cart in neutral, manually rotate the drive clutch by hand. It should spin relatively freely with a slight drag from the engine compression. If the clutch feels gritty, binds at certain rotation points, or makes a dry scraping noise, the internal one-way bearing or the crankshaft bushing is compromised.
Phase 2: Belt Measurement and Inspection
The drive belt is the primary victim of clutch issues. Do not rely on a visual "looks fine" assessment. Use digital vernier calipers to measure the belt width across the top cog.
- New OEM Belt Width: 1.25 inches (31.75 mm)
- Minimum Service Limit: 1.18 inches (30.00 mm)
If the belt measures below 1.18 inches, it will sit too deep in the sheave groove, causing the clutch to over-rev and slip under heavy loads. Furthermore, run your fingernail across the sidewalls of the belt. If it feels glass-smooth (glazed), the belt is ruined and must be replaced, regardless of its width measurement.
Phase 3: Teardown and Sheave Inspection
Removing the club car drive clutch requires holding the engine crankshaft from turning. Use a specialized flywheel strap tool or a heavy-duty impact wrench to break the crank bolt loose. Never use an air chisel or hammer on the crank bolt, as you risk cracking the Kawasaki FE290 or FE350 engine block.
Once removed, disassemble the clutch on a clean bench. Inspect the following:
- Ramp Shoes: Look for deep grooving or uneven wear patterns. Worn shoes cause the spider to tilt, resulting in uneven sheave pressure and belt slip.
- Moveable Sheave Bore: Check the inner diameter where it rides on the crankshaft. If it lacks a thin film of molybdenum disulfide grease, or if there is rust pitting, the sheave will bind and fail to return to idle, causing the belt to burn at low speeds.
- One-Way Bearing: Test the bearing by hand. It should lock up instantly in one direction and spin smoothly in the other. Any "slip," "crunch," or delayed engagement means the bearing is failing and generating severe internal heat.
Component Measurement & Replacement Matrix
Use the table below to cross-reference your findings with OEM specifications and current 2026 market pricing for Club Car Precedent and Onward models (Kawasaki FE350/FE400 engines).
| Component | OEM Part Number | Wear Limit / Spec | Est. Cost (2026) | Torque Spec |
|---|---|---|---|---|
| Drive Belt | 102582301 | Width < 1.18" (30mm) | $75 - $115 | N/A |
| Drive Clutch Assy (Complete) | 102834801 | Replace if sheaves scored | $290 - $380 | 55 ft-lbs (Crank Bolt) |
| One-Way Bearing | 101816701 | Any slip or grinding | $45 - $85 | Press-fit (Use heat) |
| Ramp Shoe Kit | 101528901 | Visible grooving/flaking | $25 - $45 | N/A |
The "Belt Dressing" Myth and Prevention
A common, yet highly destructive, DIY mistake is spraying aerosol belt dressing onto a slipping CVT belt to stop the burning smell. Never use belt dressing on a golf cart CVT. Belt dressings contain sticky resins that attract clutch dust, dirt, and moisture. This creates an abrasive paste that will rapidly score the aluminum sheaves and destroy the internal bushings. For in-depth community discussions on CVT maintenance mistakes, the Cartaholics Club Car Forum is an invaluable resource filled with teardown photos and mechanic warnings.
To properly maintain the club car drive clutch and prevent burning smells:
- Clean Sheaves Correctly: Use a green Scotch-Brite pad and non-chlorinated brake cleaner or acetone to scour the sheave faces. They must be perfectly matte and completely dry before reassembly.
- Lubricate Only the Shaft: Apply a very thin layer of high-temp molybdenum disulfide grease to the engine crankshaft and the inner bore of the moveable sheave. Ensure no grease migrates onto the belt riding surfaces. A grease sling will instantly ruin a new $100 drive belt.
- Check Engine Idle RPM: If the engine idle is set too high (above 1,450 RPM), the drive clutch will begin to engage prematurely, causing the belt to slip and burn at a standstill. Adjust the carburetor idle screw or electronic governor to maintain a true 1,400 RPM idle.
When to Upgrade to an Aftermarket High-Performance Clutch
If you have modified your Club Car with a high-torque electric motor conversion, a big-bore gas engine kit, or 23-inch off-road tires, the OEM drive clutch may simply be undersized for the parasitic load. In these scenarios, the OEM clutch will perpetually slip and burn. Upgrading to an aftermarket high-performance drive clutch (such as those offered by Buggies Unlimited) features steeper ramp angles and heavier weights, allowing the clutch to clamp down on the belt with greater force at lower RPMs, effectively eliminating slip and the associated burning odors.
Conclusion
A burning smell from your Club Car's CVT system is never a "wait and see" symptom. By systematically isolating the odor, measuring the drive belt with calipers, and inspecting the internal ramp shoes and one-way bearing, you can accurately diagnose the failure before it damages the engine crankshaft. Adhere strictly to torque specifications, keep the sheave faces bone-dry, and rely on OEM or high-quality aftermarket replacements to keep your cart running cool and efficiently on the course or the trail.