The 8th-Gen Civic and K-Series CMC Epidemic
For owners of the 2006-2011 Honda Civic (8th Generation) and contemporary Acura TSX models equipped with K-series engines, the hydraulic clutch system is a notorious weak point. As we navigate the enthusiast and daily-driver market in 2026, these vehicles are now 15 to 20 years old, and the original rubber components have long surpassed their engineered service life. Identifying clutch master cylinder problems symptoms early is critical to preventing catastrophic transmission damage, specifically gear synchronizer wear caused by incomplete clutch disengagement. While many mechanics immediately recommend replacing the entire master cylinder assembly, experienced Honda technicians know that utilizing an OEM clutch master cylinder repair kit is often the superior, more cost-effective solution that restores factory pedal feel without the reliability issues of cheap aftermarket complete units.
Identifying Clutch Master Cylinder Problems Symptoms
Before tearing into the firewall, you must accurately diagnose the hydraulic fault. The K-series clutch hydraulic system operates at high pressure, and failure modes are distinct. Look for these specific clutch master cylinder problems symptoms:
- Gear Crunching (1st and Reverse): The most common symptom. If the master cylinder cannot build adequate hydraulic pressure, the clutch drag prevents the input shaft from stopping, causing synchronizer grinding.
- Pedal Sinking at Stoplights: If you hold the clutch pedal depressed at a red light and it slowly creeps toward the floor, the primary internal cup seal has failed, allowing fluid to bypass internally back into the reservoir.
- Delayed Pedal Return: A fatigued return spring or swollen rubber seals causing friction against the bore wall will result in a sluggish pedal rise, especially in cold weather.
- Fluid Loss Without External Puddles: The 8th-gen Civic CMC is mounted on the firewall. Internal bypass leaks do not drip onto the ground; they route fluid back to the reservoir, masking the leak until the system draws in air.
Expert Insight: Never ignore a pedal that slowly sinks to the floor while held down. This internal bypass is the leading cause of premature 1st-gear synchronizer failure in the K20Z3 and K24A2 transmissions. Address it immediately to save your gearbox.
Hydraulic Theory: The Compensating Port Bypass
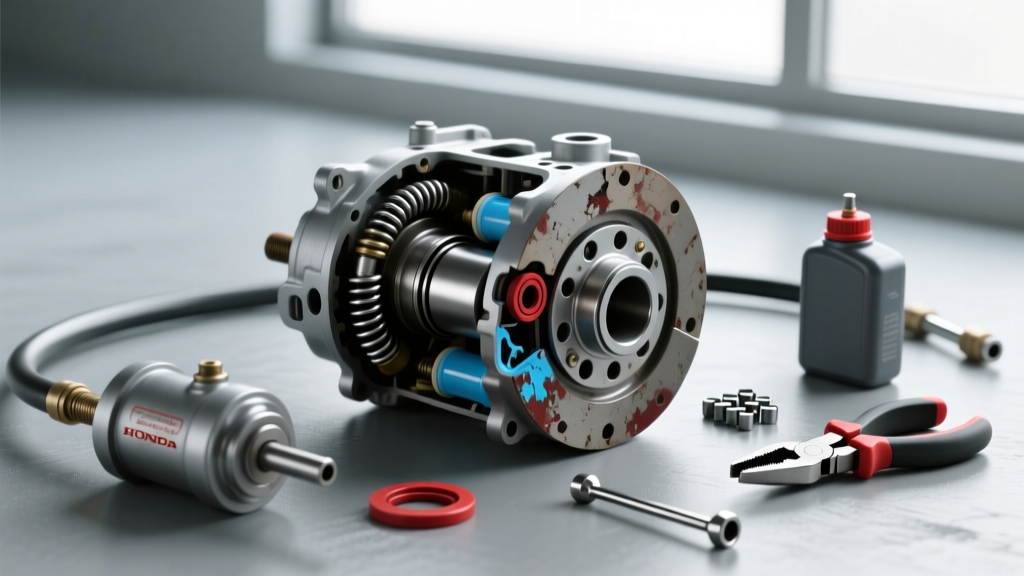
To understand why a repair kit works, you must understand the internal anatomy of the Honda CMC. When the pedal is fully released, the primary piston retracts, uncovering the compensating port. This port allows fluid expansion and replenishes the system. Over time, the aluminum bore develops microscopic scoring, and the rubber primary cup seal hardens. When you press the pedal, the seal fails to expand against the scored bore, and high-pressure fluid escapes past the seal into the low-pressure reservoir zone. This is why cheap aftermarket master cylinders often fail within 10,000 miles; they use inferior rubber compounds that quickly degrade in modern DOT 3/DOT 4 synthetic fluids. By honing the bore and installing fresh OEM Honda seals via a repair kit, you restore the precise tolerances required for hydraulic sealing.
Repair Kit vs. Complete Assembly: A 2026 Reliability Analysis
When sourcing parts from suppliers like RockAuto or Honda Parts Now, you will face a decision between a complete assembly and a seal kit. The data heavily favors the OEM repair kit for long-term reliability.
| Component Option | OEM Part Number | 2026 Est. Cost | Expected Longevity | Pedal Feel Quality |
|---|---|---|---|---|
| OEM Complete Assembly | 46920-SNA-A06 | $130 - $160 | 80,000+ Miles | Factory Perfect |
| Aftermarket Complete (Dorman/Exedy) | Various | $35 - $55 | 10,000 - 25,000 Miles | Spongy / Inconsistent |
| OEM Repair Kit (Seals & Spring) | 46922-SNA-A01 | $25 - $40 | 80,000+ Miles | Factory Perfect (if honed) |
| Aftermarket Rebuild Kit | Various | $15 - $20 | 30,000 Miles | Variable |
As the table illustrates, the OEM repair kit (46922-SNA-A01) provides the same longevity as a complete OEM assembly but at a fraction of the cost. The only caveat is that you must inspect and potentially hone the aluminum bore.
Model-Specific Rebuild Procedure: 2006-2011 Civic Si (K20Z3)
Rebuilding the CMC on an 8th-gen Civic requires working in the tight confines of the driver's side firewall. Unlike older generations that used simple flare nuts, later models may utilize quick-connect hardlines. Proceed with patience and the correct tools.
Required Tools and Specifications
- 10mm Flare Nut Wrench (or 10mm Quick-Connect Release Tool depending on exact build date)
- 10mm Deep Socket and Ratchet
- Flathead Screwdriver and Needle-Nose Pliers
- Brake Cylinder Hone (Fine Grit)
- Brake Parts Cleaner and Silicone-based Assembly Lubricant
- New Honda Heavy Duty DOT 3 Fluid (Capacity: ~1.2L for full system flush)
Disassembly and Bore Inspection
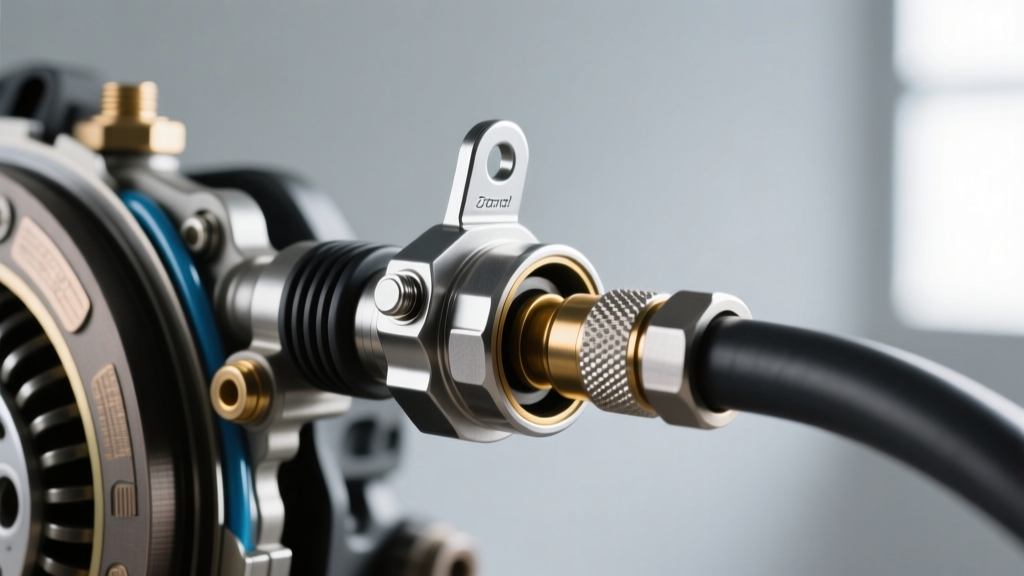
Begin by extracting the maximum amount of fluid from the clutch reservoir using a turkey baster to prevent spills on the interior carpet, which is highly susceptible to DOT fluid staining. Remove the two 10mm mounting nuts securing the CMC to the firewall. Torque spec for reinstallation is 12 Nm (9 lb-ft). Disconnect the hardline. If equipped with a quick-connect fitting, depress the plastic retaining tabs squarely; do not pry with a screwdriver, or you will crack the collar.
Once on the bench, remove the pushrod boot and the internal snap ring. Extract the piston assembly, return spring, and cup seals. Inspect the aluminum bore. If you feel deep grooves with your fingernail, the housing is scrapped and requires a complete OEM replacement. If it is merely glazed or has light surface corrosion, use a fine-grit brake cylinder hone with honing oil to cross-hatch the bore. Clean thoroughly with aerosol brake cleaner until a white paper towel dragged through the bore comes out spotless.
The Pushrod Clevis: A Hidden Failure Point
A frequently overlooked cause of clutch master cylinder problems symptoms is wear at the pushrod clevis. The factory clevis uses a plastic insert that wears against the steel pedal pin, creating up to 5mm of dead travel before hydraulic pressure begins. If your pedal has excessive free-play at the very top of its stroke, replace the clevis assembly (Part # 46925-SNA-A01) or install a stainless steel aftermarket clevis upgrade. Adjust the pushrod length so that there is exactly 1mm to 2mm of free-play before the piston begins to depress. Zero free-play will block the compensating port, leading to clutch drag and fluid boiling.
Reassembly and Bench Bleeding
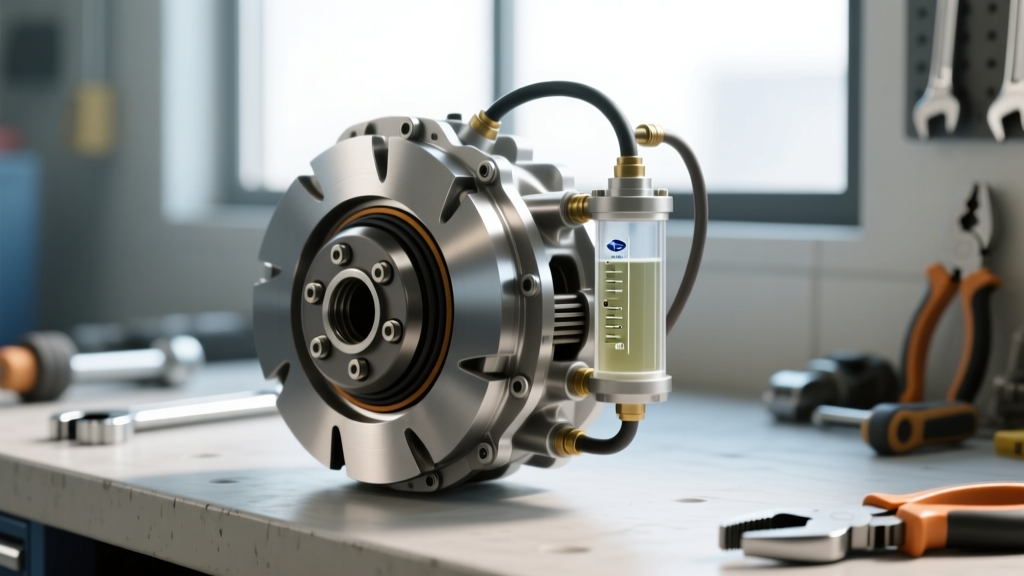
Lubricate the new OEM rubber seals and the aluminum bore generously with clean DOT 3 fluid or specialized silicone brake assembly lube. Never use petroleum-based greases, which will cause the EPDM rubber to swell and fail. Insert the new piston assembly, compress the spring, and reinstall the snap ring. Before mounting it back to the firewall, you must bench bleed the master cylinder. Fill the reservoir, plug the hardline output port with your finger or a bleeder cap, and stroke the pushrod slowly 10 to 15 times until no air bubbles emerge from the compensating port into the reservoir.
System Bleeding: Overcoming the Honda Slave Cylinder Air Trap
The K-series clutch slave cylinder is mounted externally on the transmission bellhousing, but the hydraulic line routing creates a natural air trap near the firewall. Standard pedal-pumping bleeding is rarely sufficient to remove all micro-bubbles, resulting in a spongy pedal.
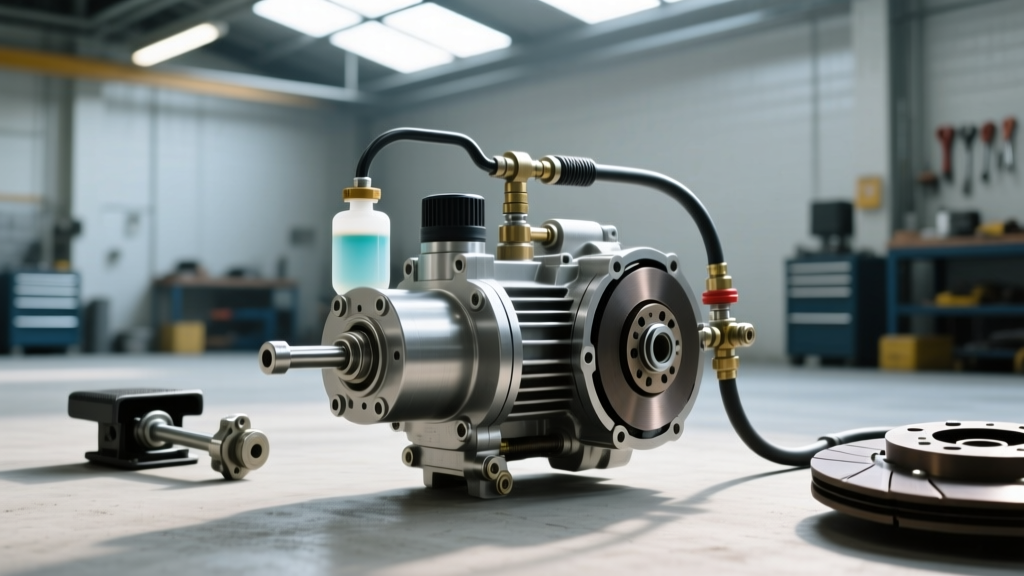
- Vacuum Bleeding: Attach a Mityvac vacuum bleeder to the slave cylinder bleeder nipple. Open the nipple and draw fluid until it runs completely clear and bubble-free. Keep the reservoir topped off to prevent drawing air into the master cylinder.
- Reverse Pressure Bleeding: For stubborn air pockets, use a motive power bleeder attached to the slave cylinder to push fluid up through the hardline and into the master cylinder reservoir. This forces trapped air upward, following its natural buoyancy path.
- The Pedal Stroke Method: Once bled, have an assistant press the pedal to the floor, close the bleeder, and release the pedal slowly. Repeat 20 times. The slow release allows the compensating port to pull fresh, aerated fluid back into the system without cavitation.
Summary and Final Torque Checks
Rebuilding your 8th-generation Civic's clutch master cylinder using an OEM repair kit is a highly rewarding DIY job that saves money and preserves the crisp, communicative pedal feel Honda is famous for. By understanding the hydraulic theory, addressing the pushrod clevis wear, and utilizing proper bench bleeding techniques, you eliminate the root causes of common clutch master cylinder problems symptoms. Always verify the 10mm hardline fitting is torqued to 15 Nm (11 lb-ft) to prevent high-pressure weeping, and flush the entire system with fresh Honda DOT 3 fluid every 24 months to protect your newly installed rubber seals from moisture-induced degradation. For more technical deep-dives, enthusiast communities like Honda-Tech remain invaluable resources for K-series hydraulic nuances.