Why Rebuild the GM 8.5-Inch 10-Bolt Chevy Differential?
The GM 8.5-inch 10-bolt rear axle is one of the most prolific and durable differentials ever produced by General Motors. Introduced in the early 1970s, this Chevy differential has seen service in everything from classic Camaros and Caprices to modern Silverado 1500 trucks and Tahoe SUVs. Despite its robust 8.5-inch ring gear and 30-spline axle shafts, high mileage, aggressive towing, and oversized tires eventually take their toll. Common failure modes include pinion bearing whine during deceleration, ring gear tooth spalling, and worn spider gears causing clunking on engagement.
Rebuilding this axle at home is entirely feasible for a weekend mechanic equipped with the right measuring tools and a methodical approach. Unlike simpler bolt-on repairs, a differential rebuild requires precise shim selection, strict torque sequences, and exacting backlash measurements. In this 2026 comprehensive guide, we will walk through the complete teardown, measurement, and reassembly process for the GM 8.5-inch 10-bolt, ensuring your Chevy differential operates quietly and reliably for another 150,000 miles.
Essential Tools and Parts for the Job
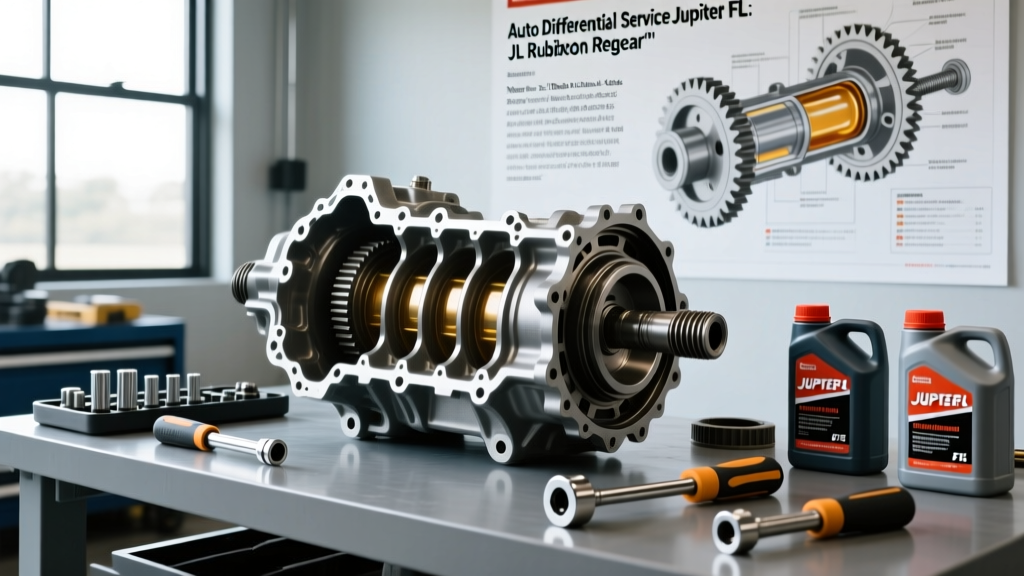
Before unbolting the driveshaft, you must gather specialized measuring instruments. Guesswork during a differential rebuild leads to catastrophic gear failure. Below is a breakdown of the required tools and estimated costs for a professional-grade home setup.
| Tool / Component | Specification / Part Number | Est. Cost (2026) |
|---|---|---|
| Master Rebuild Kit | Yukon Gear YK GM8.5-MASTER (Includes Timken bearings, seals, shims) | $160 - $190 |
| Dial Indicator | 0.001-inch resolution with magnetic base | $45 - $80 |
| Inch-Pound Torque Wrench | 0-100 in-lb capacity (Beam or digital dial style) | $70 - $120 |
| Pinion Depth Setting Tool | OTC 6697 or Yukon equivalent for GM 8.5-inch | $110 - $140 |
| Bearing Puller / Splitter | OTC 4514 or equivalent 2-jaw puller | $60 - $90 |
| Gear Marking Compound | Yellow Zinc Oxide paste | $12 - $15 |
For further technical reference on shim calculations and bearing tolerances, the Yukon Gear & Axle Tech Resources library provides excellent exploded diagrams specific to GM axles.
Phase 1: Safe Teardown and Component Inspection
The teardown phase is about preserving baseline measurements. If your Chevy differential was relatively quiet before the rebuild, capturing the original pinion depth shim thickness can save hours of trial and error later.
Step 1: Cap Orientation and Removal
Before removing the bearing caps, use a steel stamp to mark the left and right caps, as well as their directional orientation. The bearing caps are line-bored from the factory at the axle assembly plant. Swapping them left-to-right or installing them upside down will ruin the housing and cause severe bearing binding. Remove the four bearing cap bolts (typically 15mm or 5/8-inch) and carefully pry the caps upward using a brass drift to avoid marring the machined surfaces.
Step 2: Carrier and Pinion Extraction
Pull the carrier assembly straight out. If it is stuck, use a case spreader tool. Never pry between the ring gear and the housing, as this can chip gear teeth or score the housing bore. Next, remove the pinion nut using an impact wrench or a heavy-duty flange holder. Press the pinion gear out of the housing using a hydraulic press, catching the outer pinion bearing and the critical pinion depth shim located directly behind it. Measure this shim with a digital micrometer and record the thickness.
Phase 2: Setting Pinion Depth and Bearing Preload
Pinion depth is the most critical measurement in any Chevy differential rebuild. It dictates how deeply the pinion gear meshes into the ring gear. The nominal pinion depth for the GM 8.5-inch 10-bolt is generally 2.625 inches from the centerline of the carrier bore to the face of the pinion head.
Reading the Pinion Head Etching
Inspect the face of your new pinion gear. You will find an etching such as +1, -2, or 0. This number represents the variance in thousandths of an inch from the nominal housing depth. If your original shim was 0.032-inch and your new pinion is marked -1, you must subtract 0.001-inch from your baseline, targeting a 0.031-inch shim. Always verify this using a pinion depth setting tool and a dial indicator rather than relying solely on math, as aftermarket housings and bearings vary slightly in tolerance.
Establishing Pinion Bearing Preload
Once the correct depth shim is installed and the inner pinion bearing is pressed on, install the pinion into the housing along with the outer bearing and seal. Thread on a new crush sleeve (if applicable to your specific yoke setup) and the pinion nut. Using your inch-pound torque wrench, tighten the pinion nut incrementally. You are measuring rotating torque. For new Timken bearings, target 25 to 35 in-lb of rotating preload. For reused bearings, target 15 to 25 in-lb. If you overshoot the preload, you must replace the crush sleeve and start over; never back off the pinion nut to reduce preload.
Phase 3: Ring Gear Mounting and Backlash Calibration
With the pinion set, attention shifts to the carrier assembly. If you are reusing the original ring gear, ensure the mating surface on the carrier is perfectly clean. If installing a new ring gear, heat it in an oven to 225°F (107°C) for 30 minutes to expand the metal, allowing it to drop onto the carrier without pressing, which prevents distortion.
Ring Gear Torque Sequence
Apply a high-strength threadlocker (Red Loctite 272) to the ring gear bolts. Install them and tighten in a star pattern to 75 ft-lb. Do not reuse old, stretched ring gear bolts.
Dialing in Backlash
Backlash is the amount of rotational play between the ring and pinion gears before the teeth make solid contact. For a daily-driven Chevy differential, the target specification is 0.006-inch to 0.010-inch. Mount your dial indicator on a magnetic base attached to the axle tube, positioning the plunger perpendicular to the ring gear teeth.
- Hold the pinion yoke completely stationary using a wrench.
- Rock the ring gear back and forth by hand and read the dial indicator.
- If backlash is too tight (e.g., 0.002-inch), move the carrier shims: decrease the shim thickness on the ring gear side and increase it on the opposite side by the exact same amount.
- If backlash is too wide (e.g., 0.015-inch), increase the shim thickness on the ring gear side and decrease it on the opposite side.
Always maintain the total combined thickness of the side shims to preserve your carrier bearing preload, which should feel tight but allow the carrier to rotate smoothly by hand.
Phase 4: Gear Pattern Verification
Backlash alone does not guarantee a quiet Chevy differential. You must verify the contact pattern. Apply a thin, even coat of yellow gear marking compound to three or four teeth on both the drive (convex) and coast (concave) sides of the ring gear.
Apply moderate rotational resistance to the ring gear using a gloved hand or a rag, then rotate the pinion yoke to drive the gears through the marked teeth. Inspect the pattern:
- Ideal Pattern: The contact mark is centered vertically on the tooth face and slightly biased toward the toe (the narrow, inner end of the tooth). Under load, the pattern will spread toward the heel.
- Too Deep (Pinion too far in): The pattern sits low on the tooth root. Solution: Decrease pinion depth shim thickness.
- Too Shallow (Pinion too far out): The pattern rides high on the tooth tip. Solution: Increase pinion depth shim thickness.
For visual examples of drive and coast side patterns, the Ring-Pinion.com Technical Library offers an invaluable visual diagnostic chart that every drivetrain builder should bookmark.
Phase 5: Differential Fluid and G80 Locker Setup
The final phase of your Chevy differential rebuild involves sealing the housing and filling it with the correct fluid. The GM 8.5-inch 10-bolt typically requires approximately 2.1 to 2.3 quarts of gear oil, depending on the specific axle tube volume and brake backing plate configuration.
Selecting the Right Gear Oil
For standard open differentials or clutch-type limited-slip units (like the Eaton Positraction), a high-quality 75W-90 Full Synthetic GL-5 gear oil is mandatory. Synthetic oils offer vastly superior thermal stability, which is critical for modern trucks that tow heavy loads and lack external differential coolers.
G80 Gov-Lock Friction Modifier Protocol
If your Chevy truck is equipped with the RPO G80 automatic locking differential (the Eaton Gov-Lock), fluid selection requires special attention. The G80 utilizes a mechanical flyweight governor and a clutch pack to lock the axles. While some modern synthetic 75W-90 oils claim to be 'limited-slip compatible,' GM explicitly recommends the addition of a dedicated friction modifier to prevent clutch chatter and ensure the governor mechanism engages smoothly.
Expert Tip: When servicing a G80 locker, add exactly 4 ounces of GM Friction Modifier (P/N 12377916) or an Eaton-approved equivalent to the differential housing before filling with your 75W-90 synthetic gear oil. Overfilling with friction modifier can cause the clutches to slip under heavy throttle, defeating the purpose of the locker.
Fill the differential until the fluid level is exactly even with the bottom of the fill plug hole. Reinstall the fill plug and torque it to 25 ft-lb. Finally, wipe down the axle housing, reinstall the brake calipers and rotors, and mate the driveshaft using fresh 10mm 12-point bolts torqued to 20 ft-lb.
Final Break-In Procedure
A freshly rebuilt Chevy differential requires a proper break-in to seat the new Timken bearings and lap the ring and pinion gears. Drive the vehicle at highway speeds (55-65 mph) for 15 to 20 miles, then pull over and allow the axle to cool completely to ambient temperature. Repeat this heat cycle three to five times over the first 500 miles. Avoid heavy towing or aggressive drag-racing launches during this period. After the 500-mile mark, drain the break-in fluid to remove microscopic metallic lapping debris, and refill with fresh 75W-90 synthetic. By following these exacting procedures, your GM 8.5-inch 10-bolt will deliver whisper-quiet operation and bulletproof reliability for years to come.