Understanding the Core: What Is Central Differential Lock?
When off-roaders, rally drivers, and drivetrain technicians ask, what is central differential lock, they are inquiring about the mechanism that eliminates speed differentiation between the front and rear output shafts in an all-wheel-drive (AWD) or four-wheel-drive (4WD) transfer case. In normal AWD operation, a center differential allows the front and rear axles to rotate at different speeds, preventing drivetrain binding on high-traction surfaces. However, in low-traction scenarios (mud, snow, or rock crawling), an open center diff will route all torque to the axle with the least resistance.
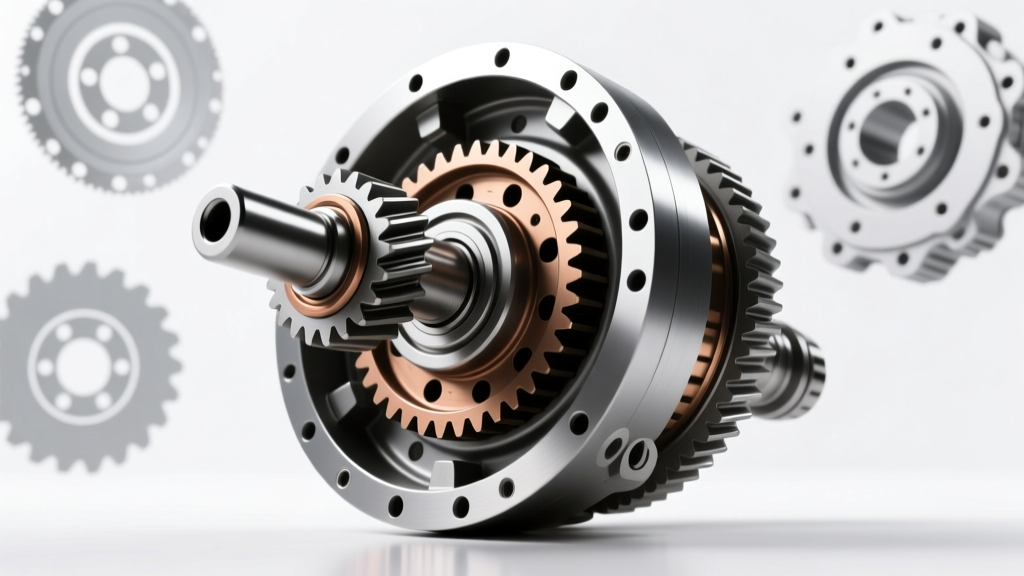
A central differential lock (CDL) mechanically couples the front and rear driveshafts, forcing a rigid 50/50 torque split. In systems like the Toyota Land Cruiser's VF4B transfer case, this is achieved via a sliding dog-clutch collar that locks the planetary gearset carrier to the rear output shaft. In Audi's Torsen-based Quattro systems, it relies on worm-gear friction and manual locking collars. Over time, the shift forks, synchro rings, and dog teeth responsible for engaging this lock wear down, resulting in a CDL that refuses to engage or grinds violently. This guide details the exact differential rebuild procedures required to restore a mechanical center differential lock to factory specifications.
Diagnostic Teardown: Preparing the AWD Transfer Case
Before splitting the case, you must confirm the failure mode. A flashing CDL indicator light on the dashboard usually points to a failed actuator motor or a limit switch issue. However, if the actuator motor hums but the drivetrain does not physically lock, or if you hear a metallic grinding noise from the center console area, the internal shift fork or locking collar is compromised.
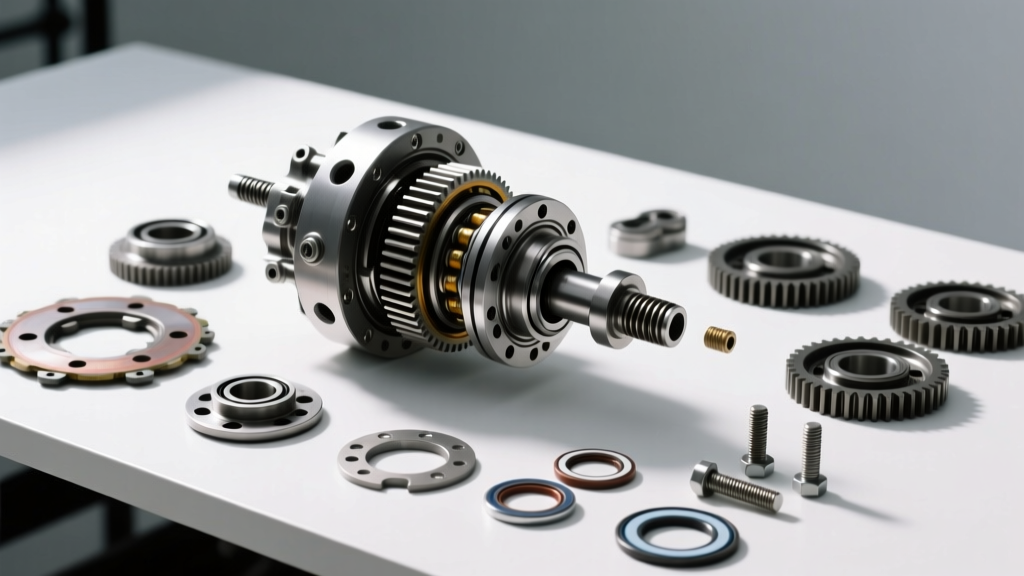
Required Tools and Specialty Pullers
- Hydraulic press (minimum 12-ton capacity)
- Bearing splitter and puller set (specifically for tight-clearance mainshaft bearings)
- Snap ring pliers (internal and external, heavy-duty)
- Dial indicator with magnetic base for thrust clearance measurement
- Transfer case holding fixture
Begin by draining the transfer case fluid. Inspect the drained gear oil for glitter or metallic chunks. Fine bronze-colored particles indicate synchro ring or shift fork pad wear, while chunky steel flakes point to catastrophic planetary gear or bearing failure. Remove the transfer case from the vehicle, disconnect the CDL actuator motor, and unbolt the extension housing.
Step-by-Step Center Differential Rebuild Procedures
Rebuilding a center differential with a locking mechanism requires precision. Unlike a standard open differential, the CDL relies on tight axial tolerances to ensure the dog teeth fully engage without shearing under load.
Phase 1: Locking Collar and Shift Fork Extraction
Once the mainshaft assembly is secured in a vise (using soft jaws to protect the splines), remove the rear output flange nut. This nut is typically staked or secured with high-strength thread locker. Use an impact wrench or a specialized flange-holding tool to break it free. Slide off the output flange and unbolt the CDL shift fork assembly. Inspect the shift fork pads; if they are worn beyond 1.0mm of clearance against the locking collar groove, they must be replaced. Extract the locking collar and the underlying synchro ring. Check the internal dog teeth on the collar and the corresponding teeth on the center diff carrier. If the leading edges are rounded or chipped, the collar and carrier must be replaced as a matched set to prevent the CDL from popping out of lock under load.
Phase 2: Planetary Gearset and Bearing Inspection
Press the mainshaft out of the center differential housing using a hydraulic press. Support the housing adequately to avoid cracking the cast aluminum or iron case. Extract the planetary sun gear, pinion gears, and ring gear. Inspect the pinion gear thrust washers for scoring. Using a micrometer, measure the pinion gear inner diameter and the shaft journal diameter. Calculate the oil clearance; if it exceeds 0.15mm, the pinion gears must be replaced. Press off the front and rear mainshaft taper bearings. Inspect the bearing races in the transfer case housing for brinelling or spalling.
Phase 3: Reassembly and Torque Specifications
Reassembly is the reverse of teardown, but axial clearances must be meticulously verified. Install new Koyo or Timken taper bearings onto the mainshaft using a bearing heater or a press with a specialized collar that pushes only on the inner race. Install the new synchro ring and locking collar, ensuring the alignment marks match the shift fork groove. Before finalizing the case halves, measure the planetary gear thrust clearance using a dial indicator.
| Component / Fastener | Specification / Torque | Wear Limit / Notes |
|---|---|---|
| Center Diff Lock Shift Fork Bolt | 16 Nm (12 ft-lb) | Apply blue thread locker |
| Rear Output Flange Nut | 127 Nm (94 ft-lb) | Stake nut collar after torquing |
| Transfer Case Extension Housing Bolts | 27 Nm (20 ft-lb) | Use RTV on specific bolt threads |
| Planetary Gear Thrust Clearance | 0.20 - 0.50 mm | Max limit: 0.65 mm (replace washer) |
| Shift Fork to Collar Groove Clearance | 0.10 - 0.40 mm | Max limit: 1.0 mm (replace fork) |
Post-Rebuild Fluid Selection and Break-In Protocols
Because this category intersects heavily with drivetrain lubrication, selecting the correct fluid post-rebuild is non-negotiable. The internal locking collar and synchro rings require specific friction modifiers to engage smoothly without grinding, while the hypoid ring and pinion gears in the adjacent differential housings demand extreme pressure (EP) additives.
For Toyota and Lexus applications featuring a mechanical CDL, the factory fill is typically a 75W-85 GL-5 gear oil. However, many drivetrain specialists recommend stepping up to a high-quality synthetic 75W-90 GL-5, such as Amsoil Severe Gear 75W-90. The slightly higher viscosity provides a more robust hydrodynamic film across the newly installed taper bearings and planetary pinion washers during the critical break-in period.
Break-In Procedure: After filling the transfer case to the fill plug level (typically 2.1 Liters for a complete VF4B assembly), drive the vehicle for the first 500 miles under normal, mixed conditions. Every 50 miles, safely stop the vehicle and engage the central differential lock on a loose surface (like dirt or gravel) to ensure the new dog teeth and shift fork are seating properly and to circulate fluid through the CDL collar grooves. Drain and refill the fluid at 1,000 miles to remove microscopic metallic shedding from the new bearings and synchros.
Common Rebuild Pitfalls and 2026 Diagnostic Updates
One of the most frequent mistakes during a center diff rebuild is ignoring the CDL actuator motor limit switches. In modern 2026 diagnostic workflows, technicians use bi-directional OBD2 scanners to command the CDL actuator while monitoring the internal Hall-effect sensor data. If the mechanical rebuild is perfect but the limit switch is misaligned by even 2mm, the ECU will assume the lock failed and disable the system, throwing a persistent dashboard code. Always calibrate the actuator position on the bench before installing the transfer case back into the vehicle.
Another pitfall involves using incorrect snap rings. The mainshaft snap rings dictate the axial preload of the entire center differential assembly. Using a snap ring that is 0.05mm too thin will allow the locking collar to rattle, eventually chipping the dog teeth. Always measure the snap ring groove and select the exact thickness from the OEM service manual chart.
Cost Breakdown: OEM vs. Aftermarket Rebuild Kits
Rebuilding a center differential lock is an investment in the vehicle's off-road and adverse-weather capabilities. Here is what you can expect to spend on parts for a standard mid-size to full-size SUV transfer case (e.g., Toyota 4Runner, Land Cruiser, or Subaru DCCD equivalent):
- OEM Master Rebuild Kit: $350 - $480. Includes all OEM bearings, snap rings, thrust washers, and seals. (e.g., Toyota Part #04-36126).
- Aftermarket Heavy-Duty Shift Fork: $120 - $160. Companies like Marlin Crawler offer billet or reinforced shift forks that resist the bending forces common in high-horsepower or heavily modified off-road rigs.
- Replacement Locking Collar & Synchro: $180 - $250. Often sold separately from the master bearing kit, as they are wear items specific to the CDL mechanism.
- Specialty Fluids: $60 - $90 for 3 quarts of premium synthetic 75W-90 GL-5 gear oil.
By following these precise differential rebuild procedures, verifying thrust clearances, and utilizing the correct fluid dynamics, you ensure the central differential lock will engage instantly and reliably for the next 150,000 miles. For exact torque sequences and clearance charts specific to your vehicle's transfer case model, always consult the manufacturer's official portal, such as Toyota TechInfo or your respective OEM service database.