Correlating Symptoms to the Carmena Clutch Inspection Checklist
When a manual transmission vehicle exhibits drivability issues—ranging from high-RPM slipping to aggressive engagement chatter—a systematic diagnostic approach is mandatory. In the modern 2026 automotive landscape, where high-torque turbocharged four-cylinder and six-cylinder engines place immense thermal stress on drivetrain components, performance-oriented friction setups like the Carmena clutch demand rigorous inspection protocols. Unlike basic OEM replacements, aftermarket performance kits utilize advanced metallurgy and hybrid friction materials that require precise clearances to function correctly.
This technical deep-dive provides a comprehensive clutch system inspection checklist tailored for manual transmission platforms. Whether you are diagnosing a daily-driven street car or a dedicated track build, adhering to these exact measurement tolerances and torque specifications will prevent premature failure, input shaft wear, and catastrophic drivetrain damage.
Phase 1: External Hydraulic and Linkage Diagnostics
Before dropping the transmission, you must isolate whether the reported symptoms stem from the friction assembly or the actuation system. Nearly 40% of clutch-related complaints are actually hydraulic or mechanical linkage failures masquerading as a worn disc.
Hydraulic System Integrity
- Fluid Hygroscopy & Boiling Point: DOT 4 and DOT 5.1 brake fluids are hygroscopic. If the clutch fluid has not been flushed in 24 months, moisture contamination can lower the boiling point, causing vapor lock under heavy track use. This results in a spongy pedal and incomplete clutch disengagement (drag), which mimics a warped pressure plate.
- Master Cylinder Pushrod Clearance: There must be a precise air gap (typically 0.020" to 0.040") between the master cylinder pushrod and the piston. Zero clearance blocks the compensating port, trapping fluid pressure and causing the clutch to slip under load, even with a brand-new Carmena clutch disc.
- Concentric Slave Cylinder (CSC) Travel: For platforms utilizing a CSC (common in modern GM and Ford manual applications), measure the external shaft travel. Maximum travel should not exceed the manufacturer's specification (often 0.550" to 0.700"). Over-extension will blow the internal seals.
Pedal Geometry and Free Play
For cable-actuated or externally mounted slave cylinder setups, clutch pedal free play is critical. Measure the distance the pedal moves before engaging the release fork. The industry standard is 0.50" to 1.00" (12mm to 25mm). Insufficient free play keeps the release bearing preloaded against the diaphragm spring fingers, leading to rapid bearing failure and pressure plate slip.
Phase 2: Teardown and Bench Inspection
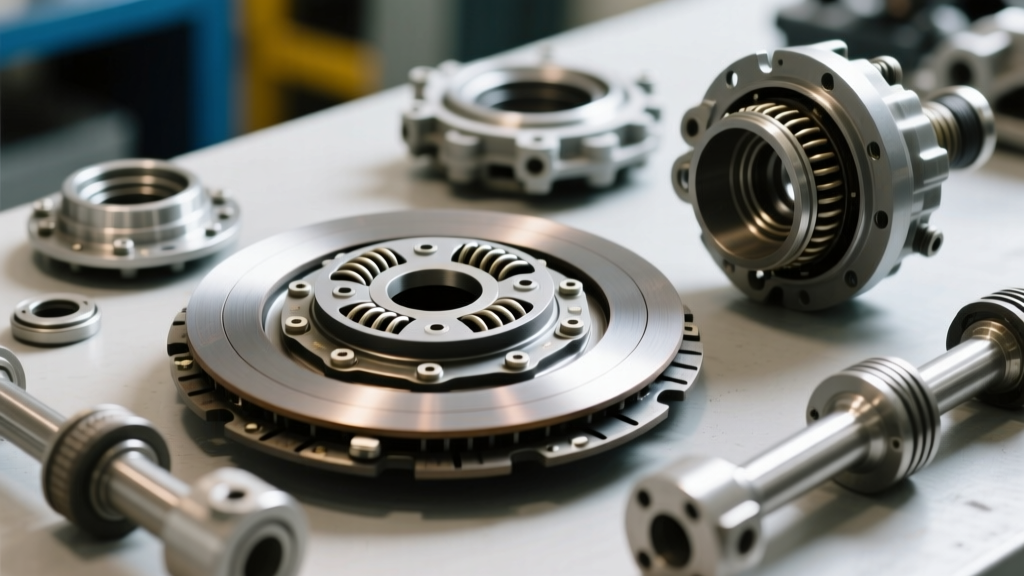
Once the transmission is removed, the true condition of the drivetrain mating surfaces and the clutch kit itself can be evaluated. Do not skip the bellhousing and flywheel inspections; installing a new clutch on an out-of-spec surface guarantees a comeback.
Friction Disc Wear and Material Analysis
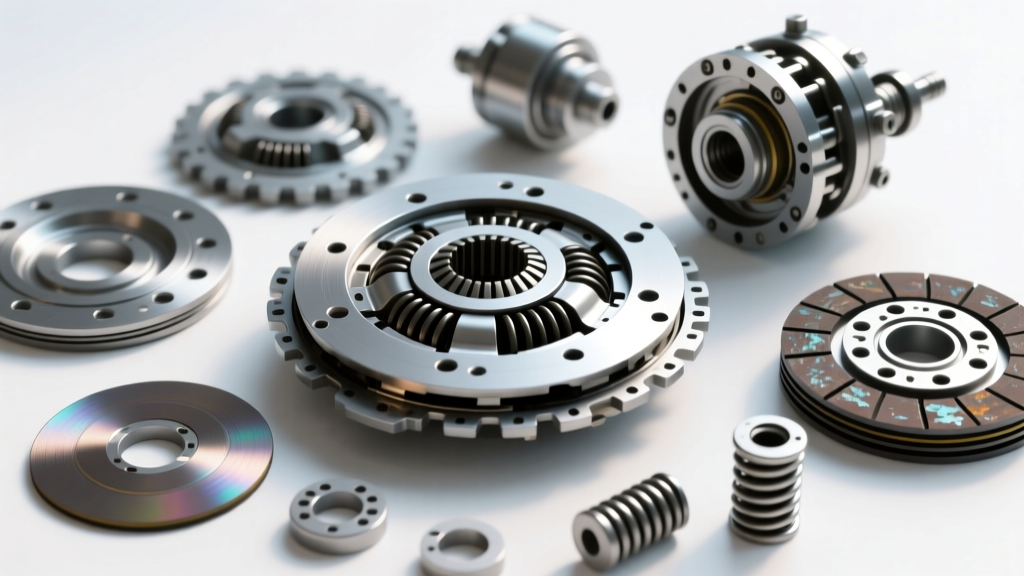
When inspecting a removed Carmena clutch disc (or any high-performance organic/ceramic hybrid), look beyond simple thickness. Check for the following failure modes:
- Torsional Damper Degradation: If the vehicle exhibited severe chatter upon engagement, inspect the hub springs. Broken or collapsed torsional dampers cannot absorb engine harmonics, transferring shockloads directly to the transmission input shaft.
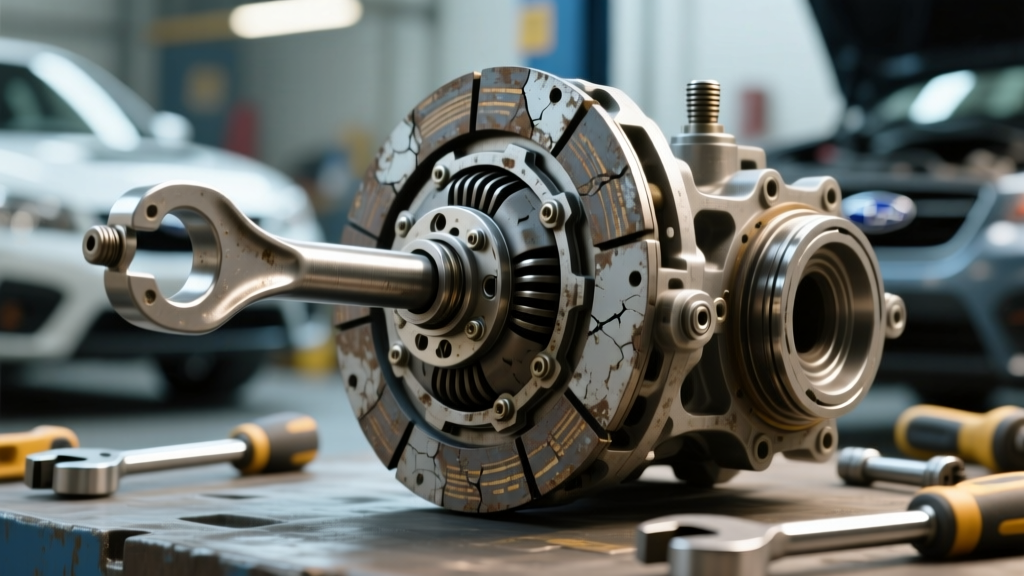
- Thermal Cracking vs. Normal Wear: Ceramic puck discs often exhibit micro-cracking on the friction surface. According to friction material testing outlined in the SAE J2522 standard, superficial heat checking is normal, but deep radial cracks that reach the backing plate mandate immediate replacement.
- Rivet Head Clearance: For full-faced organic discs, the friction material must sit at least 0.030" (0.76mm) above the rivet heads. Use a digital caliper to measure from the backing plate to the friction surface and subtract the rivet depth.
Pressure Plate Clamp Load and Diaphragm Spring
Inspect the diaphragm spring fingers for uneven wear. Grooves deeper than 0.020" indicate a faulty release bearing or improper preload. Furthermore, check the pressure plate casting for blueing (heat spots). Blueing indicates the clutch was slipped excessively, altering the metallurgical grain structure of the cast iron and reducing its coefficient of friction.
Phase 3: Flywheel and Bellhousing Machining Tolerances
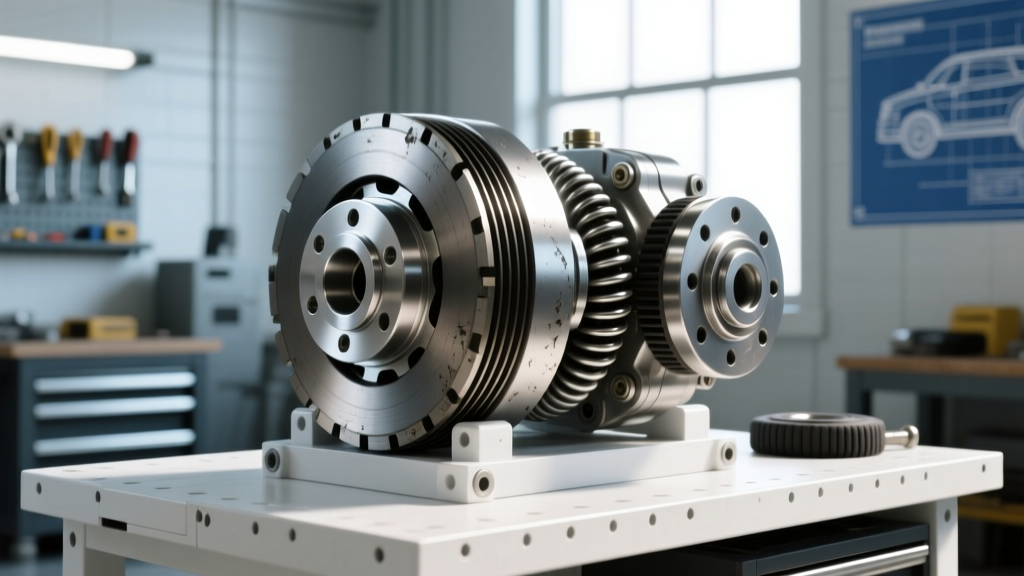
The most overlooked aspect of clutch system diagnostics is the mating hardware. A high-clamp-load pressure plate will instantly destroy a transmission if the bellhousing is misaligned or the flywheel has excessive runout.
| Component | Measurement Parameter | Acceptable Tolerance | Required Tool |
|---|---|---|---|
| Flywheel Friction Face | Axial Runout | ≤ 0.002" (0.05 mm) | Dial Indicator w/ Magnetic Base |
| Stepped Flywheel | Step Height (Crucial for Clamp Load) | Per OEM Spec (e.g., 0.020" - 0.040") | Straight Edge & Feeler Gauge |
| Bellhousing | Concentricity to Crankshaft (TIR) | ≤ 0.005" Total Indicator Runout | Dial Indicator & Sweeping Arm |
| Pilot Bearing/Bushing | Inner Race Drag & Alignment | Smooth rotation, zero grit | Telescoping Gauge & Micrometer |
| Release Bearing Collar | Wear Groove Depth | ≤ 0.015" (Replace if deeper) | Digital Caliper |
Flywheel Step Height: The Silent Killer
Many modern manual transmissions utilize a "stepped" flywheel. The step height dictates the distance between the pressure plate mounting surface and the friction surface. If a machine shop resurfaces the flywheel but fails to maintain the step height, the pressure plate will sit too deep. This artificially increases the clamp load, resulting in an impossibly heavy pedal and premature release bearing failure. Conversely, if the step is too shallow, clamp load drops, and the clutch will slip under high boost.
Bellhousing Alignment (TIR)
As documented in Tremec's official technical support guidelines, bellhousing concentricity is paramount. If the bellhousing bore is not perfectly aligned with the crankshaft centerline (Total Indicator Runout exceeding 0.005"), the transmission input shaft will operate at an angle. This causes severe vibration, accelerated pilot bearing wear, and eventual gear tooth spalling. If TIR is out of spec, install offset dowel pins (available in 0.007", 0.014", and 0.021" offsets) to correct the alignment before installing the transmission.
Phase 4: Reassembly Torque Sequences and Best Practices
Proper reassembly ensures the longevity of the clutch system. Never rely on "feel" when torquing critical drivetrain fasteners.
Expert Tip: When installing a new clutch disc, always use a precision alignment tool that mimics the exact spline count and pilot diameter of your specific transmission input shaft. Forcing the transmission bellhousing onto a misaligned disc will bend the input shaft or crack the friction material.
Critical Torque Specifications
- Flywheel to Crankshaft: Torque specs vary wildly by application. For a GM LS-series V8, the OEM torque-to-yield (TTY) bolts require 74 lb-ft plus an additional 90 degrees of rotation. If using aftermarket ARP fasteners, follow ARP's specific yield spec (typically 90-95 lb-ft with ARP Ultra-Torque lube). For a Honda K-Series, the spec is generally 59 lb-ft. Always use a star-pattern sequence to prevent flywheel warping.
- Pressure Plate to Flywheel: Typically 18 to 25 lb-ft. Tighten in a crisscross pattern, one full turn at a time, to ensure the diaphragm spring is compressed evenly. Uneven compression will warp the pressure plate casting.
- Bellhousing to Engine Block: Usually 35 to 50 lb-ft depending on the bolt thread diameter (M10 vs M12). Apply medium-strength threadlocker (e.g., Loctite 243) to prevent vibration-induced loosening.
Cost Analysis and 2026 Market Outlook
Understanding the financial commitment of a proper clutch system overhaul helps set realistic expectations for shop owners and enthusiasts alike. As of 2026, the supply chain for high-grade friction materials has stabilized, but labor rates and precision machining costs have risen.
- Performance Clutch Kit (e.g., Carmena Stage 2 Organic/Ceramic Hybrid): $550 – $850
- Chromoly Flywheel (or OEM Resurfacing): $400 (New) or $75 – $150 (Machine Shop Resurfacing)
- Offset Dowel Pins & Hardware: $45 – $80
- Pilot Bearing & Release Bearing: $60 – $120
- Professional Labor (RWD/AWD Teardown & Reassembly): $900 – $1,600 (Based on 6-10 hours at $150/hr)
Skip the machine shop inspection or ignore the bellhousing TIR, and you risk spending thousands on a replacement transmission within 10,000 miles. By adhering strictly to this clutch system inspection checklist, you ensure that the mechanical connection between the engine and the drivetrain remains robust, predictable, and durable under the most demanding conditions.