The Reality of Performance Upgrades: Why Your Carmella Clutch Chatters
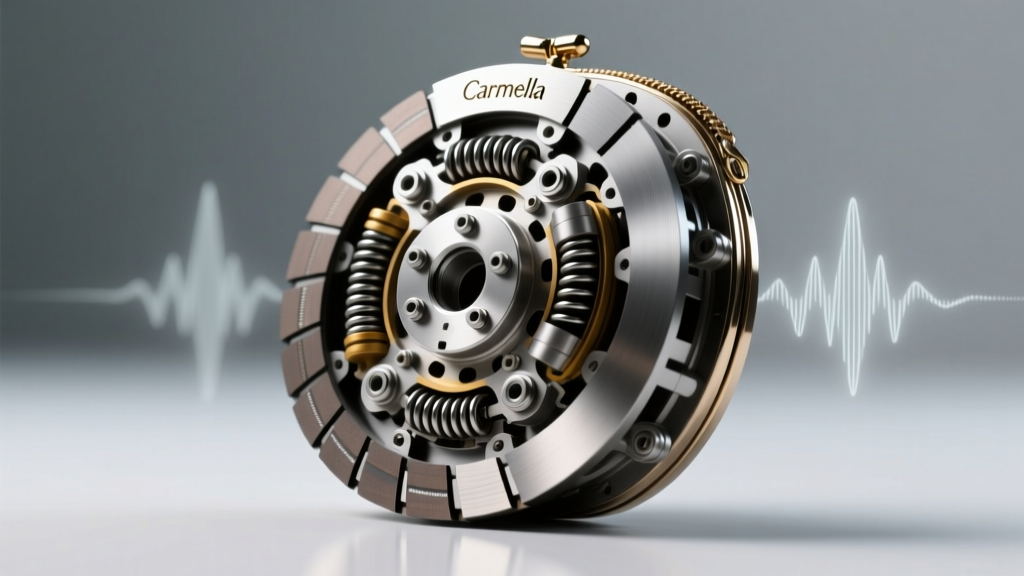
Transitioning from a factory organic friction disc to a high-torque cerametallic setup is a rite of passage for track-day enthusiasts and drag racers. When you install a heavy-duty Carmella clutch kit—typically featuring a 6-puck cerametallic disc and a high-clamp-load diaphragm pressure plate—you are fundamentally altering the friction dynamics of your drivetrain. While these kits are engineered to handle 600 to 850 lb-ft of torque at the crank, the most frequent post-installation complaint is aggressive low-speed chatter and severe drivetrain vibration.
As of 2026, modern CNC-machined cerametallic compounds offer incredible thermal stability, but they are inherently unforgiving of minor installation variances. If your newly installed Carmella clutch is shuddering violently when pulling away from a stoplight, or if you feel a high-frequency harmonic vibration through the chassis at highway speeds, the issue is rarely a defective clutch. Instead, it is almost always a symptom of improper flywheel machining, bellhousing misalignment, or driveline geometry bind. This performance diagnostic guide will walk you through the exact engineering tolerances required to eliminate chatter and restore smooth power delivery.
The Tribology of Stick-Slip: Understanding Cerametallic Friction
To diagnose chatter, you must first understand the physics of the friction material. A standard OEM organic clutch disc utilizes a composite of fiberglass, Kevlar, and resin, yielding a relatively low Coefficient of Friction (COF) of approximately 0.28 to 0.32. This material is highly progressive, allowing for smooth engagement as the disc slips against the flywheel.
The Carmella clutch utilizes a sintered iron and copper-ceramic matrix. This cerametallic compound boasts a COF of 0.45 to 0.48. While this provides immense holding power, it creates a phenomenon known as stick-slip friction. At low rotational speeds (such as launching from a dead stop), the high COF causes the disc to momentarily grab the flywheel, halt slip, and then break free again in rapid succession. This micro-grabbing occurs at harmonic frequencies between 15 Hz and 30 Hz, which resonates through the transmission mounts, bellhousing, and ultimately the vehicle chassis, manifesting as violent chatter.
"Cerametallic chatter is not always a sign of failure; it is a byproduct of high-friction physics. However, excessive vibration at higher RPMs or violent shuddering that threatens to stall the engine indicates a mechanical tolerance failure in the installation." — McLeod Racing Technical Bulletin
Diagnostic Protocol: Isolating the Vibration Source
Before pulling the transmission and dropping the clutch, you must systematically isolate the source of the vibration. Chatter and vibration in a performance manual drivetrain generally stem from three critical failure points: bellhousing concentricity, flywheel step height, and driveline operating angles.
Step 1: Bellhousing Concentricity and TIR
The input shaft of your transmission must be perfectly concentric with the crankshaft pilot bearing. If the bellhousing is offset, the input shaft will bind inside the pilot bushing and the transmission front bearing, causing the clutch disc to wobble on the splines during engagement. According to Tremec Engineering Specifications, the maximum allowable Total Indicator Runout (TIR) for a performance bellhousing bore is 0.005 inches.
- The Test: Mount a magnetic base dial indicator to the engine block or crankshaft. Place the indicator needle on the inside bore of the bellhousing.
- The Execution: Rotate the crankshaft exactly 360 degrees and record the maximum variance.
- The Fix: If your TIR exceeds 0.005 inches, you must install offset dowel pins (available in 0.005", 0.014", and 0.021" offsets from manufacturers like Lakewood or Moroso) to re-center the bellhousing.
Step 2: Flywheel Step Height and Runout
The most common cause of severe Carmella clutch chatter is an improperly machined flywheel step. Diaphragm-style pressure plates require a specific vertical distance between the friction surface and the pressure plate mounting flange. If a machine shop resurfaces your flywheel without cutting the correct step, the pressure plate fingers will over-extend or under-extend. This results in uneven clamp load distribution across the cerametallic pucks, leading to localized hot spots, uneven friction transfer, and violent engagement chatter.
Furthermore, flywheel face runout must not exceed 0.002 inches TIR. A warped flywheel will cause the clutch disc to oscillate as it clamps, transmitting a rhythmic pulsation directly into the pedal and chassis.
Step 3: Driveline Geometry and U-Joint Phasing
If your vibration occurs primarily between 50 mph and 70 mph (rather than during initial clutch engagement), the issue is likely driveline geometry. Performance engine swaps or the installation of stiffer polyurethane transmission mounts can alter the pinion angle. Universal joints require a minimum operating angle of 1 degree to keep the needle bearings rotating, but angles exceeding 3 degrees at high RPM will cause severe harmonic vibration and premature U-joint brinelling.
Critical Measurement Specifications by Platform
When diagnosing your Carmella clutch installation, cross-reference your measurements against the factory and aftermarket tolerances for your specific platform. Below are the critical specifications for popular performance applications:
| Application / Transmission | Required Flywheel Step | Max Flywheel Runout (TIR) | Max Bellhousing TIR | Flywheel Bolt Torque (ARP) |
|---|---|---|---|---|
| GM LS (Tremec T-56 Magnum) | 0.550" | 0.002" | 0.005" | 74 lb-ft (w/ Ultra-Torque) |
| Ford Coyote 5.0 (MT-82) | 0.500" | 0.002" | 0.005" | 59 lb-ft + 90 degrees |
| Nissan VQ35DE/HR (CD009) | 0.430" | 0.002" | 0.005" | 65 lb-ft (w/ Loctite 262) |
| Honda K-Series (K20/K24) | 0.000" (Flat) | 0.002" | 0.005" | 76 lb-ft (w/ Loctite 262) |
The 500-Mile Thermal Bedding Procedure
Even with perfect bellhousing alignment and exact flywheel step heights, a Carmella clutch will chatter if the friction material is not properly bedded to the flywheel. Cerametallic pucks require a thermal transfer process to lay down an even, microscopic layer of friction material onto the cast iron or steel flywheel face. Skipping this process will result in glazing, uneven grab, and persistent low-speed shudder.
- Miles 0-50 (Coolant Warm-Up): Drive the vehicle in stop-and-go traffic. Slip the clutch slightly more than normal to generate mild surface heat. Avoid holding the car on inclines using the clutch pedal.
- Miles 50-300 (Thermal Cycling): Perform 10 to 15 controlled engagements from 30 mph to 10 mph in 3rd gear. Allow the drivetrain to cool for 5 minutes between sets. This cycles the cerametallic compound through its operational temperature range without causing thermal shock.
- Miles 300-500 (Load Bedding): Introduce moderate throttle (up to 50% TPS) during engagement. Do not perform wide-open-throttle (WOT) launches. WOT launches before 500 miles will instantly glaze the cerametallic pucks, permanently ruining the friction surface and necessitating a complete teardown and sanding of the flywheel.
When to Replace: Identifying Fatal Failure Modes
While some degree of low-speed chatter is the accepted compromise for a 700 lb-ft holding capacity, certain vibrations indicate catastrophic failure. If you experience a high-frequency metallic rattling at idle that disappears when the clutch pedal is fully depressed, your Carmella clutch's sprung hub dampeners may have failed. Performance clutches utilize heavy-duty polyurethane or steel spring dampeners to absorb idle harmonics; if these springs fracture or lose tension, the disc hub will rattle against the input shaft splines.
Additionally, if the chatter is accompanied by a burning sulfur odor and a sudden drop in pedal resistance, the diaphragm pressure plate fingers have likely overheated and lost their temper, resulting in a loss of clamp load. In this scenario, the pressure plate must be replaced, and the flywheel must be inspected for thermal cracking and hard-spotting.
Summary: Precision is the Price of Performance
Upgrading to a Carmella clutch is one of the most effective ways to reliably put high horsepower to the ground. However, the margin for error in a performance drivetrain is measured in thousandths of an inch. By verifying bellhousing TIR, ensuring exact flywheel step heights, correcting driveline angles, and strictly adhering to the thermal bedding procedure, you can eliminate destructive chatter and enjoy the raw, unfiltered engagement that only a premium cerametallic clutch can provide.