The Alpha Platform IRS and Leak Vulnerabilities
The 2017 Cadillac CTS, built on GM's highly acclaimed Alpha platform, utilizes a sophisticated Independent Rear Suspension (IRS) system. The rear differential is mounted directly to a rigid rear subframe via elastomeric bushings to minimize Noise, Vibration, and Harshness (NVH). While this setup delivers exceptional handling dynamics, the physical placement of the 2017 Cadillac CTS rear differential makes it highly susceptible to road debris, thermal cycling, and eventual seal degradation. When gear oil begins to weep, it is frequently misdiagnosed as a transmission output shaft leak or a rear main engine seal failure due to the aerodynamic undertrays and the natural rearward slope of the chassis.
Ignoring a minor weep can lead to catastrophic hypoid gear wear, bearing failure, and the destruction of the limited-slip clutch packs if your CTS is equipped with the G80 RPO locking differential. This comprehensive model-specific repair guide will walk you through precise leak detection, OEM part sourcing, and the exact torque specifications required to restore your driveline to factory integrity.
Diagnostic Triage: Locating the Gear Oil Source
Before unbolting a single CV flange, you must positively identify the leak source. The 2017 CTS rear differential has three primary failure points for fluid egress. Perform a thorough undercarriage wash, followed by a 20-mile test drive to map the fluid trajectory.
The Sensory and Chemical Test
Gear oil contains sulfur-based extreme pressure (EP) additives that emit a distinct, pungent odor reminiscent of rotten eggs. In contrast, Dexron VI or Ultra LV transmission fluid smells slightly sweet and metallic, while engine oil carries a burnt carbon scent. If the fluid is dark, viscous, and smells of sulfur, you are dealing with a differential leak. For ambiguous cases, introduce a UV-reactive dye into the differential fill port, drive the vehicle, and inspect the housing with a 365nm UV flashlight.
Mapping the Leak Origins
| Leak Location | Visual Symptoms | Common Failure Mode |
|---|---|---|
| Left/Right Axle Seals | Fluid slung radially onto the inner brake rotors and lower control arms. | Lip wear from CV shaft runout or clogged differential breather causing over-pressurization. |
| Pinion Seal | Fluid dripping directly from the front of the pumpkin, coating the driveshaft and exhaust tunnel. | Rubber desiccation, thermal hardening, or worn pinion bearing preload allowing shaft wobble. |
| Fill/Drain Plugs | Localized wetness at the lowest point of the housing or near the rear cover. | Crushed aluminum washers, stripped threads, or improper torque during previous service. |
The Hidden Culprit: Differential Breather Valve Inspection
One of the most overlooked causes of repeated axle seal failure on the Alpha platform is a clogged differential breather. As the 2017 Cadillac CTS rear differential heats up during aggressive driving or highway cruising, the internal air expands. If the breather valve—typically a small plastic or metal cap located on the upper rear quadrant of the housing—is clogged with road grime or undercoating, internal pressure spikes. This pressure forces gear oil past the path of least resistance: the axle shaft lip seals. Always remove, clean, and verify the breather is free-flowing before condemning new seals. If the breather is damaged, replace it with OEM GM P/N 15861589.
Essential Tools and OEM Part Numbers
Sourcing the correct seals and lubricants is critical. The CTS requires specific synthetic formulations to protect the hypoid cut of the ring and pinion while preventing chatter in limited-slip applications. Consult the ACDelco Parts and Lubricants Catalog or your local dealer with your VIN to verify your exact RPO code (GU5 for 3.23 ratio, GU6 for 3.45 ratio). You can also cross-reference aftermarket equivalents from SKF or Timken via the RockAuto Auto Parts Catalog.
| Component | OEM GM / ACDelco P/N | Aftermarket Equiv. | Est. Cost (2026) |
|---|---|---|---|
| 75W-85 Synthetic Axle Lube (1 Qt) | 88862624 (10-4016) | Amsoil / Red Line 75W-85 | $18 - $28 |
| Axle Shaft Output Seal (Each) | 84148804 | Timken 710924 / SKF 21218 | $12 - $22 |
| Pinion Seal | 84386655 | Timken 711031 | $18 - $35 |
| Drain/Fill Plug Crush Washers | 11561252 | Generic 14mm Aluminum | $2 - $5 |
Step-by-Step Repair Procedures
Scenario A: Replacing the Axle Shaft (Output) Seals
Replacing the axle seals on the 2017 CTS requires partial disassembly of the rear suspension and braking components. You will need a heavy-duty jack, jack stands, and a seal puller/driver set.
- Wheel and Brake Removal: Safely lift the rear of the vehicle. Remove the rear wheels, brake calipers (suspend them with a bungee cord to avoid stressing the ABS line), and brake rotors.
- CV Flange Disconnection: Unbolt the six 10mm (or 12mm depending on exact build date) CV joint flange bolts securing the axle to the differential output flange. Torque spec for reassembly is critical: 80 Nm (59 lb-ft).
- Axle Extraction: Carefully slide the axle shaft out of the differential housing. Support the outer CV joint to prevent it from over-extending and damaging the internal tripod bearings.
- Seal Removal and Bore Prep: Use a dedicated hook-style seal puller to extract the old seal. Wipe the seal bore clean with lint-free shop towels and brake cleaner. Inspect the bore for scoring.
- Seal Installation: Lubricate the outer metal rim of the new seal with a thin film of gear oil. Using a correctly sized seal driver (typically 48mm-50mm for this application), tap the seal in evenly until it seats fully against the internal shoulder. Do not cock the seal in the bore.
- Reassembly: Lubricate the inner lip of the new seal with fresh gear oil. Carefully guide the CV splines through the seal to avoid cutting the rubber lip. Reinstall flange bolts and brake components.
Scenario B: Pinion Seal Replacement (Advanced)
The pinion seal sits where the rear driveshaft connects to the differential. Replacing it requires managing the pinion bearing preload. If your CTS uses a crush-sleeve design, overtightening the pinion nut will crush the sleeve further, leading to immediate bearing failure and a high-pitched whine. If it uses a solid spacer with shims, it is slightly more forgiving but still requires precision.
Expert Warning: Before removing the pinion nut, use a center punch to mark the exact alignment of the nut to the pinion shaft threads, and use a torque wrench to measure the exact rotational torque required to turn the pinion flange (typically 15-25 in-lbs of drag). You must replicate this exact drag upon reassembly.
Use a flange holding tool (such as OTC 4575 or a generic strap wrench anchored to the ground) to prevent the driveshaft from spinning while you break the pinion nut loose with a 1/2-inch breaker bar. Extract the old seal, lubricate the new seal lip, and drive it squarely into the housing. Reinstall the flange, tighten the nut to your alignment marks, and verify the rotational drag matches your pre-disassembly measurement.
Fluid Specifications and Refill Protocol
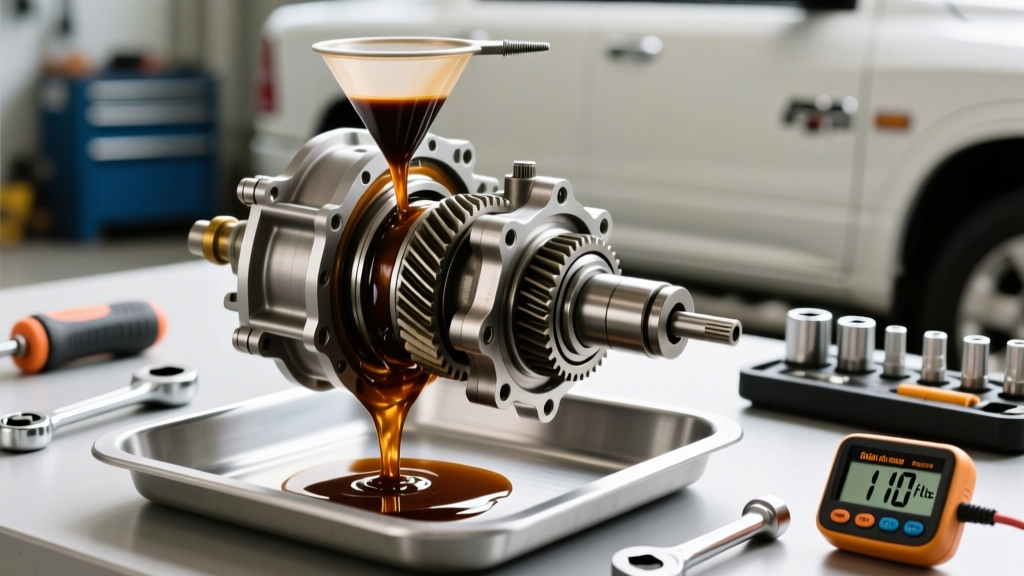
Once the seals are replaced, the differential must be refilled to the exact level. The 2017 Cadillac CTS rear differential holds approximately 1.4 Liters (1.48 Quarts) of fluid. GM strictly specifies a 75W-85 Synthetic Axle Lubricant. Do not substitute with thicker 75W-90 or 80W-90 mineral gear oils; the thicker viscosity will cause sluggish clutch pack engagement in G80 locking differentials and reduce fuel economy.
Torque Specification Chart
| Fastener / Component | Metric Torque | Imperial Torque |
|---|---|---|
| Differential Drain Plug | 25 Nm | 18 lb-ft |
| Differential Fill Plug | 25 Nm | 18 lb-ft |
| CV Flange to Diff Output Bolts | 80 Nm | 59 lb-ft |
| Brake Caliper Bracket Bolts | 140 Nm | 103 lb-ft |
The Refill Process
Always remove the Fill Plug first before removing the Drain Plug. This prevents the disaster scenario of draining the fluid only to discover the fill plug is seized or stripped. Clean both plugs, replace the aluminum crush washers, and drain the old fluid into a calibrated catch pan to verify the exact volume lost. Reinstall and torque the drain plug to 25 Nm. Using a fluid transfer pump, inject the new 75W-85 synthetic gear oil into the fill port until it begins to weep out of the opening. Install the fill plug and torque to 25 Nm.
Post-Repair Verification and Break-In
After completing the repair, wipe down the entire differential housing, CV joints, and subframe with a degreaser. Lower the vehicle and perform a 30-mile test drive encompassing both highway speeds and tight, low-speed figure-eight maneuvers in an empty parking lot. The figure-eight test is crucial for vehicles equipped with the G80 locking differential, as it forces the clutch packs to cycle and ensures the new fluid is properly distributed and free of chatter. Re-inspect the seal lips and plug areas with a flashlight. If the housing remains dry and the characteristic sulfur odor is absent, your 2017 Cadillac CTS rear differential is sealed, serviced, and ready for the road. For further driveline maintenance intervals and technical service bulletins, always refer to GM Ownership and Service Resources.