Mastering the 2013 Ram 1500 Front Differential Service
The 2013 Ram 1500 represents a benchmark year for the fourth-generation (DS) platform, featuring robust drivetrain pairings like the ZF 8HP automatic or the 65RFE transmission mated to rugged transfer cases. However, the unsung hero of the 4x4 system is the front axle assembly. Specifically, the 2013 model utilizes the American Axle Manufacturing (AAM) 9.25-inch Independent Front Suspension (IFS) differential. While this IFS unit provides excellent ride quality and ground clearance, its aluminum housing and internal bearing tolerances demand strict adherence to fluid maintenance schedules.
As we look at these trucks from a 2026 perspective, many are crossing the 100,000-mile threshold. Neglecting the front differential gear oil leads to premature ring and pinion wear, bearing failure, and catastrophic internal scoring. This comprehensive, step-by-step guide will walk you through the exact procedure, torque specifications, and diagnostic insights required to service your front axle correctly.
Debunking the "Lifetime" Fluid Myth
Factory service manuals from the early 2010s often listed front differential fluid as "lifetime" under normal driving conditions, or recommended intervals spanning up to 150,000 miles. In the real world of automotive engineering, "lifetime" simply means the warranty period. Gear oil degrades due to thermal cycling, shear stress, and microscopic metal particulate accumulation. For a truck that sees towing, off-road use, or cold-weather commuting, waiting 150,000 miles is a guaranteed recipe for a $2,500 axle rebuild.
Recommended Service Intervals
| Driving Condition | Factory Recommendation | Expert Real-World Interval |
|---|---|---|
| Highway / Commuting | 150,000 miles | 50,000 miles |
| Towing / Heavy Hauling | 30,000 miles | 15,000 - 30,000 miles |
| Off-Road / Trail Use | Not Specified | Every 10,000 miles |
| Water Submersion | N/A | Immediately (Water Intrusion) |
Tools, Parts, and Specifications
Before sliding under the truck, gather the correct materials. The AAM 9.25 IFS differential has specific requirements regarding fluid viscosity and volume.
- Fluid Specification: API GL-5 SAE 75W-85 or 75W-90 Full Synthetic Gear Oil. (OEM Mopar Part # 68083738AA or equivalent premium synthetic like AMSOIL Severe Gear 75W-90).
- Fluid Capacity: Approximately 1.45 Liters (1.53 Quarts). Purchase 2 quarts to ensure you have enough for the fill and weep process.
- Friction Modifier Note: Unlike the rear axles equipped with Chrysler clutch-type Limited Slip Differentials (LSD), the front AAM 9.25 IFS typically operates as an open differential or utilizes a helical/spool-style LSD that does not require the limited-slip friction modifier additive. Standard GL-5 synthetic is correct.
- Tools Required:
- 3/8-inch drive ratchet and breaker bar
- 10mm Hex (Allen) bit or 3/8-inch square drive (AAM casting plugs vary by exact build month; inspect your plug head before purchasing bits)
- Torque wrench (capable of 25 ft-lbs / 34 Nm)
- Gear oil hand pump
- Brake parts cleaner, shop towels, and nitrile gloves
- Drain pan (minimum 3-quart capacity)
Step-by-Step Fluid Change Procedure
Step 1: Vehicle Preparation and Leveling
The AAM IFS differential fill level is highly sensitive to vehicle pitch. If the front of the truck is elevated higher than the rear on jack stands, the fluid will pool backward, resulting in a severe under-fill condition that will starve the pinion bearing. Drive the truck onto four identical lift ramps, or ensure the truck is parked on a perfectly level concrete surface. Engage the parking brake and chock the rear wheels.
Step 2: Clean the Housing and Locate Plugs
Spray the exterior of the differential housing, specifically around the fill and drain plugs, with brake cleaner. The AAM 9.25 features an aluminum casing that easily collects road grime. Wipe it clean to prevent debris from falling into the gear set once the plugs are removed. Locate the fill plug (higher up on the housing) and the drain plug (at the lowest point of the sump).
Step 3: Remove the FILL Plug First (Crucial Rule)
Always remove the fill plug before the drain plug. If your fill plug is stripped, seized, or rounded off, you must know before you drain the axle. Being stuck with an empty differential and a blocked fill hole turns a 30-minute maintenance task into a multi-hour extraction nightmare. Use your 10mm hex bit or 3/8" square drive to break the fill plug loose, then remove it by hand.
Step 4: Drain the Old Gear Oil
Place your drain pan beneath the axle. Remove the drain plug. Allow the fluid to drain completely; this may take 10 to 15 minutes as the 75W-85 synthetic oil is viscous at room temperature. Pro-Tip: If your truck is equipped with the Central Axle Disconnect (CAD) actuator on the passenger side, be mindful of the wiring harness routing near the fill area. Do not rest heavy tools on the CAD actuator housing, as the plastic becomes brittle with age and heat cycles.
Step 5: Inspect the Drain Plug and Fluid
The OEM drain plug is magnetic. Inspect the sludge clinging to the magnet.
- Normal: A fine, dark metallic paste (fines) is normal clutch and gear wear.
- Warning: Milky or chocolate-milk-colored fluid indicates water intrusion. Inspect the axle breather tube on top of the differential housing for cracks or submersion damage.
- Critical: Chunky metal flakes or needle-bearing shards indicate catastrophic internal failure requiring a teardown.
Step 6: Reinstall and Torque the Drain Plug
Thread the clean drain plug back into the aluminum housing by hand to prevent cross-threading. Once seated, use your torque wrench to tighten the plug to exactly 25 ft-lbs (34 Nm). Do not over-torque; the aluminum threads of the AAM 9.25 housing are notoriously soft and will strip if subjected to impact guns or excessive leverage.
Step 7: Pump and Fill the New Fluid
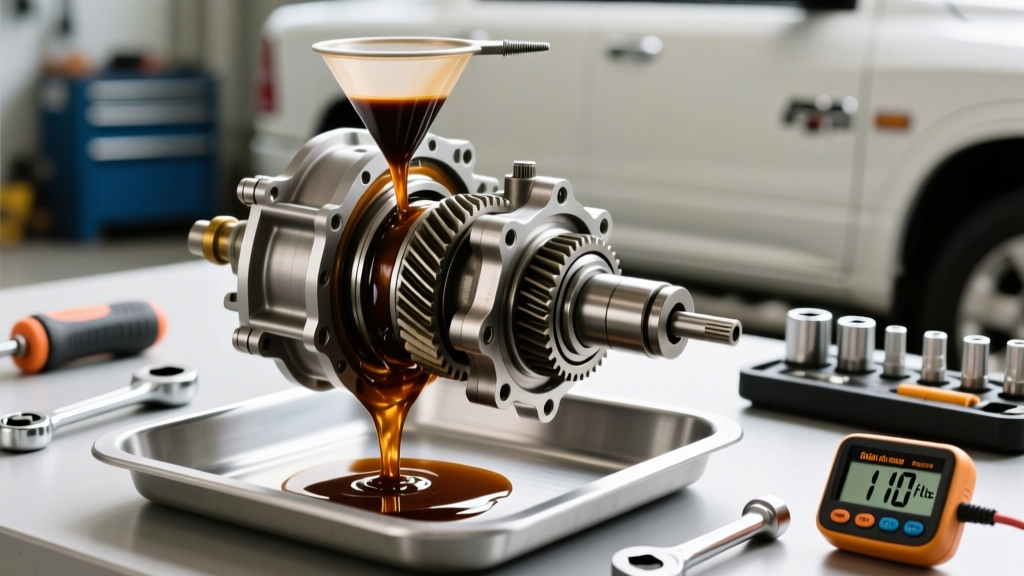
Attach your hand pump to the new bottle of 75W-90 or 75W-85 synthetic gear oil. Feed the hose into the fill hole. Pump the fluid into the differential until it reaches the bottom edge of the fill hole threads and begins to weep out onto your finger or the floor. This indicates the axle is perfectly leveled and full to specification (approx. 1.45 Liters).
Step 8: Reinstall and Torque the Fill Plug
Wipe away the excess weeping fluid. Thread the fill plug back into the housing and torque it to 25 ft-lbs (34 Nm). Give the entire housing a final wipe-down with brake cleaner to remove any oily residue, which makes spotting future leaks significantly easier.
Troubleshooting Common AAM 9.25 Issues
When working on aging 2013 models, you may encounter specific edge cases that require immediate remediation.
Stripped Aluminum Threads
If a previous owner over-torqued the drain or fill plug, the aluminum threads may strip out upon removal. Do not attempt to use Teflon tape as a permanent fix; it will eventually leak and contaminate the gear set. The correct engineering repair is to use a Time-Sert or Helicoil thread repair kit matched to your specific plug thread pitch (commonly M10x1.5 or 3/8-16 depending on the exact casting revision). This restores the hole to OEM strength.
Axle Vent Tube Degradation
The front differential breathes through a small plastic vent tube routed upward into the engine bay. Over a decade of heat cycling, this plastic tubing and its rubber boot become brittle and crack. If you find water in your differential fluid, replace the entire vent tube assembly (available via Mopar Official Parts dealers) to restore the sealed vacuum-breaker system and prevent future hydro-locking of the gear oil.
Final Drivetrain Integration Thoughts
Performing a front differential fluid change on your 2013 Ram 1500 is one of the highest-ROI maintenance tasks you can execute. By utilizing high-quality synthetic GL-5 lubricants, adhering to strict 25 ft-lbs torque parameters, and respecting the pitch-sensitive fill procedure of the AAM 9.25 IFS, you ensure that the front axle remains quiet, cool, and capable of handling the torque output of your drivetrain for the next 100,000 miles. For further reference on drivetrain fluid capacities and towing specifications, always consult the Ram Trucks Owner's Manuals archive.