The Paradigm Shift: Classic C6 Transmission Rebuild vs. Modern 6L80E
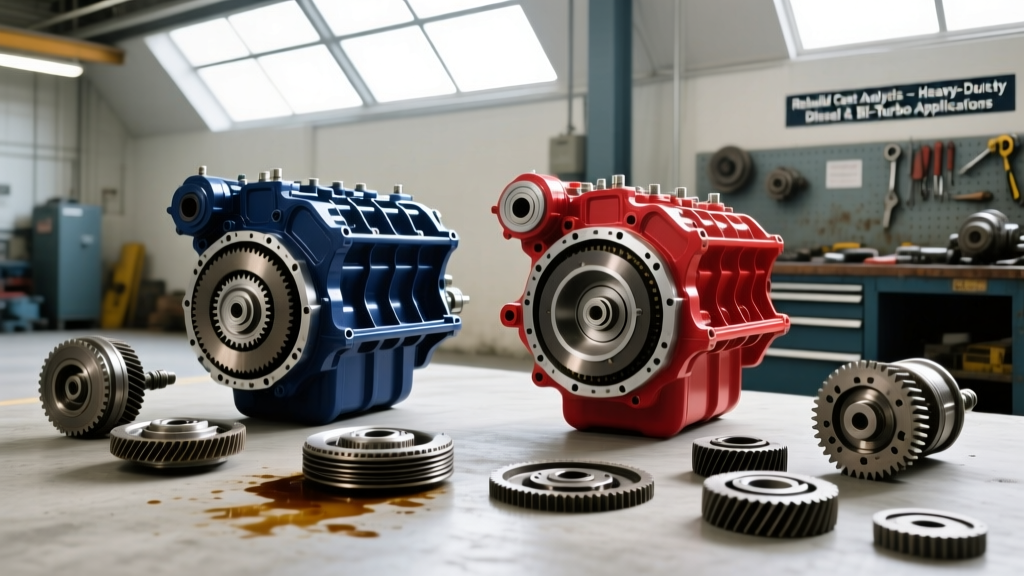
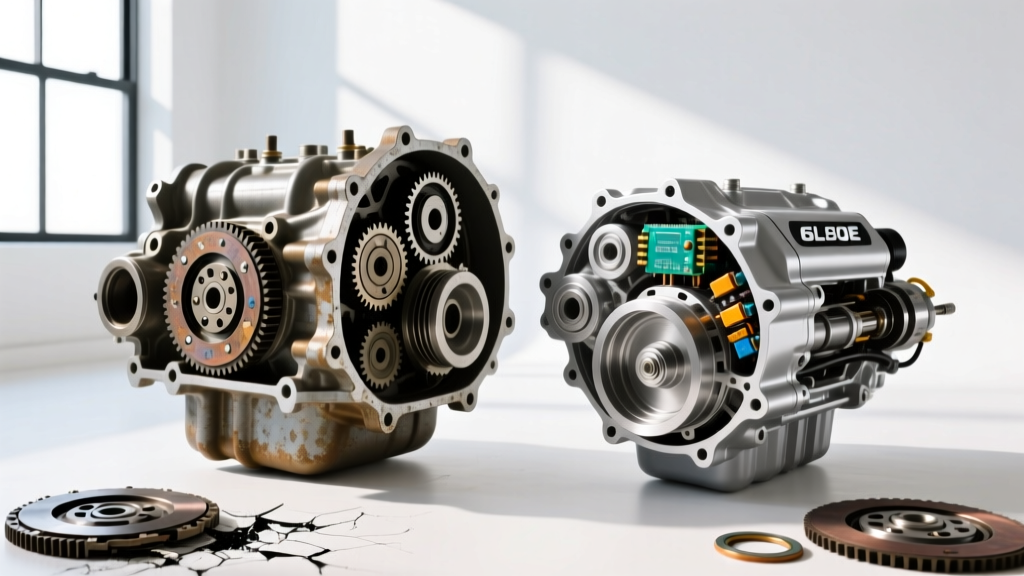
Many hot-rodders and weekend wrenches cut their teeth on a classic Ford c6 transmission rebuild. The C6 is a legendary, heavy-duty 3-speed automatic that relies on simple hydraulic valves, robust bands, and forgiving clutch clearances. You can rebuild a C6 on a picnic table with a basic socket set, a feeler gauge, and a manual. However, as the automotive world has evolved, so has the complexity of the drivetrain. Today, the GM 6L80E (and its heavy-duty sibling, the 6L90E) is the undisputed king of junkyard swaps, LS restomods, and modern daily-driver repairs.
Transitioning from a vintage hydraulic transmission to a modern 6-speed electronic marvel requires a massive shift in mindset. The 6L80E utilizes a complex Lepelletier compound planetary gearset, clutch-to-clutch shifting, and a highly sensitive Transmission Electro-Hydraulic Control Module (TEHCM) mounted directly inside the fluid pan. This guide breaks down the realities, costs, and critical specifications of a 6L80E rebuild for beginners stepping into the modern era.
Anatomy of a 6L80E Failure: What Actually Breaks?
Before ordering parts, you must understand why the 6L80E fails. Unlike the C6, which usually fails due to simple band wear or seal degradation, the 6L80E has a few notorious, model-specific Achilles heels that must be addressed during any rebuild.
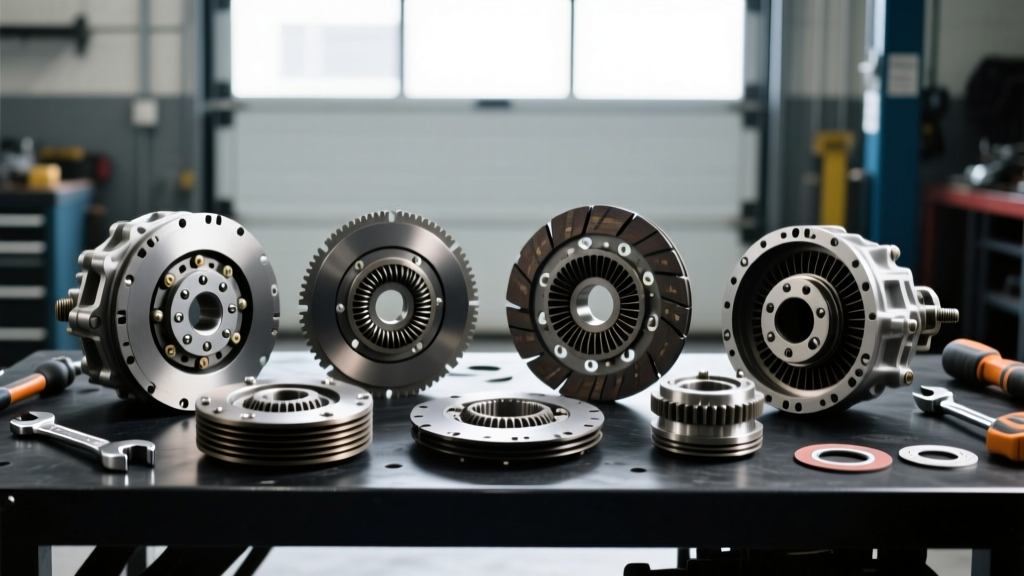
- The 3-5-R Wave Plate Failure: This is the most common catastrophic failure in early to mid-production 6L80Es. The factory stamped steel wave plate in the 3-5-R clutch pack fatigues and snaps under high load. Once it shatters, metal shards are instantly distributed throughout the transmission, destroying the clutch frictions, scoring the pump, and lodging in the valve body. The Fix: Discard the wave plate and replace it with a flat factory apply plate or an aftermarket billet 3-5-R apply plate.
- TEHCM Solenoid Degradation: The TEHCM houses the Transmission Control Module (TCM) and the shift solenoids. Over time, the tiny internal filters in the solenoids clog with clutch debris, causing harsh shifts or 'limp mode'. Because the solenoids are not individually serviceable in a standard OEM setup, a failed TEHCM often requires a complete unit replacement.
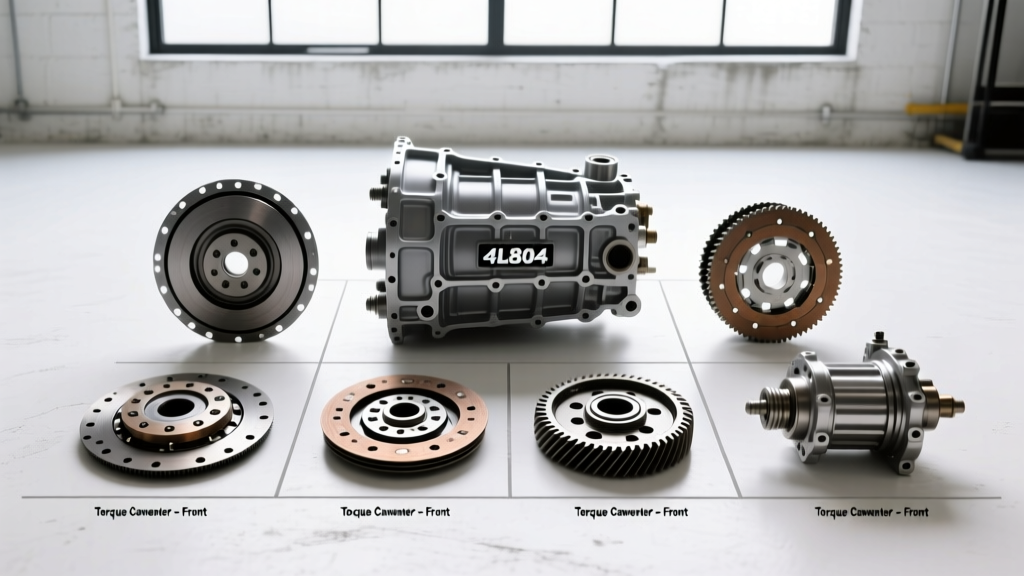
- Torque Converter Shudder: The 6L80E relies heavily on the torque converter clutch (TCC) for fuel economy, applying it as early as 1st gear in some tuning profiles. This causes severe wear on the TCC lining, leading to the infamous 'GM shudder'. A custom rebuilt billet torque converter is mandatory during a 6L80E rebuild.
2026 Cost Breakdown: DIY Rebuild vs. Professional Shop
Pricing for transmission components has shifted in 2026 due to supply chain adjustments and the rising cost of raw electronics. Below is a realistic cost comparison for a standard 6L80E overhaul.
| Component / Service | DIY Sourcing Cost | Professional Shop Cost |
|---|---|---|
| Master Rebuild Kit (Frictions, Steels, Seals, Rings) | $350 - $450 | $500 - $650 (Markup) |
| Billet 3-5-R Apply Plate & Upgraded Snap Rings | $85 - $120 | $150 - $200 |
| Custom Billet Torque Converter (Stall/Reman) | $450 - $750 | $800 - $1,200 |
| TEHCM Replacement (If required) + J2534 Flash | $300 (Used) + $150 (Flash) | $650 (New) + $250 (Labor) |
| Machine Shop (Pump/Case Resurfacing) | $150 - $250 | $300 - $450 |
| Assembly Labor & Dyno Testing | $0 (Your Time) | $1,200 - $1,800 |
| Total Estimated Cost | $1,335 - $2,220 | $3,600 - $4,550 |
For beginners, sourcing a high-quality master kit from Summit Racing or a dedicated transmission supplier is the most cost-effective route. Always opt for kits that include Kolene-coated steels and high-energy friction materials.
Critical Torque Specs and Clearances for the 6L80E
A major difference between a vintage C6 transmission rebuild and a 6L80E rebuild is the margin for error. The 6L80E valve body is cast from a brittle aluminum alloy. If you use a standard 1/2-inch drive torque wrench and guess the settings, you will crack the valve body and ruin a $400 component. You must invest in a high-quality inch-pound torque wrench.
Essential Assembly Specifications
- Valve Body to Case Bolts: 8 - 10 Nm (71 - 89 lb-in). Do not exceed 90 lb-in.
- TEHCM to Case Bolts: 10 Nm (89 lb-in).
- Pump to Case Bolts (M8): 25 Nm (18 lb-ft).
- Bellhousing to Engine Block: 50 Nm (37 lb-ft).
- Clutch Pack Clearances: Most 6L80E clutch packs (1-2-3-4, 4-5-6) require a clearance of 0.060" to 0.080". The 3-5-R pack (using the upgraded flat plate) should be set slightly tighter, around 0.045" to 0.060", to ensure rapid apply and prevent flare shifts.
- Endplay: Total geartrain endplay should be checked with a dial indicator. Ideal spec is 0.010" to 0.025". Selective thrust washers are available from Sonnax Industries to dial this in perfectly.
The TEHCM Headache: Programming and Flashing
Here is where the modern rebuild diverges entirely from the classics. If your 6L80E's internal TEHCM is damaged, or if you are swapping a 6L80E from a 2014 Silverado into a 1969 Camaro, you cannot simply plug it in and drive. The TEHCM contains the TCM, which is VIN-locked and calibrated to the specific vehicle's tire size, axle ratio, and engine torque curve.
Expert Tip: If you are performing an LS-swap and using a standalone harness, companies like Speartech or PSI offer pre-programmed TEHCMs and wiring harnesses that eliminate the need for a CAN-bus network, allowing the 6L80E to communicate directly with aftermarket ECUs like the Holley Terminator X.
If replacing the TEHCM in a stock vehicle, you will need a J2534 pass-through device (like a GM MDI2 or a MongoosePro) and access to GM's Techline Connect software to flash the correct calibration files. Budget at least $150 for a mobile programmer to come to your driveway if you do not own the software.
Step-by-Step Overview: What to Expect Inside
- Tear Down & Inspection: Remove the TEHCM immediately to prevent damage. Disassemble the Lepelletier gearset. Pay close attention to the stator support shaft splines; if they are stripped, the case may need machining or replacement.
- Cleaning: The 6L80E valve body features micro-valves that are incredibly sensitive to debris. Flush the case and valve body with dedicated transmission cleaner, followed by compressed air. Never use shop towels; use only lint-free foam swabs and Kimwipes.
- Pump Rebuild: The gerotor pump is prone to slide wear. Use a Sonnax boost valve kit and a heavy-duty slide spring to ensure adequate line pressure at high RPM.
- Clutch Packing: Soak all new friction plates in Dexron VI fluid for at least two hours before assembly. Use a feeler gauge to verify clearances on every single pack before installing the snap rings.
- Final Assembly & Fluid Fill: The 6L80E requires Dexron VI (or Dexron ULV for specific later-model applications, though standard 6L80E takes Dexron VI). Dry fill capacity is approximately 11.2 quarts (10.6 Liters). Always perform the initial fill through the dipstick tube or fill plug, start the engine, cycle through the gears, and then check the level at the designated temperature check plug on the pan while the fluid is between 86°F and 122°F.
Final Verdict: Is the 6L80E Rebuild Right for You?
If you are accustomed to the forgiving nature of a C6 transmission rebuild, the 6L80E will test your patience, your cleanliness standards, and your wallet. However, the reward is a transmission capable of handling 600+ lb-ft of torque (when properly upgraded) while providing a 4.03:1 first gear and a 0.67:1 overdrive. By investing in upgraded 3-5-R hardware, a billet torque converter, and adhering strictly to inch-pound torque specs, a beginner can successfully navigate a 6L80E rebuild and bring a modern drivetrain back to life.
For ongoing failure analysis and industry updates, professionals frequently consult Transmission Digest to stay ahead of the latest OEM revisions and aftermarket solutions.