The Chemistry and Mechanics of a Burning Clutch Smell
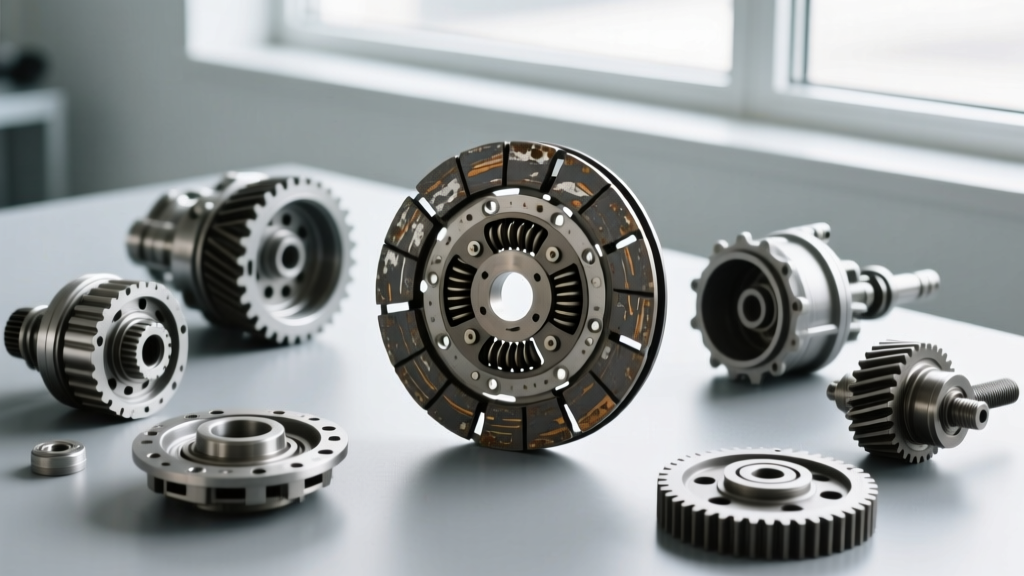
There are few aromas more alarming to a manual transmission enthusiast than the sharp, acrid stench of a burning clutch. This distinct odor is not merely a nuisance; it is a critical diagnostic indicator of severe friction material degradation and thermal overload. When a clutch slips, the kinetic energy that should be transferring to the transmission input shaft is instead converted into intense parasitic heat. Friction facings—typically composed of phenolic resins, fiberglass strands, metallic powders, and Kevlar weaves—begin to break down when surface temperatures exceed 400°F (204°C). The resulting off-gassing releases sulfur and carbon compounds, creating the unmistakable 'burning brake pad' smell that permeates the cabin and engine bay.
While modern hydraulic systems often mask linkage issues until catastrophic failure, classic mechanical linkages expose the root cause of clutch slip immediately. To understand the intricate relationship between pedal geometry and clutch engagement, we will use a highly specific, real-world scenario: diagnosing a slipping, burning clutch immediately following a 1972 Chevy C10 clutch pedal pad install. This case study highlights how minor alterations in pedal resting position can completely destroy the clamping force of a heavy-duty pressure plate.
Case Study: The 1972 Chevy C10 Mechanical Z-Bar Linkage
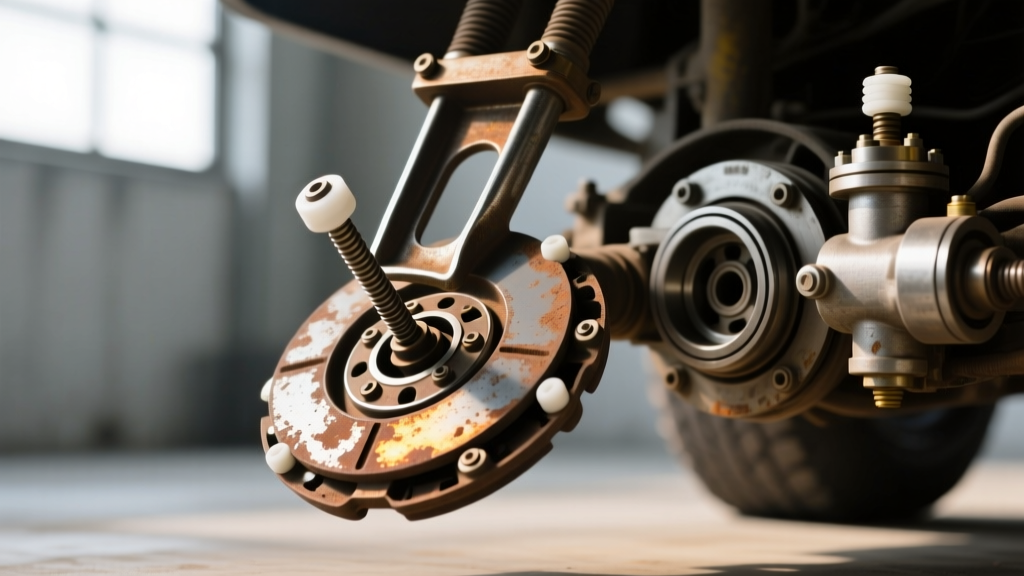
The 1972 Chevrolet C10 pickup utilizes a robust but unforgiving mechanical clutch linkage system. Unlike modern vehicles equipped with self-adjusting hydraulic throwout bearings (such as those found in Tremec T-56 Magnum applications), the C10 relies on a Z-bar (equalizer bar) that pivots between the engine block and the frame rail. This Z-bar translates the downward motion of the clutch pedal into the forward motion of the clutch fork, which pushes the throwout bearing against the pressure plate fingers.
How a Pedal Pad Install Ruins Freeplay
Why would a simple 1972 Chevy C10 clutch pedal pad install trigger a burning clutch smell? The answer lies in pedal freeplay and resting geometry. When a restorer or mechanic removes the original, worn rubber pedal pad to install a new reproduction unit (such as those sourced from Classic Industries), they often manipulate the pedal arm. If the Z-bar pushrod is not disconnected or backed off during this process, the linkage can bind, or the pedal's resting position can be artificially elevated.
If the new, thicker rubber pedal pad prevents the pedal from returning to its absolute forward resting stop, the Z-bar remains slightly engaged. This eliminates the critical 1/8-inch to 1/4-inch air gap between the throwout bearing face and the pressure plate diaphragm fingers. Consequently, the throwout bearing rides the spinning pressure plate continuously. This constant, light pressure prevents the pressure plate from fully clamping the friction disc against the flywheel, resulting in micro-slipping under load, massive heat generation, and the inevitable burning smell.
Step-by-Step Diagnosis of Clutch Slip and Burn
Before tearing into the bellhousing and ordering a replacement clutch kit (like a Centerforce DY355212 Diaphragm setup or a LuK RepSet), you must verify if the issue is mechanical adjustment or actual friction material failure. Follow this diagnostic protocol:
- The Pedal Freeplay Measurement: Using a steel ruler, measure the distance the 1972 C10 clutch pedal pad travels before you feel resistance from the Z-bar linkage. General Motors specified 1 to 1.5 inches of freeplay at the pedal pad. If your freeplay is zero, the throwout bearing is riding the fingers.
- The Fork Clearance Check: With the engine off, reach up into the bellhousing inspection cover (or use a borescope). Check the gap between the throwout bearing carbon face and the pressure plate fingers. You must have at least 1/8-inch of clearance.
- The Load Test (Stall Simulation): Drive the truck in 3rd gear at approximately 2,000 RPM. Apply moderate throttle. If the engine RPMs climb rapidly but vehicle speed does not increase proportionally, the clutch is slipping. If this is accompanied by the acrid burning smell, the friction material is actively glazing and burning.
- The Flywheel Thermal Check: After a slip event, carefully inspect the flywheel surface through the inspection plate. If you see blueing or heat checking (micro-cracks) on the cast iron or nodular iron surface, the thermal damage has already compromised the metallurgy.
Friction Material Breakdown: Odor Profiles and Thresholds
Not all burning smells indicate the exact same failure mode. The specific scent can help you diagnose which layer of the clutch assembly is failing. Below is a diagnostic matrix correlating odor profiles with specific component failures.
| Odor Profile | Source Material | Temperature Threshold | Diagnostic Conclusion |
|---|---|---|---|
| Sharp, Sulfuric, Acrid | Phenolic Resin Binders | 400°F - 500°F | Friction disc slipping; resin melting and off-gassing. Adjust linkage immediately. |
| Burning Hair / Organic | Fiberglass / Organic Facings | 550°F+ | Severe slip; organic fibers are charring. Disc replacement required. |
| Hot Metal / Ozone | Cast Iron Flywheel / Pressure Plate | 700°F+ | Metallurgical damage; flywheel likely warped or heat-checked. Resurfacing mandatory. |
| Acrid Plastic / Melting | Throwout Bearing Collar (Nylon) | 300°F+ | Bearing collar melting due to continuous riding against the pressure plate. |
Correcting the 1972 C10 Pedal Freeplay: Torque and Adjustment Specs
If your diagnosis confirms that the 1972 Chevy C10 clutch pedal pad install eliminated your freeplay, the correction is straightforward but requires precision. You must adjust the Z-bar pushrod to restore the mechanical gap.
- Locate the Adjustment Nuts: Find the threaded pushrod connecting the Z-bar to the clutch fork. It is secured by two 9/16-inch jam nuts.
- Adjust for Clearance: Loosen the jam nuts and turn the pushrod to lengthen or shorten the assembly. Shortening the pushrod (moving the Z-bar away from the fork) increases pedal freeplay and creates the necessary air gap at the throwout bearing.
- Verify Fork Gap: Confirm the 1/8-inch to 1/4-inch gap at the bellhousing.
- Verify Pedal Freeplay: Re-measure the pedal pad travel. Ensure you have exactly 1 to 1.5 inches of dead travel before the Z-bar engages.
- Torque Specifications: Once adjusted, tighten the 9/16-inch pushrod jam nuts securely. If you removed the pedal hanger bracket to facilitate the pad install, ensure the pedal bracket-to-firewall bolts are torqued to 25 lb-ft, and the Z-bar engine block pivot ball stud is torqued to 35 lb-ft to prevent linkage flex under heavy pedal effort.
Modern Hydraulics vs. Classic Mechanical Linkages
It is vital to contrast the C10's mechanical Z-bar with modern drivetrain setups to understand why this specific failure occurs on classic trucks. In modern performance applications, such as a Tremec T-56 Magnum swap utilizing a McLeod hydraulic throwout bearing, the system is largely self-adjusting. The hydraulic fluid displacement dictates the bearing travel, and the resting gap is maintained by the internal return spring and fluid reservoir dynamics.
However, mechanical linkages like the C10's are entirely dependent on physical geometry. As documented in comprehensive drivetrain service literature (such as the Tremec Service Guidelines for mechanical clutch forks), any alteration to the pedal stop, firewall insulation thickness, or pedal pad density directly alters the throwout bearing resting position. When performing a 1972 Chevy C10 clutch pedal pad install, the addition of even 1/4-inch of dense rubber at the pedal surface can translate to a fraction of a millimeter of movement at the throwout bearing—enough to eliminate the critical air gap and initiate the slip-burn cycle.
When to Replace vs. When to Adjust
If you catch the burning smell early—perhaps immediately after pulling out of the garage following your restoration work—adjusting the Z-bar pushrod will likely save the clutch. The phenolic resins may have softened but not fully carbonized. However, if the clutch has been slipping under heavy load (such as towing or aggressive acceleration) for an extended period, the friction material is likely glazed. Glazing creates a hardened, glass-like surface on the disc that will continue to slip even after proper freeplay is restored. In such cases, the transmission must be pulled, the flywheel resurfaced or replaced, and a new clutch assembly installed. Always source high-quality replacement components from reputable motorsport and restoration suppliers like Summit Racing to ensure proper metallurgical integrity and friction coefficient ratings.
Ultimately, diagnosing a burning clutch smell requires looking beyond the bellhousing. By understanding how seemingly unrelated cabin work, like a 1972 Chevy C10 clutch pedal pad install, interacts with the mechanical Z-bar linkage, you can save thousands of dollars in unnecessary teardowns and preserve the drivability of your classic truck.