Hydraulic clutch systems on modern motorcycles offer smooth actuation and reduced maintenance compared to traditional cable setups. However, when air enters the hydraulic lines or the fluid degrades, the system exhibits distinct mechanical symptoms. Before you immediately pull out a wrench, it is critical to perform a proper clutch diagnosis by symptom. Understanding the exact differences between a spongy lever feel, clutch chatter vibration, and release noise will dictate whether you simply need a fluid swap, a complete system bleed, or a master cylinder rebuild.
In this comprehensive step-by-step how-to guide, we will first diagnose your specific hydraulic clutch symptoms. Then, we will detail exactly how to bleed motorcycle clutch systems using both the traditional top-down method and the professional reverse-injection technique to restore factory lever feel and eliminate drivetrain chatter.
Clutch Diagnosis by Symptom: Vibration, Noise, and Feel
Hydraulic fluid is incompressible. When your clutch lever behavior deviates from the factory baseline, the system is communicating a specific failure mode. Here is how to interpret the physical feedback at the lever and the transmission housing.
1. Spongy or Soft Lever Feel (The Air Indicator)
A spongy, mushy, or excessively long lever throw is the universal indicator of aerated hydraulic fluid. Because air is a gas, it compresses under pressure. When you pull the lever, the master cylinder piston compresses the air bubbles rather than transferring immediate hydraulic force to the slave cylinder.
- The "Pump-Up" Test: Squeeze the clutch lever rapidly three or four times. If the lever suddenly becomes firm and the engagement point moves closer to the handlebar, you have air in the line. The rapid pumping temporarily compresses the bubbles and moves them into the master cylinder reservoir.
- The "Sink" Test: If the lever feels firm initially but slowly sinks toward the handlebar while you hold constant pressure at a stoplight, you do not have air. You have a bypassing master cylinder seal or a leaking slave cylinder piston seal. Bleeding will not fix this; a seal rebuild kit is required.
2. Clutch Chatter and Vibration (Fluid Degradation)
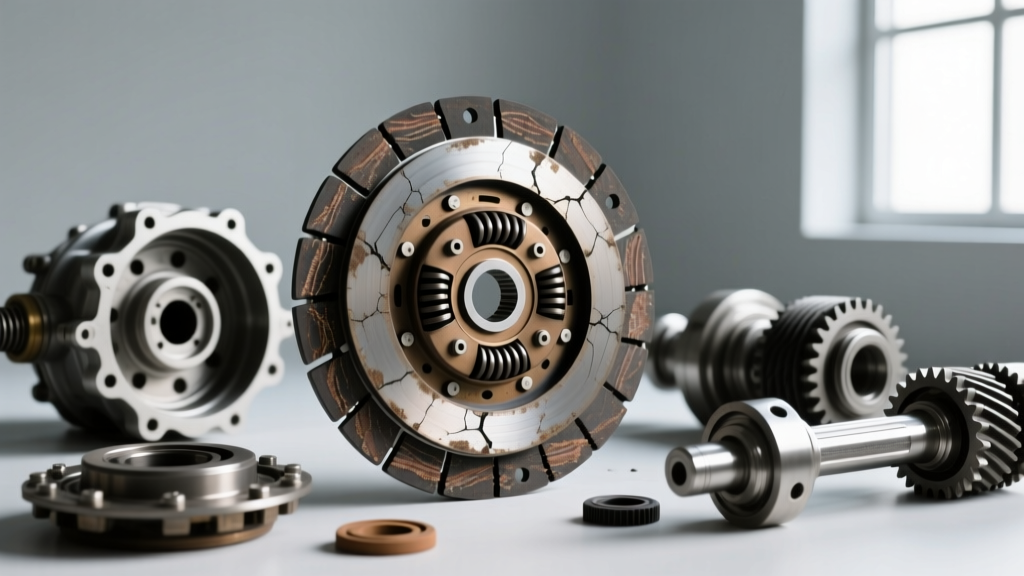
Vibration or "chatter" during clutch engagement (the friction zone) is often misdiagnosed as warped steel plates or weak damper springs. However, in hydraulic systems, this is frequently caused by fluid vapor lock or severe hygroscopic degradation. DOT 4 and DOT 5.1 fluids absorb moisture from the atmosphere over time. This water contamination drastically lowers the fluid's boiling point. When you slip the clutch in heavy stop-and-go traffic, the friction generates immense heat at the clutch basket, which transfers to the slave cylinder. If the fluid boils locally, it creates vapor pockets that expand and contract rapidly, causing the slave cylinder to pulse. This pulsation translates directly into clutch chatter and lever vibration.
3. Release Bearing Noise vs. Hydraulic Cavitation
A high-pitched squeal or grinding noise when pulling the lever usually points to a failing clutch release bearing. However, a faint "hissing" or "crackling" sound felt through the lever itself can indicate hydraulic cavitation. This occurs when the master cylinder piston retracts too quickly, or the fluid port is blocked, creating a low-pressure void that tears the fluid apart, forming microscopic vapor bubbles. If your noise is accompanied by a notchy, inconsistent lever feel, a full fluid flush and bleed are mandatory.
Hydraulic Fluid Specifications and Chemistry
Using the incorrect fluid will destroy your motorcycle's hydraulic seals. Never mix DOT fluids with Mineral Oil. Refer to your service manual, but use the chart below as a baseline for modern motorcycles.
| Fluid Type | Dry Boiling Point | Wet Boiling Point | Common Applications | Chemical Base |
|---|---|---|---|---|
| DOT 4 | 446°F (230°C) | 311°F (155°C) | Honda, Yamaha, Ducati (Brembo) | Glycol Ether / Borate Ester |
| DOT 5.1 | 518°F (270°C) | 356°F (180°C) | High-Performance Track Bikes | Polyglycol Ether |
| DOT 5 | 500°F (260°C) | 356°F (180°C) | Rare (Some vintage/custom) | Silicone (DO NOT MIX) |
| Mineral Oil | Varies by Brand | Varies by Brand | KTM, Husqvarna, BMW (Magura) | Petroleum-based |
Note: DOT 4 and DOT 5.1 are miscible and can be mixed in a pinch, though a full flush is always recommended. DOT 5 (Silicone) and Mineral Oil will instantly swell and destroy EPDM seals designed for DOT fluid. For a deeper dive into fluid chemistry, consult Brembo's official brake fluid guide.
Tools Required for the Job
- 8mm or 10mm flare nut wrench (for the slave cylinder bleeder valve)
- Phillips or JIS (Japanese Industrial Standard) screwdriver for the master cylinder reservoir
- Motion Pro Syringe Bleeder Kit (or equivalent 60ml medical syringe with vinyl tubing)
- Fresh DOT 4 / DOT 5.1 or OEM Mineral Oil
- Nitrile gloves and isopropyl alcohol (DOT fluid strips motorcycle paint instantly)
Step-by-Step Guide: How to Bleed Motorcycle Clutch
Motorcycle clutch lines are notoriously difficult to bleed using the traditional "pump and hold" method. The hydraulic line often routes up and over the frame, creating high-point traps where air bubbles refuse to travel downward to the slave cylinder. For this reason, we highly recommend the Reverse Bleed Method as your primary approach.
Method A: The Professional Reverse Bleed (Recommended)
Reverse bleeding forces fresh fluid from the lowest point (slave cylinder) upward to the master cylinder, naturally pushing air bubbles up and out into the reservoir.
- Prep the Master Cylinder: Remove the reservoir cap and diaphragm. Use a syringe to suck out the old, contaminated fluid down to the bottom of the reservoir. Wipe the inside with a lint-free cloth. Refill with fresh fluid to the upper level mark.
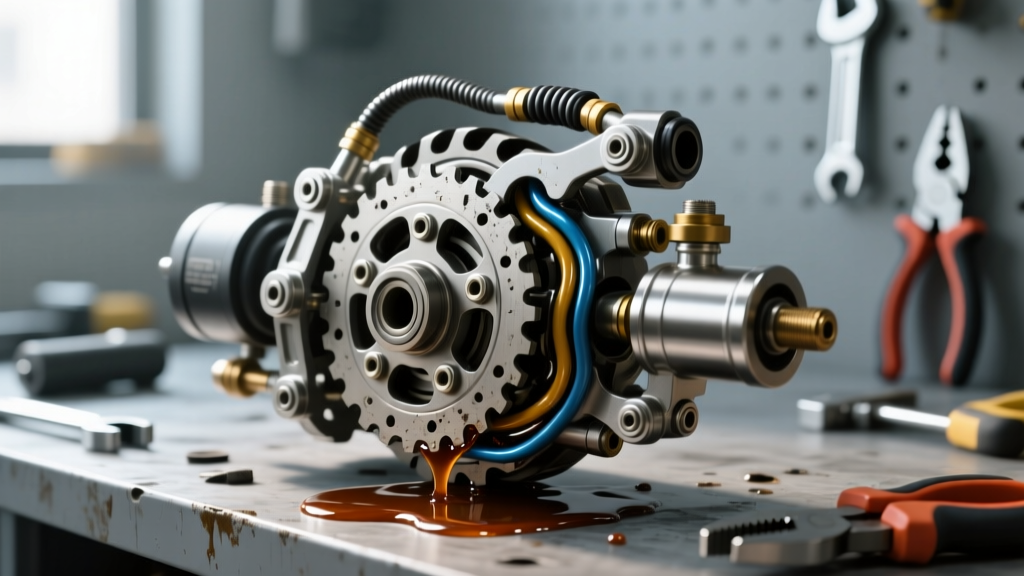
- Attach the Syringe: Fill your bleed syringe with roughly 50ml of fresh, bubble-free fluid. Attach the vinyl tubing to the syringe and the other end to the slave cylinder bleeder valve.
- Open the Valve: Crack the bleeder valve open using your flare nut wrench (typically 8mm on Japanese bikes, 10mm on some European models).
- Inject Upward: Slowly and steadily push the syringe plunger. You will see the fluid level in the master cylinder reservoir rise. Watch for air bubbles emerging into the reservoir.
- Close and Verify: Once the fluid in the reservoir looks completely clear and free of micro-bubbles, hold pressure on the syringe, tightly close the bleeder valve, and disconnect the tubing.
- Top Off: Adjust the master cylinder fluid level to the "MAX" line, ensuring the diaphragm is seated correctly, and reinstall the cap.
Method B: The Traditional Top-Down Bleed
If you do not have a syringe kit, you must use the traditional method. This requires patience to clear trapped air.
- Fill Reservoir: Top off the master cylinder with fresh fluid. Leave the cap off, but cover the surrounding paint with heavy shop towels.
- Attach Catch Tube: Place a clear vinyl tube over the slave bleeder valve and route it into a catch bottle.
- Pump and Hold: Squeeze the clutch lever to the bar and hold it there. The lever will feel soft.
- Crack the Valve: Open the bleeder valve a quarter turn. Fluid and air will shoot into the tube. The lever will immediately fall to the handlebar. Do not release the lever while the valve is open, or you will suck air back into the system.
- Close and Release: Tighten the bleeder valve, then slowly release the clutch lever.
- Repeat: Repeat this process 10-15 times, checking the master cylinder every 3 pumps to ensure it never runs dry. Stop when the fluid runs perfectly clear and the lever offers rock-solid resistance.
For additional visual references on hydraulic line routing and safety, RevZilla's Common Tread maintenance guide offers excellent baseline procedures.
Torque Specifications and Reassembly
Over-tightening hydraulic fittings is a common DIY error that leads to cracked master cylinder housings or snapped bleeder screws. Always use a calibrated torque wrench for reassembly.
- Slave Cylinder Bleeder Valve: 5 to 7 Nm (44 to 62 lb-in). Use extreme caution; these are soft steel and snap easily if corroded.
- Master Cylinder Banjo Bolt: 15 to 20 Nm (11 to 15 lb-ft). Crucial: You must replace the two copper or aluminum crush washers on either side of the banjo fitting every time you remove the bolt. Reusing old washers guarantees a slow weeping leak.
- Reservoir Cap Screws: 1.5 to 2.5 Nm. These are small M4 or M5 screws that strip the aluminum threads effortlessly.
Advanced Troubleshooting: When Bleeding Fails
If you have successfully reverse-bled the system but your clutch diagnosis by symptom still points to a spongy feel or engagement issues, you are likely dealing with mechanical hardware failure rather than hydraulic aeration.
The Master Cylinder Bypass Test
Zip-tie the clutch lever to the handlebar (in the engaged/pulled position) and leave it overnight. In the morning, release the lever. If the lever feels completely dead and goes straight to the bar without moving the slave cylinder, your master cylinder piston seal is worn or the cylinder bore is scored. The fluid is bypassing the seal internally. You will need to purchase a master cylinder rebuild kit (typically $25-$45) or replace the entire unit.
Slave Cylinder Pushrod Wear
If the lever feel is rock solid, but the clutch fails to fully disengage (resulting in grinding when shifting into first gear or creeping forward at a stop), inspect the slave cylinder pushrod. On high-mileage bikes (50,000+ miles), the tip of the pushrod or the clutch actuator cam can develop a deep wear divot. This reduces the total stroke distance of the slave cylinder, meaning it cannot push the clutch pressure plate far enough to release the friction discs, regardless of how perfectly the system is bled.
By accurately diagnosing your clutch symptoms—whether it's the compressible feel of air, the chatter of vapor lock, or the noise of cavitation—and applying the correct bleeding methodology, you can restore your motorcycle's hydraulic clutch to factory specification without unnecessary parts replacement.