The Performance Builder's Dilemma: Tuning Glitch or Failing Hardware?
As we navigate the 2026 performance aftermarket landscape, the line between a calibration error and mechanical failure has never been thinner. You have bolted on a high-lift camshaft, upgraded the fuel system, and flashed the ECU, but the car feels sluggish off the line and shudders violently on the highway. Is it a bad tune, or are you looking at classic bad torque converter symptoms? For performance enthusiasts and track-day builders, misdiagnosing a failing stock torque converter can lead to thousands of dollars in wasted upgrades. Furthermore, understanding exactly how to flush transmission fluid from torque converter assemblies is a mandatory skill before dropping in a high-stall aftermarket unit or rebuilding a valve body.
In this performance and upgrade guide, we will dissect the hydraulic and mechanical realities of torque converter failure, provide a definitive diagnostic checklist, and detail the exact procedure for performing a complete system flush to protect your drivetrain investment.
5 Critical Bad Torque Converter Symptoms in High-Stress Applications
High-horsepower applications place immense thermal and kinetic stress on the torque converter. When the internal components—such as the stator, turbine, or torque converter clutch (TCC)—begin to fail, the symptoms often mimic other drivetrain issues. Here is what to look for.
1. TCC Shudder Under High Load (The 6L80/6L90 Nightmare)
The GM 6L80 and 6L90 transmissions are notorious for TCC shudder, a phenomenon where the pulse-width modulated (PWM) apply strategy causes the converter clutch to slip and grab rapidly. While often blamed on the valve body or solenoid, the root cause is frequently degraded friction material inside the torque converter itself. If your vehicle vibrates between 40-60 mph under light throttle, and a reflash of the TCC apply tables does not resolve it, the converter's clutch lining is physically compromised. According to Sonnax engineering data, ignoring this shudder will inevitably lead to catastrophic valve body cross-leaking due to abrasive debris circulating through the mechatronics.
2. Stall Speed Inconsistencies and Flash RPM Drops
For drag racing and street-performance builds, stall speed is everything. If your 2800-RPM stall converter is only flashing at 2100 RPM on the trans-brake, the internal stator one-way clutch has likely failed. When the stator freewheels in both directions, it cannot multiply torque, resulting in lazy, sluggish launches that feel like a slipping transmission. Conversely, if the stator is locked in both directions, the engine will overheat rapidly at idle, and top-end horsepower will plummet due to extreme hydraulic drag.
3. Contaminated Fluid: The Glitter in the Pan
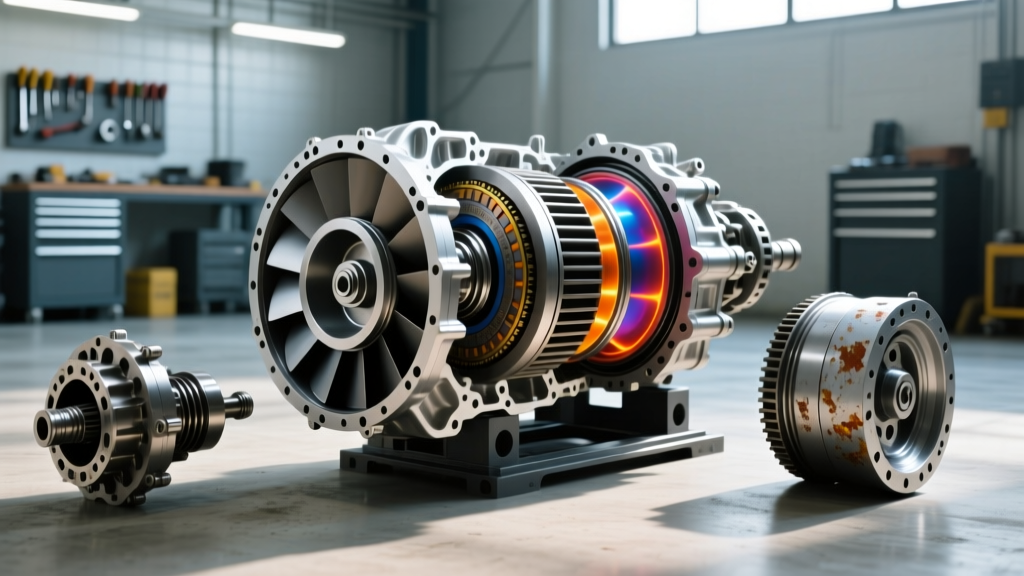
Dropping the transmission pan is the first step in any performance teardown. If you find a fine, metallic paste on the magnets, that is normal clutch and bearing wear. However, if you find chunky metallic flakes, bronze-colored bushing material, or heavy aluminum shavings, the torque converter's internal bearings or turbine fins are disintegrating. No amount of tuning will fix physical internal collision.
4. Delayed Lockup and Overheating at the Track
Modern performance vehicles rely on early TCC lockup to manage transmission fluid temperatures. If your ZF 8HP70 or Ford 10R80 refuses to lock up the converter until much higher speeds, fluid temperatures will skyrocket past 230°F (110°C). This thermal breakdown destroys the shear stability of synthetic ATF, leading to a cascading failure of the clutch packs. Overheating is a primary bad torque converter symptom that demands immediate fluid evacuation and system inspection.
5. The 'Freewheel' or Neutral Drop Sensation
If you shift into Drive or Reverse and experience a severe delay before engagement, or if the engine revs freely without transferring power to the wheels, the torque converter's internal welds may have fractured, or the impeller hub has stripped. This requires immediate removal; driving the vehicle risks severing the transmission input shaft.
Why a Standard Pan Drop Isn't Enough for Performance Builds
A common mistake in the garage is performing a simple pan drop and filter change before installing a performance valve body or upgrading to a Circle D or Yank Performance torque converter. A standard pan drop only removes 30% to 40% of the total system fluid. The remaining 60%—which contains the highest concentration of abrasive friction material and sheared polymers—is trapped inside the torque converter and the cooler circuits. If you install a $1,200 billet torque converter and mate it to a transmission filled with contaminated fluid, you will destroy the new unit's internal bushings within the first 500 miles.
Step-by-Step: How to Flush Transmission Fluid From Torque Converter
To achieve a 100% fluid exchange without the risks associated with aggressive dealership flush machines (which can force debris backward through the valve body), performance builders utilize the 'Cooler Line Return' method. This leverages the transmission's own internal pump to safely evacuate the torque converter.
Warning: Never use a pressurized external flush machine on a high-mileage performance transmission or a ZF mechatronic unit. The Automatic Transmission Rebuilders Association (ATRA) consistently warns that reverse-flushing can lodge debris into the delicate PWM solenoids and check balls, causing immediate shift solenoid failure.
The Cooler Line Evacuation Procedure
- Step 1: Preparation and Safety. Ensure the vehicle is on a level surface. Have 12 to 15 quarts of high-performance synthetic ATF ready (e.g., Amsoil Signature or Red Line D4). Use a clear, graduated 5-gallon bucket to monitor fluid color and volume.
- Step 2: Locate the Cooler Return Line. Identify the transmission cooler lines at the radiator or auxiliary cooler. The 'return' line is the one carrying fluid back to the transmission. On a GM 4L60E or 4L80E, this is typically the lower line. Disconnect this line at the transmission fitting.
- Step 3: Route and Secure. Attach a 3/8-inch or 1/2-inch ID clear vinyl hose to the disconnected metal return line and route it into your graduated bucket. Secure the hose with a worm-gear clamp to prevent high-pressure blowouts.
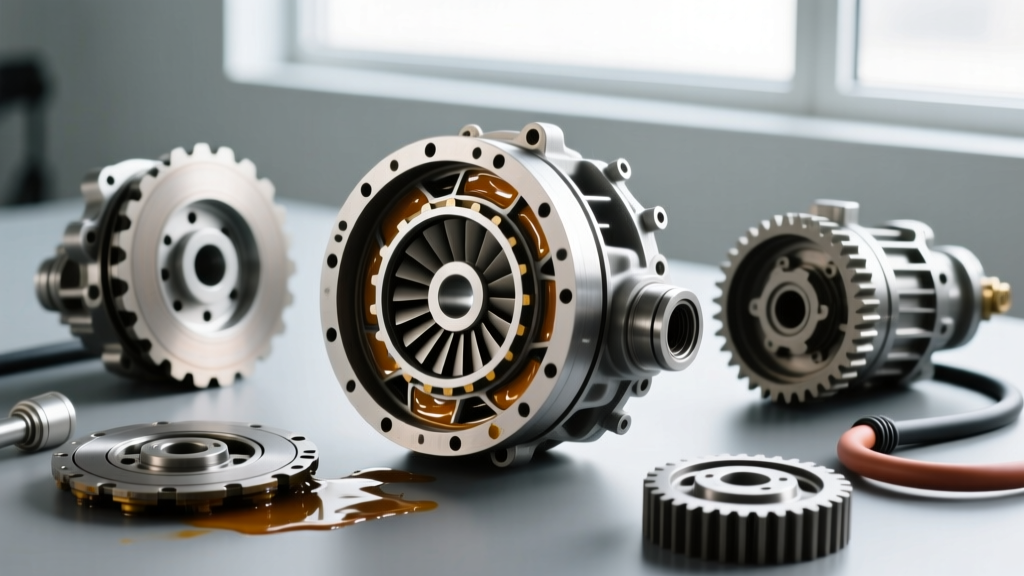
- Step 4: The Flush Cycle. Start the engine and let it idle in Park. The transmission pump will immediately begin pushing old, degraded fluid from the torque converter out of the return line. You will typically see 1 to 2 quarts flow every 15 seconds.
- Step 5: Concurrent Refill. As the old fluid enters the bucket, have a helper continuously pour new synthetic ATF into the transmission dipstick tube or fill plug. Never let the transmission pump suck air, as this will cause pump cavitation and loss of hydraulic pressure.
- Step 6: Monitor for the 'Cherry Red' Shift. Watch the clear hose closely. You will see a distinct color change from dark brown/black to bright, translucent cherry red. Once the fluid runs completely clear, shut off the engine immediately.
- Step 7: Reconnect and Torque. Reconnect the cooler line. For GM flare-nut fittings, torque to 15-20 lb-ft. For quick-connect fittings, ensure the retaining C-clip is fully seated and perform a tug-test to verify engagement.
- Step 8: Final Level Check. Start the engine, cycle through all gears, and check the fluid level at the operating temperature specified by the manufacturer (e.g., 40°C - 50°C for ZF 8HP units).
Fluid Capacity & Flush Data Table for Popular Performance Transmissions
Knowing your exact capacities is vital to prevent pump starvation during the flush process. Below is a reference chart for common performance platforms.
| Transmission Model | Total System Capacity | Torque Converter Capacity | Recommended Performance Fluid | Cooler Line Thread / Size |
|---|---|---|---|---|
| GM 4L60E / 4L65E | 11.2 - 12.0 Quarts | ~4.5 Quarts | Mobil 1 Synthetic / Red Line D4 | 1/2-20 UNF (Flare) |
| GM 6L80 / 6L90 | 11.5 - 13.0 Quarts | ~5.0 Quarts | ACDelco Dexron ULV / Amsoil | Quick-Connect (5/8-inch) |
| GM 4L80E (Heavy Duty) | 13.5 - 15.0 Quarts | ~6.5 Quarts | Red Line D4 / Royal Purple Max | 5/8-18 UNF (Flare) |
| ZF 8HP70 / 8HP90 | 9.5 - 10.5 Quarts | ~4.0 Quarts | ZF Lifeguard 8 (Mandatory) | Quick-Connect (Integrated) |
| Ford 4R70W / AODE | 12.5 - 13.5 Quarts | ~5.5 Quarts | Motorcraft MERCON V / Red Line | 1/2-20 UNF (Flare) |
When to Abandon the Flush and Upgrade the Torque Converter
Flushing the fluid is a diagnostic tool and a maintenance procedure, not a mechanical cure. If you have performed the cooler line flush, installed fresh high-shear synthetic fluid, and the bad torque converter symptoms persist, the internal hardware is terminally compromised.
For naturally aspirated street/strip builds pushing 400-500 HP, upgrading to a precision-welded, furnace-brazed torque converter with a billet stator and heavy-duty TCC clutch is mandatory. Expect to spend between $850 and $1,400 for a reputable performance converter. When installing the new unit, always replace the transmission cooler lines or thoroughly back-flush the external radiator cooler using a dedicated solvent to ensure no metallic debris from the old, failed converter is waiting to destroy your new investment. By mastering how to flush transmission fluid from torque converter assemblies and recognizing the early warning signs of failure, you ensure that your drivetrain is always ready to handle the power you put to the ground.