Why Standard Differential Fluid Changes Fail
Most DIYers and quick-lube technicians treat a differential fluid change as a simple drain-and-fill operation. However, in heavy-duty trucks, off-road rigs, and high-performance AWD systems, a standard fluid swap often misses a critical diagnostic step that leads to premature pinion seal failure. When an axle assembly heats up under load, the internal air and gear oil expand. If the axle breather vent is clogged with mud, debris, or hardened grease, internal pressure spikes, forcing 75W-90 or 75W-140 gear oil past the pinion seal and axle shaft seals.
To prevent this, master technicians employ a unique diagnostic step during the differential fluid change procedure: using a digital differential pressure meter to measure the flow restriction across the breather vent before sealing the housing. This guide covers exact intervals, professional fluid specifications, and the step-by-step process to service your differential while verifying its crankcase ventilation.
Differential Fluid Intervals: Severe vs. Normal Duty
Manufacturer claims of "lifetime" differential fluid are a myth, especially for vehicles subjected to towing, off-roading, or extreme temperature swings. According to AMSOIL's technical maintenance guidelines, severe duty conditions degrade the extreme pressure (EP) additives in gear oil long before the base oil fails, leading to ring and pinion wear.
OEM Differential Fluid Change Intervals & Capacities
| Axle Model | Common Vehicles | Normal Interval | Severe Interval | Capacity |
|---|---|---|---|---|
| Ford 10.5" Sterling | F-250/F-350 (1999-2016) | 150,000 miles | 30,000 miles | 3.5 - 4.0 qts |
| Dana 80 | Chevy/GMC 2500HD, Ram 3500 | 100,000 miles | 25,000 miles | 4.0 qts |
| AAM 11.5" | Ram 2500/3500 (2003+) | 150,000 miles | 30,000 miles | 3.8 qts |
| BMW M xDrive Rear | F80 M3, G80 M3 | 60,000 miles | 30,000 miles | 1.2 qts |
The Pro-Diagnostic Step: Using a Digital Differential Pressure Meter
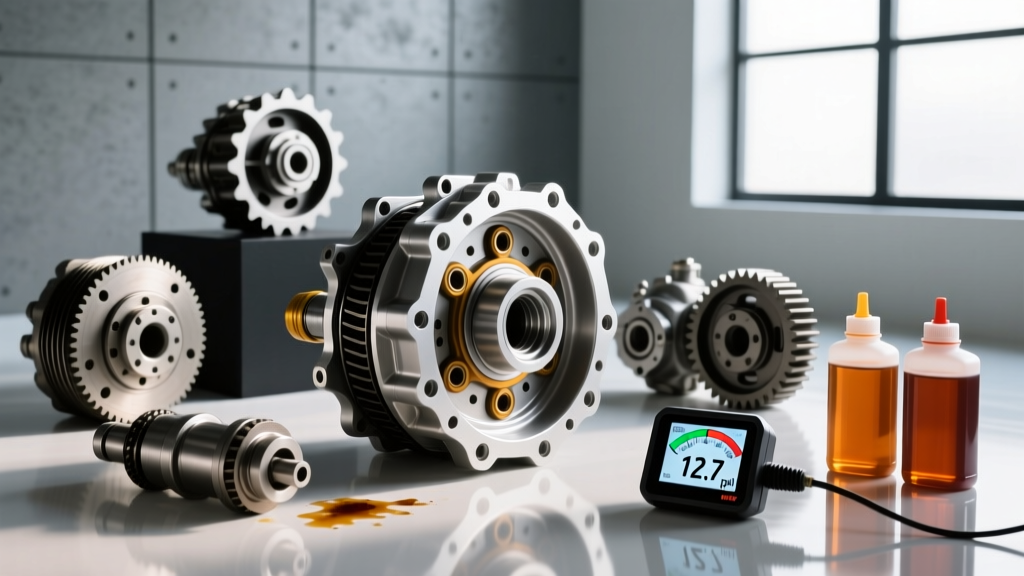
While the word "differential" in automotive circles usually refers to the ring-and-pinion gear assembly, in fluid dynamics, it refers to the delta (difference) in pressure between two points. Advanced diesel and off-road mechanics use a digital differential pressure meter (such as a Dwyer DM-2 or Fluke 922 manometer) to test the axle breather assembly.
Why Measure Differential Pressure in an Axle?
When the differential cover is removed for a fluid change, you have direct access to the axle housing. By applying a very low volume of shop air (e.g., 1.0 PSI) into the fill hole and attaching the positive hose of the digital differential pressure meter to the breather tube, you can measure the exact pressure drop. If the meter reads a delta P greater than 0.25 PSI, the breather line is restricted. Replacing the fluid without clearing or replacing this breather guarantees that thermal expansion will blow out your newly bathed pinion seal within a few hundred miles of heavy towing.
Step-by-Step Differential Fluid Change Procedure
Follow this exact procedure to ensure a clean fill, proper sealing, and verified crankcase ventilation.
Step 1: Preparation and Vehicle Safing
Never rely solely on a hydraulic floor jack. Support the vehicle on rated jack stands placed under the axle tubes or designated frame lift points. Ensure the vehicle is perfectly level; an uneven stance will result in an under-filled or over-filled differential, causing gear whine or fluid starvation on inclines.
- Tools Required: 3/8" and 1/2" drive torque wrenches, socket set, fluid transfer pump, drain pan, nitrile gloves.
- Safety Note: If the differential has been driven recently, the gear oil can exceed 180°F (82°C). Allow it to cool to a warm, but safe-to-touch temperature (approx. 110°F) so it flows easily without causing burns.
Step 2: Breather Vent Testing with the Digital Meter
- Locate the axle breather tube (usually routed high up on the frame or attached to the differential cover).
- Disconnect the breather hose from the axle housing nipple.
- Connect the "High" port of your digital differential pressure meter to the breather hose.
- Using a regulated air source, introduce exactly 1.0 PSI of air pressure into the open differential fill hole.
- Read the meter. A healthy, unobstructed breather will show a pressure drop of less than 0.1 PSI. If the meter reads >0.3 PSI, blow out the line with compressed air or replace the breather valve and hose assembly.
Step 3: Draining, Inspection, and Cleaning
Place a drain pan capable of holding at least 5 quarts beneath the axle. Remove the fill plug first. If you remove the drain plug or drop the cover and the fill plug is seized, you will be stranded with an empty axle. Once the fill plug is out, remove the cover bolts, leaving the top two bolts loosely threaded to act as a hinge. Puncture the RTV seal or gasket at the bottom to let the fluid drain.
Inspection: Wipe the magnetic drain plug or the internal housing magnets. Fine, glitter-like metallic paste is normal wear. However, if you find metallic flakes larger than 1/16", or chunks of bronze (indicating spider gear thrust washer failure), a full differential rebuild is required.
Clean the mating surfaces using CRC Brakleen and a plastic scraper. Never use a metal razor blade on the axle housing face, as gouges will create permanent leak paths.
Step 4: Gasket Application and Reassembly
Skip cheap cork gaskets and messy liquid RTV. Invest in a reusable elastomer gasket, such as the Lube Locker series (approx. $35-$45). These feature a steel core with a molded Viton or Nitrile rubber seal that torques down evenly without squeezing out into the gear mesh.
If you must use RTV, apply a continuous 3mm bead of Permatex Ultra Black (part #81878), ensuring you circle the inside of every bolt hole to prevent oil from seeping through the threads.
Step 5: Refilling to Exact Specifications
Use a high-quality pneumatic or manual fluid transfer pump. Fill the differential until the gear oil reaches the exact bottom edge of the fill plug hole. For limited-slip differentials (LSD), ensure your chosen fluid already contains friction modifiers (like Mobil 1 Synthetic Gear Lubricant LS), or add the OEM-specified dose of friction modifier (e.g., Ford XL-3 or GM 88900333) before topping off with the base gear oil.
Critical Torque Specifications
Over-torquing differential cover bolts is the leading cause of warped covers and stripped threads in aluminum or thin-wall steel housings. Always use a calibrated inch-pound or low-range foot-pound torque wrench.
Warning: Never remove the large pinion nut to "drain" the fluid. The pinion nut sets the crush sleeve preload on the pinion bearings. Removing it without a specialized inch-pound torque beam to measure rotational resistance will destroy your bearing preload, resulting in catastrophic ring and pinion failure within 1,000 miles. Consult Dana Spicer Technical Resources for specific bearing preload setups.
Torque Reference Chart (Common Axles)
| Component | Ford 10.5" Sterling | Dana 80 | AAM 11.5" |
|---|---|---|---|
| Cover Bolts (3/8") | 33 lb-ft | 25-30 lb-ft | 33 lb-ft |
| Fill Plug | 35-40 lb-ft | 25-30 lb-ft | 35-40 lb-ft |
| Drain Plug (if eq.) | 35-40 lb-ft | N/A | 35-40 lb-ft |
Final Verification and Road Test
After torquing the cover and fill plug, wipe the entire housing down with a degreaser. Reconnect the breather hose to the axle nipple. Lower the vehicle and drive for 15-20 miles at highway speeds to bring the new synthetic gear oil up to operating temperature. Park the vehicle over a clean cardboard surface and inspect the cover perimeter and pinion seal for any weeping. By integrating a digital differential pressure meter into your workflow, you have not only replaced the lubricant but scientifically verified the housing's ability to manage thermal expansion, ensuring your drivetrain survives the most severe towing and off-road environments.