Why Heat Kills and Why Lines Matter
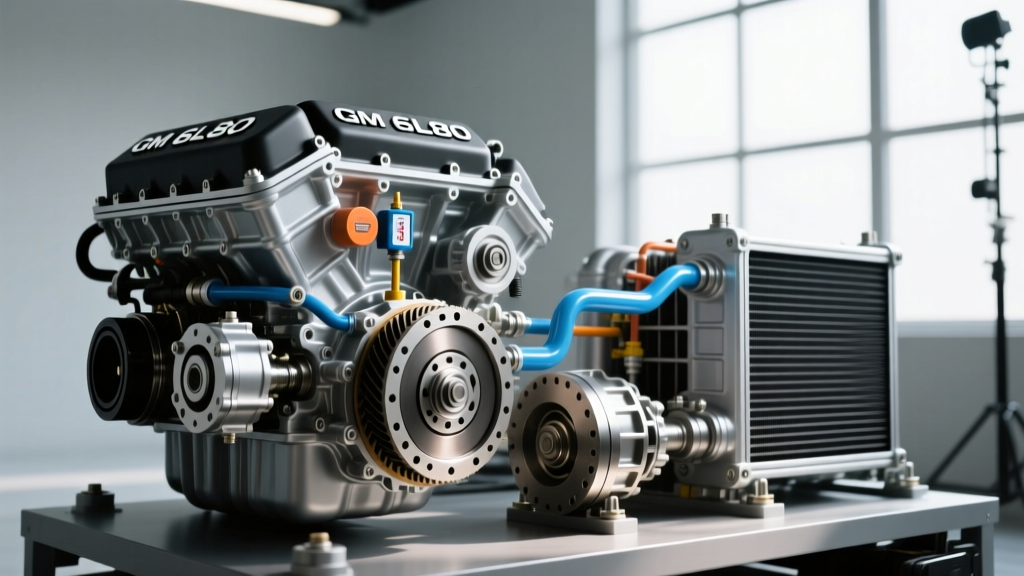
For trucks and SUVs subjected to towing, off-roading, or heavy stop-and-go traffic, transmission heat is the number one enemy of longevity. Automatic transmissions like the GM 4L60E, 6L80, and Ford 6R80 rely on automatic transmission fluid (ATF) not just for hydraulic pressure, but for cooling internal clutches and planetary gearsets. Once ATF temperatures exceed 220°F, the fluid begins to oxidize, varnish forms on valve bodies, and clutch packs glaze over. Installing an auxiliary transmission cooler is the most effective, beginner-friendly modification you can perform to extend your drivetrain's life.
However, adding an external cooler means tapping into your factory cooling circuit. If your vehicle is over a decade old, the factory rubber hose sections may be dry-rotted, or the steel hardlines may be corroded. Before you cut into the system, you need a comprehensive installation strategy and a clear understanding of the cost to replace transmission cooler lines if the OEM components fail during the upgrade.
Breaking Down the Cost to Replace Transmission Cooler Lines
When planning your auxiliary cooler budget, you must account for the condition of your existing lines. Factory cooler lines typically consist of steel hardlines that transition into rubber hoses near the radiator via crimped fittings. When you factor in the cost to replace transmission cooler lines, the price varies wildly depending on whether you choose OEM dealership parts, aftermarket pre-bent stainless steel, or a custom bulk-hose DIY approach.
| Replacement Method | Estimated Parts Cost | Estimated Labor Cost | Pros & Cons |
|---|---|---|---|
| OEM Dealership Assembly | $150 - $350 | $150 - $300 | Perfect fitment, but often requires dropping the crossmember or removing the radiator to install. |
| Custom SAE J30R Bulk Hose | $45 - $80 | $0 (DIY) | Highly customizable for routing to aux coolers; requires proper barb fittings and clamps. |
| Aftermarket Stainless Lines | $90 - $180 | $100 - $200 | Eliminates rubber degradation and rust; easier to bend and route than OEM steel. |
If you are doing a DIY auxiliary cooler install, the custom bulk-hose route is usually the most economical. According to the RockAuto Parts Catalog, complete OEM line assemblies for a 2015 Chevy Silverado 1500 can exceed $250, whereas high-quality bulk hose and fittings will cost a fraction of that while allowing you to custom-route directly to your new front-mount cooler.
Essential Tools and SAE-Rated Components
Do not use standard windshield washer tubing or cheap hardware store rubber for transmission lines. Transmission line pressure can spike over 100 PSI in reverse or under heavy load, which will blow inferior hoses off the barbs. According to Derale Performance engineering guidelines, you must use specific automotive-rated components:
- Hose: SAE J30R2 or J30R7 rated fuel/ATF injection hose (typically 3/8-inch or 1/2-inch inner diameter, depending on your trans).
- Clamps: Fuel injection clamps or constant-tension T-bolt clamps. Avoid standard worm-drive clamps, as their sharp screw housings will slice through the rubber under pressure.
- Fittings: Brass or aluminum push-lock or barbed inline splicers.
- Wrenches: Line wrenches (flare nut wrenches) in 14mm and 16mm to prevent rounding OEM hardline nuts.
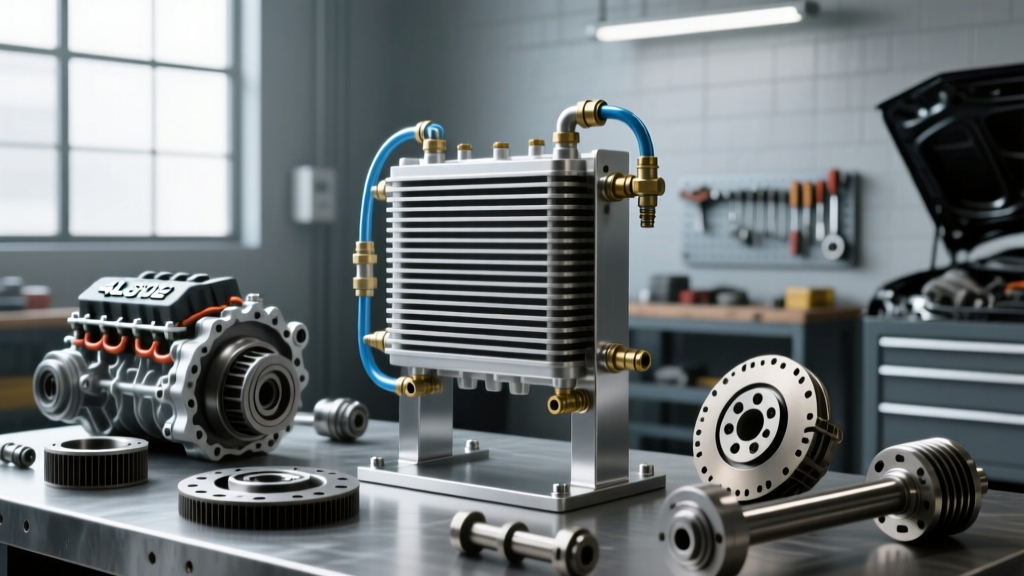
- Cooler: A plate-and-fin or stacked-plate cooler (e.g., Hayden 678 or Derale 15900) offers vastly superior heat dissipation compared to older tube-and-fin designs.
Step-by-Step Installation: The 6L80 and 4L60E Method
The following guide focuses on the standard GM 4L60E and 6L80 architecture, though the principles apply to most Ford and Ram applications. Always consult Hayden Automotive Tech Info for vehicle-specific routing diagrams.
Step 1: Locate the Return Line and Thermal Bypass
The factory routing sends hot fluid from the transmission to the radiator's internal cooler, then back to the transmission. You want to splice your auxiliary cooler into the return line (the fluid leaving the radiator and heading back to the trans). This ensures the fluid gets cooled by the radiator first, then polished by the aux cooler, preventing overcooling in freezing winter climates.
Critical 6L80/6L90 Note: These transmissions feature a thermal bypass valve located near the transmission pan. This valve blocks fluid flow to the cooler until the ATF reaches roughly 190°F. If you splice your aux cooler into the line after this bypass, your cooler will not function during light driving or cold weather. You must splice before the bypass valve, or install a thermal bypass delete kit.
Step 2: Line Surgery and Routing
Once you have identified the correct line, place a drain pan underneath. Use a tubing cutter to cleanly slice the OEM rubber hose or hardline. If you are replacing a rusted hardline section, use your 14mm line wrench to unthread the flare nut at the transmission case. Torque specs for these flare nuts are generally low—around 15 to 20 lb-ft. Over-tightening will crack the aluminum transmission case adapter.
Slide your fuel injection clamps onto the new SAE J30R hose before pushing the hose onto the barbed splicer fittings. Push the hose on until it bottoms out, then tighten the clamps to approximately 25 in-lbs. Route the new lines away from exhaust manifolds, steering shafts, and suspension components, securing them every 12 inches with UV-resistant zip ties or P-clamps.
Step 3: Mounting and Airflow Dynamics
Mount the auxiliary cooler in front of the radiator and A/C condenser. If your vehicle's grille design restricts front-mounting, you can mount it behind the radiator using a push-through zip-tie kit, though this reduces cooling efficiency by roughly 15-20%. Ensure the cooler fins are perfectly vertical to allow natural heat convection and prevent debris from getting trapped in horizontal grooves.
Fluid Capacities and The Burping Process
Adding an external cooler and replacing lines increases your total system fluid capacity. A standard Derale 15900 stacked-plate cooler and 6 feet of 3/8-inch hose will add roughly 0.75 to 1.25 quarts of additional volume to your system.
After completing the plumbing, you must refill the transmission dipstick tube with the exact OEM-spec fluid. For GM 4L60E and 6L80 applications, this is Dexron VI. For Ford 6R80 applications, use Mercon LV. Never mix fluid types or use generic 'multi-vehicle' ATF in modern ZF 8HP or GM 10-speed units.
To burp the system:
- Start the engine and let it idle.
- With your foot firmly on the brake, cycle the shifter through every gear (P-R-N-D-L), pausing for 3 seconds in each.
- Check the dipstick. The fluid level will likely drop as the new cooler and lines fill.
- Add fluid in half-quart increments until the level sits precisely in the middle of the crosshatch zone on the dipstick while the engine is running and the transmission is at operating temperature (180°F-200°F).
By understanding the true cost to replace transmission cooler lines and following proper SAE-rated plumbing procedures, you ensure your transmission stays cool, pressurized, and protected for hundreds of thousands of miles of heavy hauling.