The Black Box of Transmission Diagnostics
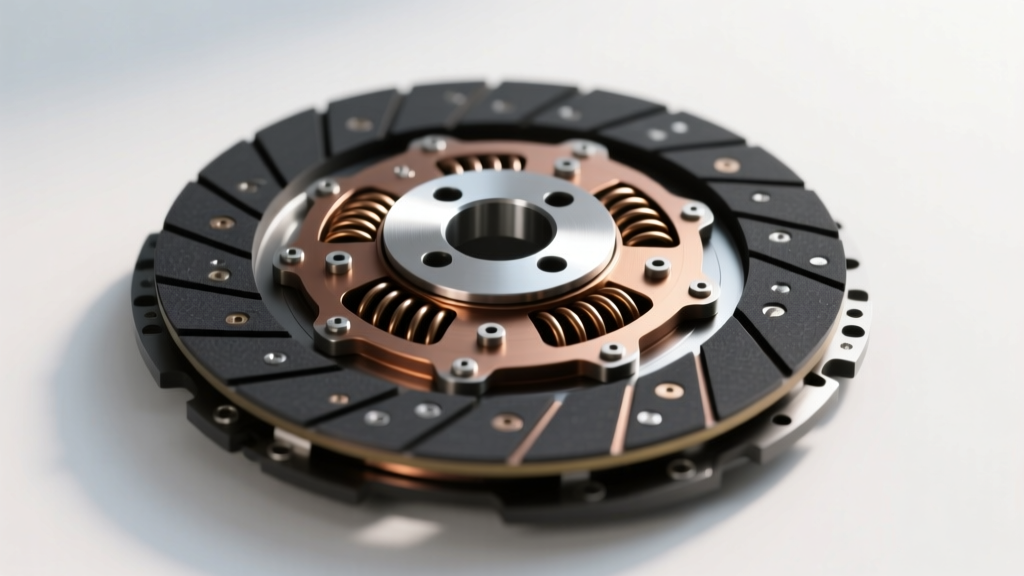
When an automatic transmission fails, the fluid and the friction discs are the ultimate witnesses to the crime. While manual transmissions rely on a single primary clutch disc, modern automatics utilize multiple multi-plate clutch packs to route power through planetary gearsets. Whether you are rebuilding a GM 6L80, a Ford 10R80, or a ZF 8HP, analyzing the wear patterns on these friction discs is the most reliable way to diagnose the root cause of failure. Simply replacing burnt clutches without understanding why they burned will inevitably lead to a comeback. In this guide, we decode the specific wear patterns found on clutch packs in automatic transmission assemblies and outline the expert best practices for measurement, diagnosis, and reassembly.
Decoding Friction Disc Wear: A Visual Diagnostic Matrix
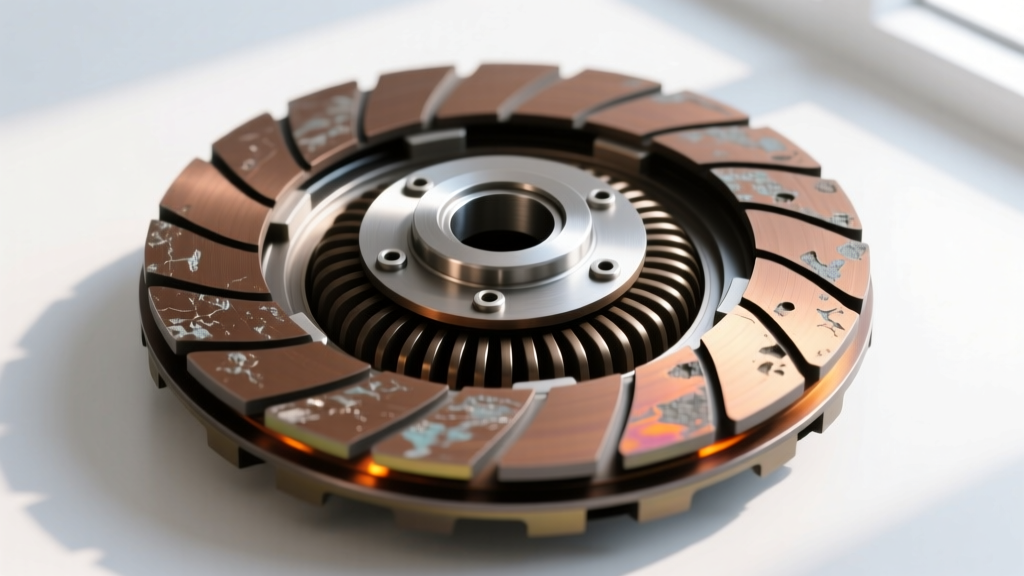
Friction materials in modern automatics range from traditional paper-based cellulose to advanced aramid (Kevlar) and sintered bronze composites. Each material reacts differently to heat, pressure, and fluid shear. Below is a diagnostic matrix correlating visual wear patterns on the friction and steel backing plates to their underlying mechanical or hydraulic faults.
| Visual Wear Pattern | Primary Root Cause | Common Transmission Examples | Required Corrective Action |
|---|---|---|---|
| Concentric Burn Marks / Edge Glazing | Low apply pressure / Slipping clutch | GM 6L80 (3-5-R Clutch) | Inspect apply piston seals, check line pressure solenoid |
| Asymmetric / Crescent Wear | Warped backing plate / Bent apply piston | Ford 6R80 / 10R80 (Clutch A) | Machine or replace steels, check piston for scoring |
| Deep Radial Grooving / Splines Strip-Out | Debris contamination / Stator bushing failure | ZF 8HP45/55 ("E" Clutch) | Replace stator support tube, flush cooler lines |
| Missing Friction Material (Chunking) | Aggressive lockup / Incorrect fluid viscosity | Aisin TF-80SC / U660F | Verify exact OEM fluid spec, update TCM calibration |
Pattern 1: Concentric Burn Marks and Edge Glazing
When the outer 2mm to 3mm of a friction disc is severely burnt or glazed while the center remains relatively intact, you are looking at a classic slip-induced thermal failure. This occurs when the hydraulic apply pressure is insufficient to fully lock the clutch pack. The outer edge travels at the highest rotational velocity, generating the most heat during a slip event. In the GM 6L80 and 6L90 transmissions, this is frequently seen in the 3-5-Reverse clutch pack. The root cause is often a leaking apply piston seal or a degraded pressure control solenoid. According to Sonnax technical resources, failing to address the underlying hydraulic leak will cause the new friction kit to burn up within 500 miles of reassembly.
Pattern 2: Asymmetric or "Crescent" Wear
If you observe a distinct crescent-shaped wear pattern where one half of the friction disc is worn down to the core while the opposite side shows minimal wear, the clutch pack is being applied at an angle. This asymmetric loading is almost always caused by a warped steel backing plate, a bent apply piston, or excessive lateral runout in the clutch drum itself. In Ford's 10R80, Clutch A and Clutch F are highly susceptible to this if the transmission was previously overheated, causing the thin steel separator plates to warp. Best practice dictates that all steel plates must be checked on a surface plate with a feeler gauge; any plate with more than 0.004 inches of warpage must be discarded.
Pattern 3: Deep Radial Grooving and Spline Strip-Out
When friction discs exhibit deep radial grooves that mirror scratches on the steel plates, or when the internal teeth (splines) are stripped, you have a mechanical interference or debris issue. In the ZF 8HP family, the "E" (overrun) clutch pack is notorious for this. As the stator support tube bushing wears, the clutch drum wobbles on its axis. This wobble forces the friction discs to scrape against the steel plates at an angle, gouging the friction material and eventually shearing the splines. For a comprehensive overview of the ZF 8-speed architecture, refer to the ZF 8-Speed Automatic Transmission documentation. Replacing the friction kit without replacing the worn stator support tube and bushing is a guaranteed failure.
Precision Measurement: Clearances That Dictate Survival
Visual diagnosis is only half the battle; precise clearance measurement is where professional rebuilds separate themselves from amateur attempts. Automatic transmission clutch packs require a specific amount of "pack clearance"—the total gap between the top friction disc and the retaining snap ring when the pack is fully compressed.
The Dial Indicator Method:
Do not rely solely on feeler gauges for final clearance verification. Feeler gauges can easily bridge over warped plates or compressed friction material, giving a false reading. Instead, use a magnetic base dial indicator. Mount the indicator to the transmission case, zero it against the top steel backing plate, and use a pry bar to lift the apply piston. The total travel indicated is your true pack clearance.
Target Clearances and Selective Snap Rings:
Most modern transmissions utilize selective snap rings to adjust this clearance. For example, in the GM 6L80, the 3-5-Reverse clutch pack target clearance is between 0.040" and 0.060" (1.01mm - 1.52mm). GM offers selective snap rings in thicknesses ranging from 1.6mm to 2.4mm in 0.2mm increments. If your measured clearance is 0.075", you must install a thicker snap ring. Running a clutch pack too loose results in delayed engagement and slip-burn; running it too tight causes drag, overheating, and premature fluid degradation.
Case Study: The Infamous ZF 8HP "E" Clutch Pack Degradation
To understand the real-world cost of ignoring wear patterns, consider the ZF 8HP45 and 8HP55 "E" clutch failure. The "E" clutch is an overrun clutch that applies in lower gears and during specific downshifts. When a vehicle presents with a "no reverse" or harsh 4-3 downshift complaint, teardown often reveals the "E" clutch friction discs are completely annihilated, reduced to black sludge in the pan.
The wear pattern on the surviving steels shows severe bluing and heat checking. However, the root cause is rarely the clutch pack itself. The stator support tube, which supplies apply fluid to the "E" clutch, rides on a Teflon or bushing ring that degrades over time, especially in vehicles that see heavy towing or track use. As the bushing wears, hydraulic pressure bleeds off internally. The Transmission Control Module (TCM) compensates by increasing solenoid duty cycle, but eventually, the pressure drops below the threshold required to clamp the pack. The resulting slip destroys the paper-based friction material. An OEM ZF friction and steel master kit for the 8HP costs between $220 and $280, while the upgraded stator support tube and bushing kit adds another $150. Skipping the $150 stator upgrade to save money will result in a catastrophic comeback.
Expert Assembly Protocols: Soaking, Stacking, and Torque
Once the root cause is identified and the correct clearances are established, the assembly process must be executed flawlessly. The Automatic Transmission Rebuilders Association (ATRA) consistently highlights assembly errors as a leading cause of post-rebuild failures.
1. The Soaking Mandate
If you are using traditional paper-based or cellulose-aramid friction discs, they must be submerged in the exact OEM automatic transmission fluid for a minimum of 15 to 30 minutes before installation. Paper-based discs are porous; if installed dry, the initial startup will cause the friction material to glaze or burn before fluid can fully saturate the pores. Note: High-energy sintered bronze or specialized carbon-faced clutches (often used in high-performance racing applications) do not require pre-soaking. Always verify the manufacturer's spec sheet.
2. Fluid Viscosity and Friction Modifiers
Modern clutch packs are engineered around the specific friction modifiers and viscosity of their designated fluids. You cannot mix and match. For instance, the Ford 10R80 requires Motorcraft MERCON ULV (Ultra Low Viscosity) fluid. Using standard MERCON LV in a 10R80 will alter the coefficient of friction, leading to aggressive lockup, torque converter shudder, and rapid chunking of the friction material. Similarly, ZF 8HP units demand ZF LifeguardFluid 8. The cost of a proper OEM fluid fill ($120-$180) is negligible compared to the cost of a ruined clutch pack.
3. Critical Torque Specifications
Over-torquing valve body and apply piston components can distort the very passages that supply your clutch packs. Adhere strictly to OEM torque specs:
- GM 6L80 Valve Body to Case Bolts: 8 Nm (71 lb-in). Over-tightening here will warp the valve body casting, causing cross-leaks that starve clutch packs of apply pressure.
- ZF 8HP Mechatronic Sleeve Bolts: 8 Nm. Use a calibrated inch-pound torque wrench. Stripped threads in the aluminum case require expensive helicoil repairs.
- GM 6L80 Transmission Case to Bellhousing: 35 Nm (26 lb-ft). Ensure the dowel pins are seated to prevent pump misalignment and subsequent stator bushing wear.
Final Thoughts on Diagnostic Integrity
Reading the wear patterns on clutch packs in automatic transmission systems is a forensic science. By correlating visual evidence—like edge glazing, asymmetric crescents, or radial grooving—with hydraulic and mechanical data, you can confidently address the root cause of failure. Always measure clearances with a dial indicator, respect the selective snap ring charts, and never cut corners on fluid specifications or component soaking. In the high-stakes world of transmission rebuilding, the friction discs never lie; they simply wait for an expert who knows how to listen.