Symptom Triage: Actuation Failure vs. Friction Material Wear
Manual transmissions in 2026 remain the undisputed king of track builds, classic restomods, and enthusiast daily drivers. When a manual gearbox begins to exhibit poor engagement, slipping under load, or a stiff pedal, the immediate assumption is often a worn-out friction disc. However, rushing into an aftermarket vs OEM clutch replacement decision without diagnosing the actuation system is a costly mistake. A stretched, frayed, or improperly routed clutch cable can perfectly mimic the symptoms of a failing clutch assembly. In this diagnostic guide, we will triage your drivetrain symptoms, demonstrate exactly how to replace clutch cable assemblies to rule out external failure, and then break down the engineering differences between OEM and aftermarket clutch kits when an internal teardown is genuinely required.
Diagnostic Matrix: Is It the Cable or the Clutch Disc?
Before ordering parts, you must isolate the failure point. The clutch cable transmits mechanical force from the pedal to the clutch fork. If the cable stretches or the housing binds, the release bearing cannot fully disengage or properly engage the diaphragm spring. Use the table below to cross-reference your vehicle's behavior.
| Symptom | Clutch Cable / Actuation Issue | Worn Internal Clutch Disc |
|---|---|---|
| Pedal Feel | Stiff, notchy, snapping, or heavy | Soft, normal, or spongy |
| Engagement Point | Changes with temperature or adjustment | Consistently high or slipping |
| Under Heavy Load | Gears crunch, refuses to enter gear | RPMs flare, vehicle won't accelerate |
| Visual Inspection | Frayed strands at firewall or fork | Requires transmission removal to verify |
How to Replace Clutch Cable: Eliminating the False Positive
If your diagnosis points to the actuation system, replacing the cable is a fraction of the cost of a transmission teardown. While procedures vary between FWD compacts (like the iconic Honda Civic D/B-series) and RWD classics (like the Foxbody Mustang), the core mechanical principles remain identical. Here is the professional procedure for cable-clutch systems.
- Remove Interior Trim and Pedal Stop: Access the pedal box under the dashboard. Disconnect the clutch return spring and unbolt the cable retaining clip from the pedal arm. Note the position of the rubber bumper stop, as missing this will cause the cable to over-extend and snap.
- Disconnect at the Firewall Adjuster: Most cable-clutch vehicles utilize a threaded firewall adjuster. Use a 10mm or 12mm wrench to back off the locknut, then unscrew the adjuster barrel to free the cable housing from the firewall.
- Extract the Cable from the Bellhousing: Reach into the engine bay and unhook the cable end from the clutch fork. Carefully route the old cable out of the chassis, noting any factory retaining clips or grommets. Pro-Tip: Tape the new cable to the old one and pull it through to ensure perfect routing without binding against the exhaust or steering column.
- Inspect the Clutch Fork and Pivot Ball: Before installing the new cable, inspect the clutch fork pivot ball. On high-mileage chassis, the pivot ball can wear a deep groove into the fork, altering the release bearing geometry. Apply a high-temp molybdenum disulfide grease to the pivot point and the release bearing contact pad.
- Install and Adjust Freeplay: Hook the new cable to the fork and secure the firewall adjuster. The critical step is setting the freeplay. Measure the distance the pedal travels before you feel resistance from the diaphragm spring. Target 1.0 to 1.5 inches (25-38mm) of freeplay at the pedal pad. Too little freeplay will cause the release bearing to ride the pressure plate, leading to catastrophic failure; too much will cause gear crunching.
The Verdict: When Internal Failure Demands a Clutch Replacement
If you have installed a fresh cable, adjusted the freeplay to factory specifications, and the vehicle still slips under boost or heavy throttle, the friction material is exhausted. It is time to drop the transmission. This brings us to the ultimate enthusiast debate: aftermarket vs OEM clutch replacement. As of 2026, supply chain stabilization has made both premium OEM and high-tier aftermarket kits readily available, but their engineering philosophies differ vastly.
OEM Clutch Kits: The Drivability Baseline
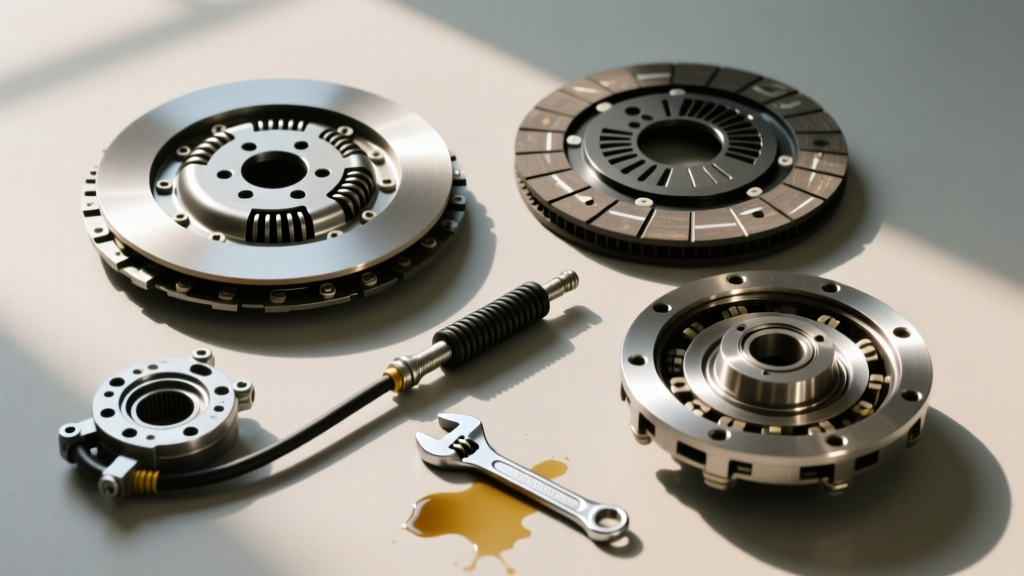
OEM replacements (often manufactured by tier-1 suppliers like Sachs, LuK, or Exedy) prioritize comfort, longevity, and smooth engagement. They utilize a pronounced 'Marcel wave'—a wavy steel segment sandwiched between the friction linings. When the pressure plate clamps down, the Marcel wave compresses progressively, absorbing engagement shock and allowing for seamless stop-and-go traffic drivability. For example, a genuine Sachs Clutches OEM replacement kit (such as Part #170009010 for Euro applications) will mirror the factory clamp load (typically around 1,800 to 2,200 lbs) and is rated for the exact torque output of the stock engine.
Aftermarket Performance & Heavy-Duty Kits
Aftermarket manufacturers like Exedy Global, ACT, and South Bend Clutch engineer their kits for increased torque capacity, track abuse, and towing. Performance organic kits (like the Exedy Stage 1, Part #HDO09U) often flatten or reduce the Marcel wave to provide a more direct, aggressive engagement. They achieve higher torque capacity not necessarily by using abrasive ceramic materials, but by increasing the diaphragm spring clamp load by 15% to 30%. Heavy-duty aftermarket kits may utilize sprung ceramic or Kevlar pucks, which offer immense heat resistance and torque holding but sacrifice low-speed drivability, often introducing chassis shudder during takeoff.
Aftermarket vs OEM Clutch Replacement Comparison
| Feature | OEM Replacement (Sachs / LuK) | Aftermarket Stage 1 (Exedy / ACT) | Aftermarket Race (Puck / Ceramic) |
|---|---|---|---|
| Clamp Load | Factory Spec (e.g., 1,900 lbs) | +20% to +35% Increased | +50% to +100% Extreme |
| Friction Material | Organic with deep Marcel wave | High-Copper Organic / Kevlar blend | Unsprung Ceramic / Sintered Iron |
| Engagement Feel | Progressive, smooth, forgiving | Direct, slightly abrupt, firm pedal | On/Off switch, high chatter |
| Best Application | Daily driving, commuting, OEM+ | Track days, mild boost, towing | Dedicated race, drag, high-HP |
| Estimated Cost (2026) | $250 - $450 | $400 - $750 | $600 - $1,200+ |
Critical Torque Specifications for Reassembly
Whether you choose an OEM Sachs kit or an aftermarket Exedy assembly, precision during reassembly is non-negotiable. Improper torque will lead to warped flywheels, shattered friction discs, or bellhousing misalignment. Always refer to your specific factory service manual, but use these common benchmarks as a baseline for typical passenger and light-truck applications:
- Flywheel to Crankshaft: Typically 76 lb-ft to 95 lb-ft. Crucial: Use a star-pattern sequence and apply a medium-strength threadlocker (e.g., Loctite 243) to the bolts. If the flywheel uses stepped bolts, ensure the shoulder seats correctly.
- Pressure Plate to Flywheel: Generally 19 lb-ft to 25 lb-ft. Tighten gradually in a crisscross pattern, one full turn at a time, to prevent warping the diaphragm spring housing.
- Clutch Fork Pivot Ball: 15 lb-ft to 20 lb-ft. Ensure the threads are clean and free of grease.
- Transmission Bellhousing to Block: 45 lb-ft to 65 lb-ft. Use a dial indicator to check for bellhousing runout if you are mating an aftermarket transmission to a custom block plate; runout exceeding 0.005 inches will destroy the pilot bearing and input shaft seal.
Final Diagnostic Thoughts
Troubleshooting a manual drivetrain requires a logical elimination of variables. By mastering how to replace clutch cable components and accurately measuring pedal freeplay, you save yourself from unnecessary transmission removals. However, when the friction material is truly spent, understanding the nuanced differences in an aftermarket vs OEM clutch replacement ensures you select a kit that matches your driving style, torque requirements, and budget. Never sacrifice proper actuation geometry for clamping force; a well-adjusted cable and a matched OEM clutch will outlast a poorly routed setup hiding behind a 3,000-lb pressure plate.