Why Proper Clutch Free Play is Critical
If you are wondering how to set clutch on motorcycle and ATV models, you are taking the first step toward saving your transmission from catastrophic failure. Many beginners treat the clutch lever as a simple on/off switch, but in reality, it is a precisely calibrated mechanical linkage. Setting the correct clutch free play—the amount of lever movement before the clutch cable actually begins to pull the pressure plate—is non-negotiable for machine longevity.
Too little free play causes the clutch to slip under heavy throttle, generating immense heat that will glaze your friction plates and warp your steel separators. Too much free play leads to a dragging clutch, which makes finding neutral nearly impossible, causes premature gearbox wear, and can result in the bike lurching forward when stopped in gear. Whether you are riding a Yamaha MT-07, a Honda CBR600RR, or wrenching on a Honda TRX400EX ATV, the fundamental physics of the wet multi-plate clutch remain identical.
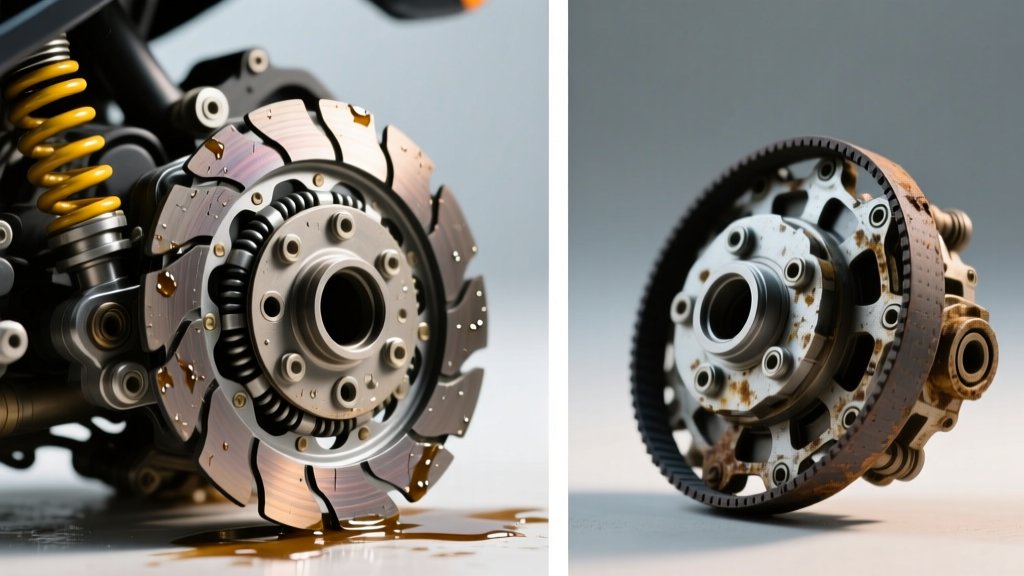
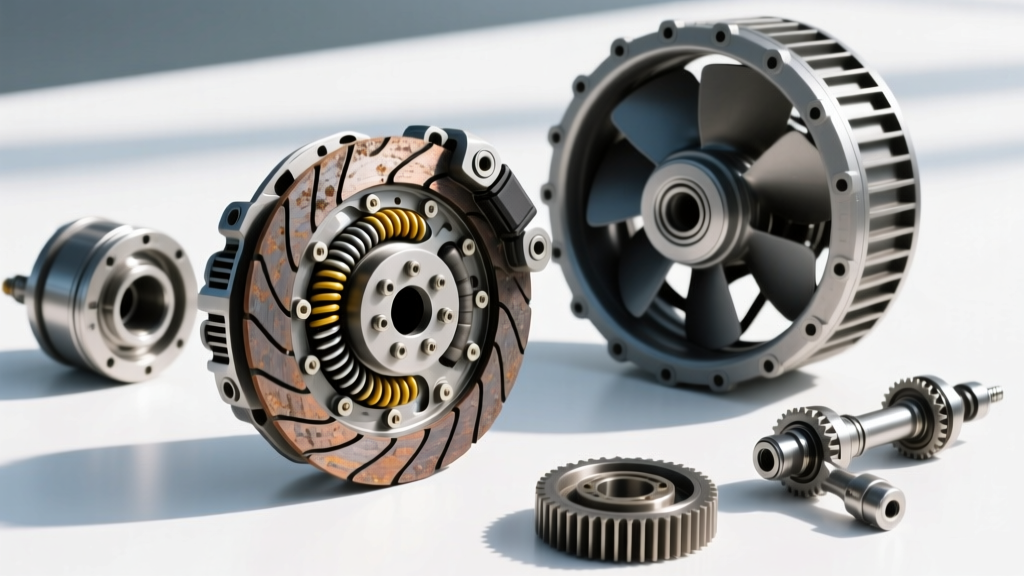
The Anatomy of a Motorcycle and ATV Wet Clutch
Before adjusting anything, you must understand what you are actuating. Over 90% of manual motorcycles and utility ATVs utilize a wet multi-plate clutch. This system is bathed in engine oil, which serves to cool the components and carry away friction material debris.
- Friction Plates: These are the steel plates coated in friction material (cork, Kevlar, or carbon fiber). They spline to the outer clutch basket.
- Steel Separator Plates: Smooth steel rings that spline to the inner clutch hub.
- Clutch Basket & Inner Hub: The basket is driven by the crankshaft via the primary gear. The inner hub is connected to the transmission input shaft.
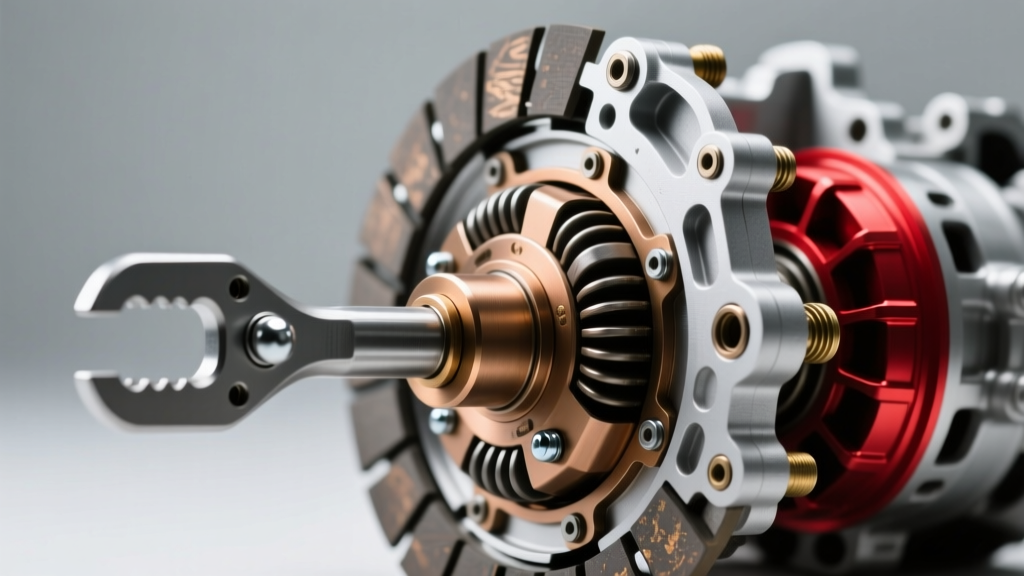
- Pressure Plate & Springs: The springs clamp the pack together. When you pull the lever, the pushrod lifts the pressure plate, releasing the clamp load and disconnecting the engine from the transmission.
According to maintenance guidelines from Cycle World How-To Guides, maintaining the precise gap between the pressure plate and the clutch pack via cable tension is what allows the plates to fully engage and fully disengage without partial friction.
How to Set Clutch on Motorcycle: Step-by-Step Cable Adjustment
For cable-actuated systems, setting the clutch is a two-point process. Always perform this adjustment when the engine is cold and the bike is on a center stand or paddock stand.
Step 1: Measure the Lever Free Play
Using a ruler or calipers, measure the distance the tip of the clutch lever travels before you feel a distinct increase in resistance. This resistance is the point where the cable is actually pulling the pressure plate lifter. For most modern street bikes and ATVs, the specification is between 10mm and 15mm (0.4 to 0.6 inches) measured at the lever tip.
Step 2: Adjust the Barrel Adjuster (At the Lever)
Loosen the locknut on the barrel adjuster located right at the clutch perch on your handlebars. Thread the adjuster inward (clockwise) to increase free play, or outward (counter-clockwise) to decrease it. This adjuster is meant for minor tweaks and on-the-fly adjustments as the cable stretches over time.
Step 3: The Lower Engine Case Adjuster
If the barrel adjuster is maxed out, or if you are performing a major service, you must use the lower adjuster located where the clutch cable enters the engine case.
- Loosen the 10mm or 12mm locknut on the lower adjuster.
- Turn the adjuster screw clockwise until you feel it lightly seat against the clutch lifter arm.
- Back the screw out exactly one-quarter to one-half turn to establish the baseline mechanical gap.
- Hold the screw with a flathead screwdriver or Allen key and tighten the locknut securely.
- Return to the handlebars and use the barrel adjuster to dial in the final 10-15mm free play.
Common Free Play Specifications (2026 Reference)
Always consult your specific OEM service manual, but the table below represents standard baseline specifications for popular platforms:
| Vehicle Model | Type | Target Free Play (Lever Tip) | Adjustment Mechanism |
|---|---|---|---|
| Yamaha MT-07 / FZ-07 | Street | 10.0 - 15.0 mm | Cable (Dual Adjuster) |
| Honda CBR600RR | Sport | 10.0 - 20.0 mm | Cable (Dual Adjuster) |
| Kawasaki Ninja 400 | Sport | 10.0 - 15.0 mm | Cable (Dual Adjuster) |
| Honda TRX400EX ATV | ATV | 10.0 - 20.0 mm | Cable (Dual Adjuster) |
| Suzuki RM-Z450 | Dirt | 10.0 - 15.0 mm | Cable (Dual Adjuster) |
Diagnosing Clutch Symptoms: Slipping vs. Dragging
Even with perfect free play, clutch components wear out. Recognizing the symptoms early will save you from being stranded on the trail or the highway.
1. The Slipping Clutch
Symptoms: You are accelerating in 3rd or 4th gear, roll on the throttle, and the engine RPMs flare up rapidly, but your road speed does not increase proportionally. The bike feels like it is losing power under load.
Root Causes:
- Worn Friction Plates: The friction material has worn below the OEM service limit.
- Sagged Clutch Springs: Heat and time cause the springs to lose their tension, reducing clamping force.
- Incorrect Engine Oil: This is the #1 beginner mistake. Automotive oils contain friction modifiers (like molybdenum) designed to make car engines more efficient. In a motorcycle, these modifiers coat the clutch plates and cause immediate, severe slipping. You must use oil certified to JASO MA or JASO MA2 standards.
2. The Dragging Clutch
Symptoms: The bike lurches forward when you pull the lever in and click into first gear. Finding neutral while the engine is running is incredibly difficult, and the transmission clunks loudly.
Root Causes:
- Notched Clutch Basket: Over time, the friction plate tabs hammer into the aluminum fingers of the outer clutch basket, creating deep grooves (notches). When you pull the lever, the plates get stuck in these grooves and fail to separate. Expert sources like RevZilla's Common Tread frequently cite basket notching as the primary cause of false neutrals.
- Warped Steel Plates: Overheating from a slipping clutch can warp the steel separators, causing them to drag against the friction plates even when the pressure plate is lifted.
- Insufficient Free Play: The cable is too tight, keeping constant pressure on the lifter arm.
Hydraulic Clutch Systems: Bleeding and Maintenance
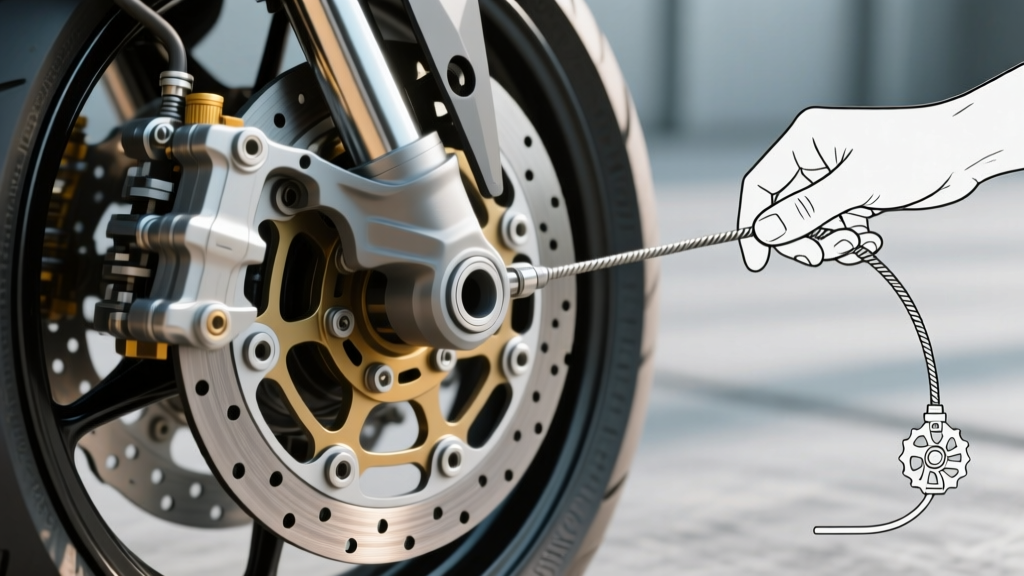
Modern off-road bikes (KTM, Husqvarna, GasGas) and high-end adventure bikes (Honda Africa Twin, BMW R1250GS) utilize hydraulic clutches. You cannot mechanically adjust free play on a hydraulic clutch. The master cylinder features a self-adjusting compensation port.
If your hydraulic lever feels spongy, or if the clutch begins to drag, the issue is almost always air in the hydraulic line or degraded fluid. You must bleed the system just like a brake caliper. Pay strict attention to the fluid type:
- Brembo Systems: Typically require DOT 4 or DOT 5.1 brake fluid. DOT fluid is hygroscopic (absorbs water) and must be flushed annually.
- Magura Systems: Require specific Mineral Oil (e.g., Magura Blood). Never put DOT fluid in a Magura master cylinder; it will destroy the internal rubber seals within hours.
When to Rebuild: Measuring Wear Limits
If adjusting the cable does not cure your slipping or dragging, it is time to open the clutch cover and measure the internals. You will need a set of digital calipers and an OEM service manual. While aftermarket kits from EBC Brakes Motorcycle Division (like the CK or CKK series) or Barnett offer excellent replacements, you must verify the wear limits.
Measuring Friction Plates
Stack all the friction plates on a flat surface and measure the total thickness, or measure them individually. For example, on a Honda CBR600RR, the standard friction plate thickness is roughly 3.0mm, and the absolute service limit is 2.6mm. If your plates measure 2.7mm, they are on borrowed time and should be replaced.
Checking Clutch Springs
Measure the free length of the clutch springs. If the OEM spec calls for a 48.0mm spring with a service limit of 45.5mm, and your springs measure 44.0mm, they have sagged and lost their clamping force. Always replace springs in a complete set.
Inspecting the Clutch Basket
Run your fingernail across the ears of the outer clutch basket. If your nail catches in deep grooves, the basket is notched. You can temporarily fix this by carefully filing the ears flat with a high-quality flat file, but the ultimate fix is replacing the basket with a billet aluminum unit from Hinson or Wiseco, which resist notching far better than cast OEM aluminum.
Pro-Tips for Drivetrain Longevity
Expert Warning: Never use an impact wrench to remove or install the clutch center locknut. The sudden torque spikes can shatter the primary drive gear or strip the crankshaft threads. Always use a dedicated clutch holding tool and a calibrated torque wrench. Typical center locknut torque specs range from 55 Nm to 65 Nm (40 to 48 lb-ft), while the small pressure plate spring bolts are usually torqued to just 6 to 8 Nm (53 to 71 lb-in).
Learning how to set clutch on motorcycle and ATV platforms is a foundational skill that pays dividends in reliability. By maintaining 10-15mm of free play, using only JASO MA2 certified lubricants, and inspecting your clutch basket for notches during oil changes, you will ensure your machine shifts crisply and accelerates predictably for thousands of miles. Keep a maintenance log, check your cable tension every 3,000 miles, and your transmission will thank you.