The NVH Trade-Off: Performance Clutches and Chatter
Upgrading to a high-capacity clutch system is a mandatory step for any modified manual vehicle pushing beyond 450 wheel-horsepower. Whether you are installing an ACT HDSS, a McLeod RST Twin-Disc, or an Exedy Stage 2 Cerametallic, the trade-off for increased clamp load and thermal resistance is often a sharp increase in Noise, Vibration, and Harshness (NVH). In 2026, with modern performance platforms like the Ford Mustang S650 and the Nissan Z featuring highly sensitive driveline monitoring and rigid chassis architectures, post-upgrade clutch chatter is one of the most frequently diagnosed symptoms in performance drivetrain shops.
Clutch chatter is not just an annoyance; it is a violent stick-slip friction event that can shatter bell housings, strip pilot bearings, and crack aluminum flywheels. While many enthusiasts immediately blame the friction material or the flywheel mass, a massive percentage of chatter issues stem from improper hydraulic geometry. Understanding exactly how to adjust clutch engagement point is a critical diagnostic and tuning procedure that can transform an undrivable, chattering performance car into a smooth, streetable machine.
The Physics of Clutch Chatter and Stick-Slip Friction
Before grabbing a wrench, it is vital to understand why aggressive clutches chatter. Organic street clutches utilize a friction material that has a relatively linear coefficient of friction. Performance ceramic, sintered iron, and carbon-ceramic materials exhibit a phenomenon known as stick-slip friction. When the friction disc grabs the flywheel, the coefficient of friction spikes, locking the driveline momentarily. The rotational inertia of the engine then overcomes this static grip, causing the disc to slip, only to grab again milliseconds later. This rapid grab-slip-grab cycle occurs at a frequency that manifests as severe chassis vibration, typically between 1,200 and 1,800 RPM.
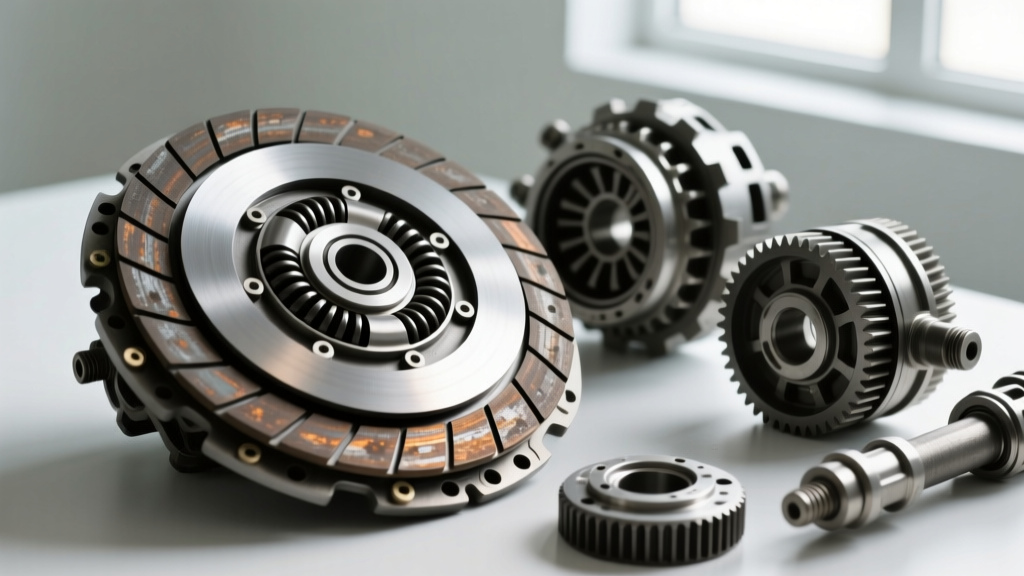
When you pair an aggressive puck-style disc with a lightweight aluminum single-mass flywheel (often weighing between 11 and 15 lbs, compared to a 35 lb OEM dual-mass unit), the rotational mass available to dampen these high-frequency oscillations is virtually eliminated. The hydraulic release system must be perfectly calibrated to allow the diaphragm spring to apply full, uninterrupted clamp load. If the engagement point is misadjusted, the release bearing may still be applying parasitic drag, or the diaphragm fingers may be over-extended, directly inducing chatter.
Step-by-Step: How to Adjust Clutch Engagement Point
If you are experiencing violent shuddering upon takeoff, follow this diagnostic procedure to calibrate your hydraulic system and eliminate release bearing interference.
Phase 1: Master Cylinder Pushrod Calibration
The most common cause of chatter in upgraded systems is a lack of free-play at the clutch master cylinder (CMC). If the pushrod is adjusted too long, it keeps the internal CMC piston slightly depressed, blocking the compensation port. This traps hydraulic fluid pressure in the line, preventing the slave cylinder from fully retracting. The result is a release bearing that is constantly spinning against the diaphragm fingers, reducing effective clamp load and causing the pressure plate to vibrate.
- Locate the Pushrod: Find the clevis connecting the clutch pedal arm to the CMC pushrod under the dash or in the engine bay (depending on your platform, such as the GM T56 Magnum or Tremec TR-6060 setups).
- Measure Free-Play: Using a feeler gauge or a precision dial indicator, measure the free-play between the pedal arm and the pushrod before resistance is felt. You must have a minimum of 0.040 inches to 0.080 inches of dead travel.
- Adjust the Clevis: Loosen the 12mm or 14mm locknut on the pushrod. Thread the clevis to shorten the pushrod until the specified free-play is achieved. Retorque the locknut to 15 lb-ft using a thread-locking compound like Loctite 243.
Phase 2: Setting the Pedal Stop (Over-Travel Limitation)
Conversely, if the engagement point is too low (near the floorboards), you may be over-stroking the pressure plate. High-clamp-load pressure plates (like those rated for 2,400+ lbs of clamp force) feature stiff diaphragm fingers. Depressing the pedal too far causes the fingers to invert past their centerline, leading to catastrophic vibration and permanent spring fatigue.
To fix this, install an adjustable clutch pedal stop. According to McLeod Racing technical guidelines, the slave cylinder should only move the release bearing exactly as far as necessary to disengage the clutch, typically between 0.450 inches and 0.550 inches of total travel. Adjust the upper pedal stop bolt so the pedal cannot be pushed further than necessary to achieve clean gear engagement in reverse while idling. This preserves the diaphragm spring geometry and ensures maximum clamp load when the pedal is released, directly combating chatter.
Phase 3: Hydraulic System Bleeding and Fluid Selection
A spongy hydraulic line will cause inconsistent engagement, leading to chatter as the pedal is released. Performance clutch systems require high-viscosity, high-boiling-point fluid to handle the increased line pressure generated by larger slave cylinders (such as the GM LS7 throwout bearing or aftermarket external slaves).
- Flush the system using Motul RBF 660 or Castrol SRF Racing Brake Fluid (both are DOT 4 compatible but offer vastly superior vapor lock resistance and consistent hydraulic modulus).
- Utilize a pressure bleeder set to 15 PSI to force micro-bubbles out of the slave cylinder bore, ensuring a rock-solid engagement point.
Diagnostic Data Table: Chatter Symptoms vs. Mechanical Fixes
| Chatter Symptom Profile | Likely Root Cause | Required Adjustment / Hardware Fix | Estimated Cost (2026) |
|---|---|---|---|
| Violent shake at 1,500 RPM; pedal feels firm but high. | CMC Pushrod too long; compensation port blocked; bearing preloaded. | Shorten pushrod to achieve 0.060" free-play. | $0 (DIY Adjustment) |
| Chatter accompanied by metallic ringing; pedal engages near floor. | Diaphragm finger over-travel; flywheel step height incorrect. | Install adjustable pedal stop; verify flywheel step (e.g., 0.020"). | $45 - $120 |
| Chatter only when hot; slipping under heavy load. | Glazed sintered iron friction material; flywheel hot spots. | Resurface/replace flywheel; sand friction discs with 80-grit. | $150 - $600 |
| Low-frequency driveline clunk and vibration on takeoff. | Worn pilot bearing causing input shaft misalignment. | Replace pilot bearing (e.g., SKF 6203-2RS); check interference fit. | $15 - $40 |
Torque Specs and Upgrade Hardware Considerations
When diagnosing severe chatter, you must rule out hardware failure caused by improper installation. As noted in Advanced Clutch Technology (ACT) technical bulletins, uneven torque on the pressure plate or flywheel will cause the friction surface to warp under thermal load, creating a physical high-spot that guarantees chatter.
If you are pulling the transmission to inspect for chatter damage, adhere strictly to these hardware protocols:
- Flywheel to Crankshaft: Never reuse OEM Torque-to-Yield (TTY) bolts. Upgrade to ARP flywheel bolts (e.g., ARP 200-2802 for GM LS applications or ARP 150-2801 for Ford Coyote 5.0). Torque these in a star pattern to 74 lb-ft (or 65 lb-ft for standard small blocks), followed by a final torque angle if specified by the fastener manufacturer.
- Pressure Plate to Flywheel: Torque the pressure plate bolts in a crisscross star pattern in 5 lb-ft increments. Final torque is typically 25 to 30 lb-ft for standard 10.5-inch discs, and up to 35 lb-ft for heavy-duty 11-inch twin-disc setups. Use blue Loctite on all pressure plate bolts.
- Flywheel Step Height: This is the most overlooked metric in chatter diagnosis. Diaphragm clutches require a specific distance between the flywheel friction surface and the pressure plate mounting pad. If your machine shop resurfaces the flywheel without maintaining the exact OEM step height (usually between 0.020" and 0.050" depending on the brand), the clutch will either slip or chatter violently. Always micrometer the step height before assembly.
When to Replace: Identifying Fatal Chatter Damage
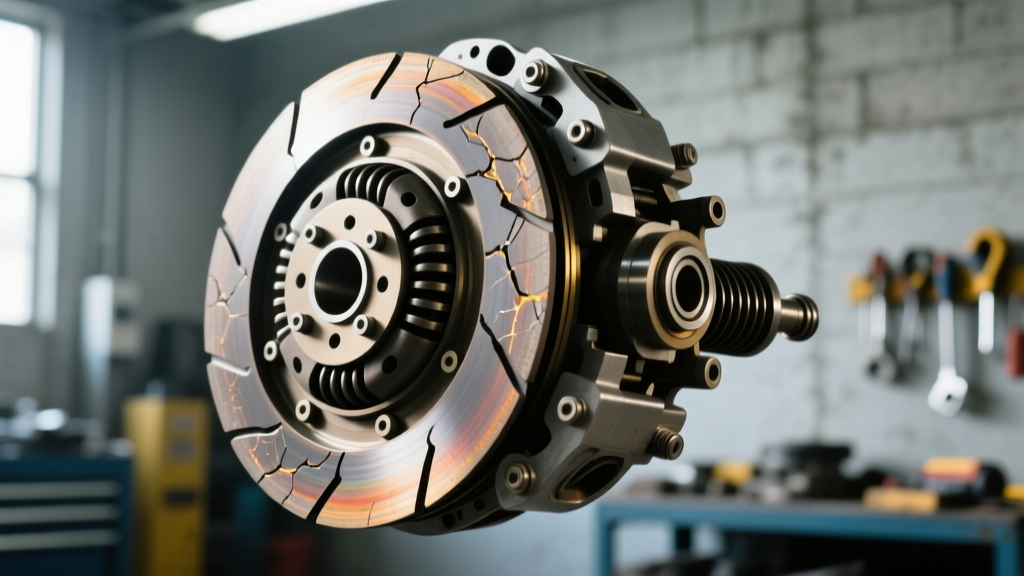
If adjusting the engagement point and verifying hydraulic geometry does not resolve the vibration, the friction assembly has likely suffered mechanical trauma. Inspect the friction disc for shattered ceramic pucks or cracked marcel springs (the wavy cushion springs between the friction faces). On twin-disc setups like the Tremec TKX-rated McLeod RXT, inspect the intermediate floater plate for severe bluing or warping. If the floater plate exhibits a thickness variance greater than 0.005 inches across its surface, it must be replaced. Furthermore, check the input shaft splines for galling; aggressive chatter can literally hammer the splines, creating a binding condition that prevents the disc from moving freely, perpetuating the stick-slip cycle.
Mastering how to adjust clutch engagement point is the hallmark of a true drivetrain specialist. By prioritizing hydraulic free-play, limiting over-travel, and adhering to exacting torque specifications, you can harness the immense grip of modern performance clutches while maintaining the drivability required for the street.