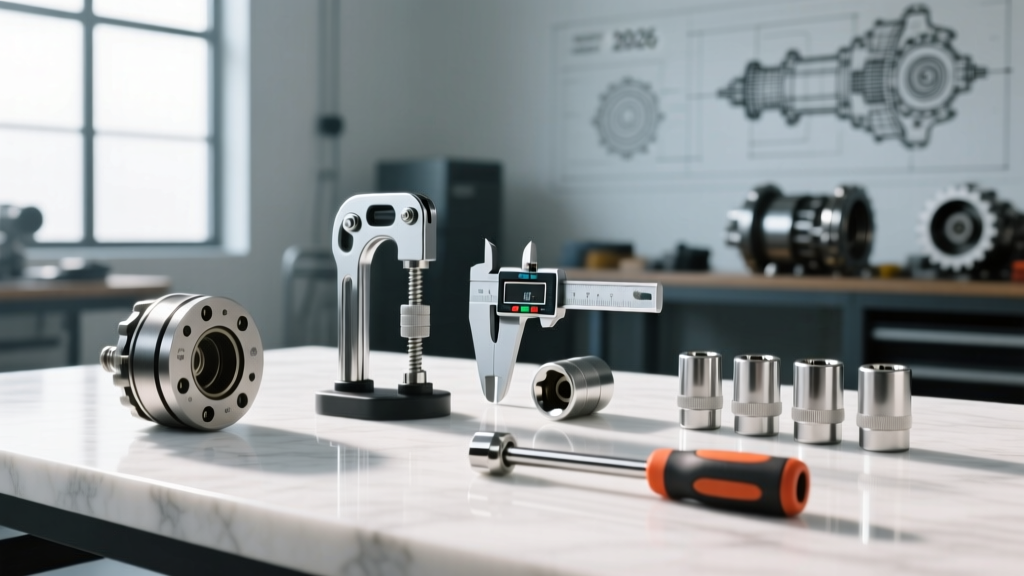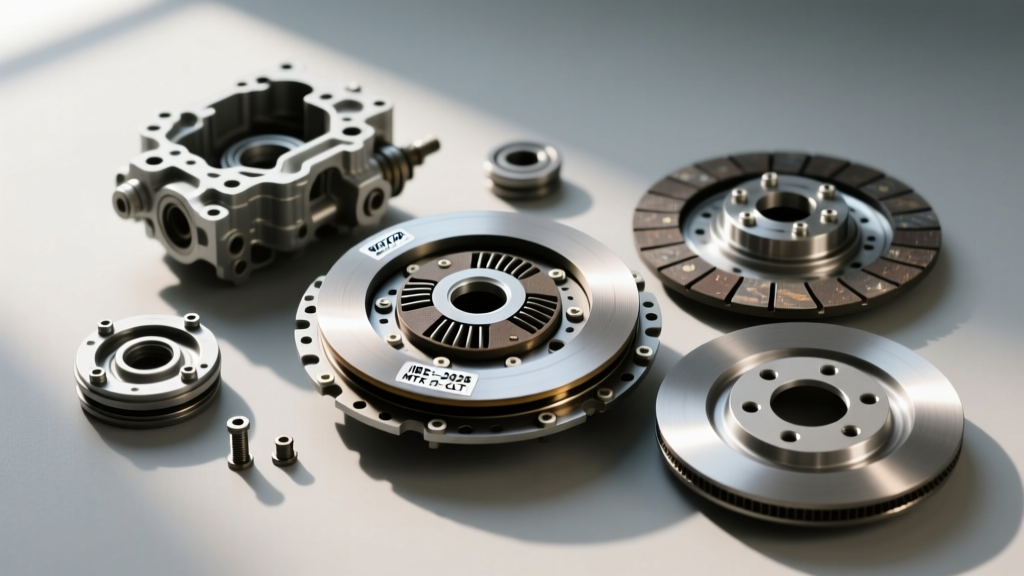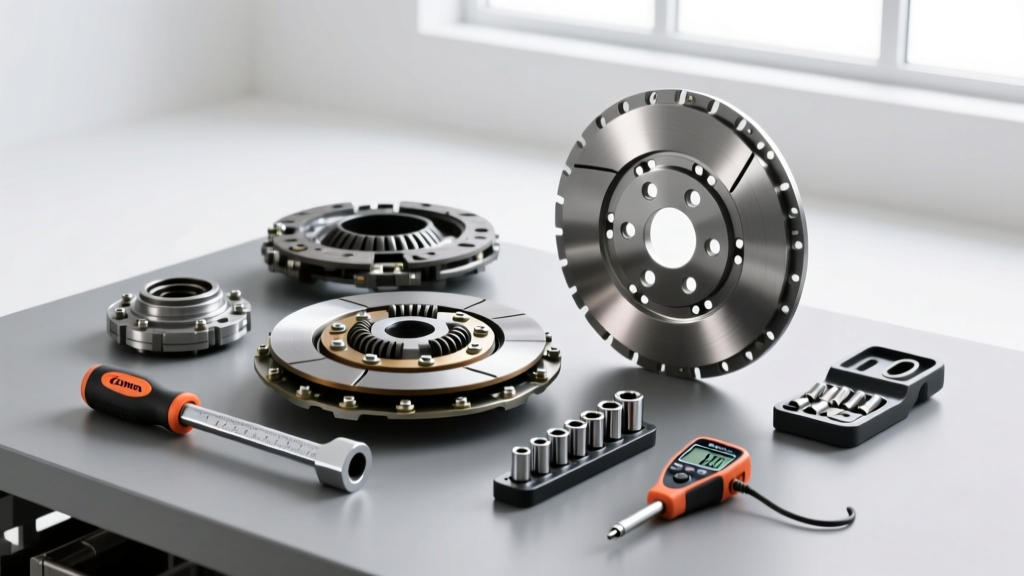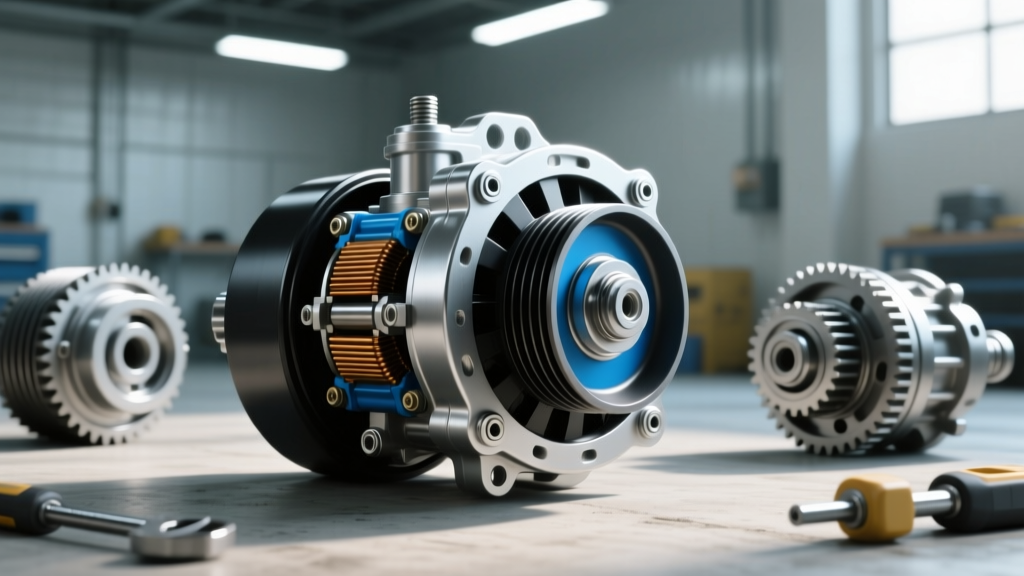
While the drivetrain and transmission clutches handle the immense torque of the engine, the electromagnetic clutch on your air conditioning compressor performs a highly precise, high-speed engagement duty. In modern 2026 vehicles, especially those utilizing high-pressure R-1234yf refrigerant systems, the mechanical and thermal loads on the A/C compressor are higher than ever. Consequently, an air con compressor clutch replacement is no longer just a simple 'unbolt and swap' procedure. It requires an understanding of electromagnetic fields, thermal limiters, and microscopic tolerances.
As automotive technicians, we frequently see brand-new clutch assemblies fail within weeks of installation. These failures are rarely due to defective parts; they are almost always the result of procedural errors. Below, we dissect the five most common and fatal mistakes made during compressor clutch servicing, backed by OEM engineering specifications.
The Anatomy of the Electromagnetic Clutch Assembly
Before diagnosing or replacing the unit, you must understand the three primary components of the assembly:
- The Rotor/Pulley Assembly: Driven continuously by the serpentine belt via a sealed angular contact bearing. It houses the electromagnetic coil.
- The Electromagnetic Coil (Stator): A copper wire winding encapsulated in epoxy. It contains an integrated, non-resettable thermal fuse (thermal limiter) typically designed to open at 184°C (363°F) to prevent engine bay fires in the event of severe slippage.
- The Armature/Hub (Friction Plate): Splined to the compressor shaft. When energized, the magnetic field pulls this steel plate against the rotor face, locking the compressor shaft to the engine's rotation.
Mistake #1: Miscalculating the Armature Air Gap
The most pervasive error in air con compressor clutch replacement is failing to measure and adjust the air gap between the rotor face and the armature hub. This gap is not arbitrary; it is a tightly controlled engineering tolerance.
The Physics of the Gap
If the gap is too wide (greater than 0.7mm), the magnetic field strength is insufficient to pull the armature in, especially when the coil heats up. Copper resistance increases with temperature, which drops the amperage and weakens the magnetic pull. The clutch will engage when cold but fail to engage after a 20-minute highway drive.
If the gap is too tight (less than 0.2mm), thermal expansion of the metals will cause the armature to drag against the rotor while disengaged. This creates immense friction, generating enough heat to melt the coil's internal thermal fuse, permanently destroying a $150+ component.
The Correct Procedure
You must use a feeler gauge to measure the gap at three equidistant points around the circumference. The target specification for most modern Denso and Sanden variable-displacement compressors is 0.3mm to 0.6mm (0.012 to 0.024 inches). Adjustment is achieved by adding or removing selective shim washers located on the compressor shaft behind the armature hub. Never assume a new aftermarket clutch kit comes pre-shimmed for your specific compressor model.
Mistake #2: Over-Torquing the Center Hub Retaining Bolt
The armature hub is secured to the compressor shaft via a small center bolt, typically an M6 or M8 thread. Because technicians are accustomed to high-torque drivetrain fasteners, they frequently use a 3/8-inch impact wrench or ratchet to snug this bolt down. This is catastrophic.
The compressor shaft is often supported by delicate internal thrust bearings, and the shaft threads can be made of softer steel or even aluminum in certain lightweight Harrison/Delphi designs. Over-torquing this bolt will:
- Crush the internal thrust bearing, leading to premature compressor seizure.
- Strip the shaft threads, requiring a complete compressor replacement.
- Pre-load the armature hub, altering the calibrated air gap.
Technical Spec: The center retaining bolt must be torqued to exactly 11 to 15 Nm (8 to 11 lb-ft). Use a calibrated 1/4-inch drive torque wrench. Furthermore, never use threadlocker (Loctite) on this bolt unless explicitly mandated by the OEM, as it can interfere with the precise seating depth required to maintain the air gap.
Mistake #3: Skipping the Electromagnetic Coil Resistance Test
Before installing a new clutch, or when diagnosing a non-engaging unit, technicians often just check for 12 volts at the harness plug. If voltage is present, they assume the coil is dead. However, testing the coil's resistance (Ohms) with a digital multimeter is mandatory to verify the integrity of the copper windings and the thermal fuse.
According to diagnostic standards outlined by the Mobile Air Climate Systems Association (MACS), a healthy A/C clutch coil at an ambient temperature of 20°C (68°F) should read between 3.0 and 5.0 ohms.
- Infinite Resistance (OL): The internal thermal fuse has blown due to past overheating, or the wire is broken. The coil is dead.
- Zero or Near-Zero Resistance: The internal windings are shorted. This will blow the vehicle's HVAC fuse or damage the PCM/BCM driver circuit the moment it is energized.
Always measure the resistance directly at the coil's spade terminals or pigtail, not at the vehicle's wiring harness, to rule out chassis-side wiring faults.
Mistake #4: Ignoring Compressor Shaft Seal Leaks (Friction Contamination)
The clutch friction surfaces must be bone-dry. A common scenario involves a compressor front shaft seal that is slowly weeping PAG (Polyalkylene Glycol) or ND-8 refrigerant oil. This oil slings outward onto the clutch friction surfaces.
When a technician performs an air con compressor clutch replacement without addressing the weeping seal or thoroughly cleaning the rotor face, the new armature will slip upon engagement. Slippage generates extreme heat. The thermal limiter will trip within days. If you find heavy oil residue on the old clutch, you must replace the compressor's front shaft seal (using a specialized seal puller and installer tool) and degrease the new rotor face with a non-residue-leaving solvent like pure isopropyl alcohol or specialized electrical contact cleaner. Never use standard brake cleaner on the epoxy-encapsulated coil, as the harsh solvents can degrade the epoxy seal over time.
Mistake #5: Replacing the Clutch on a Mechanically Seized Compressor
This is the most expensive mistake in HVAC servicing. The clutch is sometimes the 'victim' rather than the 'culprit.' If the internal swashplate, pistons, or bearings of a variable displacement compressor (like the ubiquitous Sanden SD7V16) seize mechanically, the pulley will stop turning while the serpentine belt continues to drag across it, or the coil will remain engaged against an immovable shaft.
This massive friction event generates temperatures exceeding 200°C, instantly blowing the coil's thermal fuse and burning the friction plate. If a technician simply bolts a new $200 clutch kit onto a mechanically seized compressor, the new clutch will either fail to engage (due to the seized shaft) or immediately overheat and destroy itself the moment the PCM commands it on.
The Golden Rule: Before replacing the clutch, manually rotate the compressor shaft using a spanner wrench on the center hub. It should rotate smoothly with steady, moderate resistance. If it is locked solid, or feels 'notchy' and gritty, the internal compressor mechanics have failed. The entire compressor must be replaced, and the system flushed.
OEM Torque and Air Gap Specification Matrix
The following table provides baseline engineering specifications for the most common compressor families found in global vehicle platforms. Always verify with the specific 2026 OEM service manual for your exact application.
| Compressor Model | Center Bolt Torque | Target Air Gap | Coil Resistance (20°C) | Thermal Fuse Rating |
|---|---|---|---|---|
| Denso 10S17C / 10PA17C | 11.8 Nm (104 lb-in) | 0.3 - 0.6 mm | 3.1 - 3.7 Ω | 184°C (363°F) |
| Sanden SD7V16 / SD7H15 | 14.5 Nm (128 lb-in) | 0.4 - 0.7 mm | 3.5 - 4.2 Ω | 184°C (363°F) |
| Harrison/Delphi H6 / V5 | 13.0 Nm (115 lb-in) | 0.5 - 0.8 mm | 2.8 - 3.4 Ω | 175°C (347°F) |
| Zexel DCS17C | 12.5 Nm (110 lb-in) | 0.3 - 0.5 mm | 3.2 - 3.8 Ω | 184°C (363°F) |
Diagnostic Flowchart: Clutch Failure vs. System Failure
To ensure your air con compressor clutch replacement is successful, run through this diagnostic checklist to confirm the root cause before ordering parts. For deeper HVAC diagnostic protocols, resources like ACKITS (Automotive Climate Control Technical Information Service) provide invaluable schematics and troubleshooting trees.
- Step 1: Inspect friction surfaces. Are they blued, glazed, or covered in oil? (Indicates slippage or shaft seal failure).
- Step 2: Check coil resistance. Is it between 3.0 and 5.0 ohms? (If OL, the thermal fuse is blown; replace coil/clutch assembly).
- Step 3: Verify harness voltage. Is 12V reaching the coil connector when the A/C is commanded ON? (If no, diagnose PCM, relays, pressure switches, or thermistors).
- Step 4: Check system pressures. Are high-side pressures exceeding 450 PSI? (The high-pressure cutout switch will intentionally disable the clutch to prevent catastrophic hose rupture. Do not replace the clutch; fix the condenser fan or system blockage).
- Step 5: Manually rotate the hub. Does the compressor spin freely? (If seized, abort clutch replacement; replace compressor and flush lines).
Final Technical Takeaways
An air con compressor clutch replacement is an exercise in precision, not brute force. By respecting the microscopic air gap tolerances, utilizing a calibrated torque wrench for the center hub, verifying coil resistance, and ensuring the underlying compressor mechanics are sound, you guarantee a lasting repair. In the high-heat, high-load environment of modern engine bays, skipping these technical steps is a guaranteed path to warranty comebacks and stranded vehicles.