The Auxiliary Drivetrain: Why A/C Clutch Diagnostics Matter
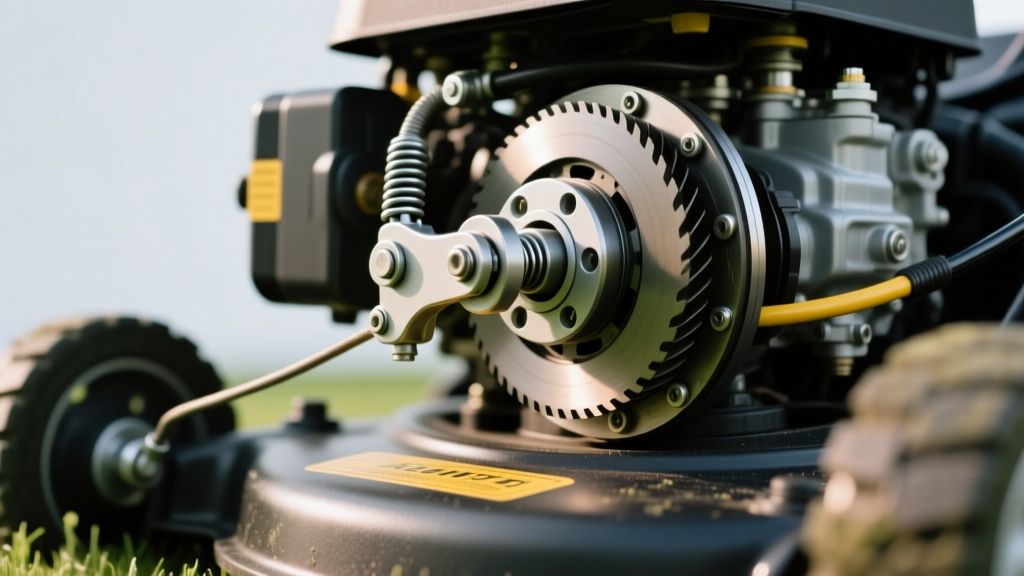
While AutogearNexus primarily focuses on primary drivetrain and transmission components, the automotive air conditioning compressor clutch represents a critical auxiliary Power Take-Off (PTO) system. When an A/C electromagnetic clutch fails, it doesn't just compromise cabin cooling; it introduces severe rotational drag, parasitic loss, and NVH (Noise, Vibration, and Harshness) issues into the serpentine belt drive. In 2026, with the widespread adoption of high-efficiency variable displacement compressors like the Denso 10S17C and Sanden SD7V16, understanding clutch failure modes and root cause analysis is essential for any serious technician or advanced DIYer.
This guide dissects the primary failure modes of A/C compressor clutches, provides exact diagnostic parameters, and evaluates whether a budget-friendly Harbor Freight AC clutch removal tool can withstand the rigors of professional extraction compared to premium OEM alternatives.
Root Cause Analysis: Top 4 AC Clutch Failure Modes
Unlike manual transmission friction clutches that wear organically over tens of thousands of miles, A/C electromagnetic clutches typically fail due to thermal, electrical, or mechanical boundary violations. Below are the primary failure modes and their root causes.
1. Electromagnetic Coil Burnout (Open or Short Circuit)
The field coil is the heart of the clutch. Root causes for coil failure include voltage spikes from failing alternator voltage regulators, moisture ingress causing internal winding shorts, or thermal degradation of the enamel wire insulation. When a coil burns out, the clutch will not engage, but the pulley will continue to freewheel on the bearing. According to the Mobile Air Climate Systems Association (MACS), over 40% of perceived 'compressor failures' are actually isolated field coil burnouts caused by poor grounding at the compressor casing.
2. Friction Plate Slippage and Glazing
If the clutch engages but slips, you will hear a distinct chirping or squealing noise from the accessory drive. The root cause is almost always an excessive air gap. As the friction surfaces wear, the gap widens. Once the gap exceeds the magnetic pull threshold (typically 0.040 inches), the electromagnet cannot fully lock the rotor to the pulley, causing micro-slippage. This generates immense heat, glazing the friction surfaces and eventually welding the rotor to the pulley.
3. Pulley Bearing Seizure
The pulley rides on a double-row angular contact bearing. When the bearing seal fails, moisture contaminates the polyalphaolefin (PAO) grease. The resulting spalling and brinelling cause a high-pitch whine that changes pitch with engine RPM. If ignored, the bearing seizes, snapping the serpentine belt and potentially damaging the crankshaft harmonic balancer due to sudden shock loading.
4. Thermal Fuse Activation (Clutch Diode Failure)
Modern clutch assemblies feature a thermal protector or diode to prevent wiring harness fires if the clutch locks up. If the compressor internally seizes (e.g., a swash plate failure in a Harrison HT6), the clutch friction plate will slip continuously against the spinning pulley. The resulting 400°F+ heat melts the thermal fuse, permanently severing power to the coil to save the vehicle's wiring harness.
Diagnostic Workflow: Measuring Air Gap and Coil Resistance
Before reaching for any puller, you must confirm the failure mode using precision measurement tools. Guessing leads to unnecessary part replacement.
| Diagnostic Parameter | Denso 10S / 12S Series | Sanden SD7 / PXE Series | Harrison / Delphi HT6 / CVC |
|---|---|---|---|
| Field Coil Resistance (at 68°F) | 3.2 - 4.5 Ohms | 3.5 - 4.8 Ohms | 3.0 - 4.2 Ohms |
| Target Air Gap | 0.016" - 0.028" (0.4 - 0.7mm) | 0.018" - 0.030" (0.45 - 0.75mm) | 0.020" - 0.032" (0.5 - 0.8mm) |
| Max Allowable Air Gap | 0.035" (0.9mm) | 0.038" (1.0mm) | 0.040" (1.0mm) |
| Center Bolt Thread / Torque | M8x1.25 / 12 Nm (9 lb-ft) | M10x1.5 / 15 Nm (11 lb-ft) | M8x1.25 / 14 Nm (10 lb-ft) |
Note: Always use a non-magnetic brass feeler gauge set to measure the air gap. Steel gauges will be attracted to the residual magnetism of the rotor, yielding false readings.
Tool Comparison: Professional vs. Harbor Freight AC Clutch Removal Tool
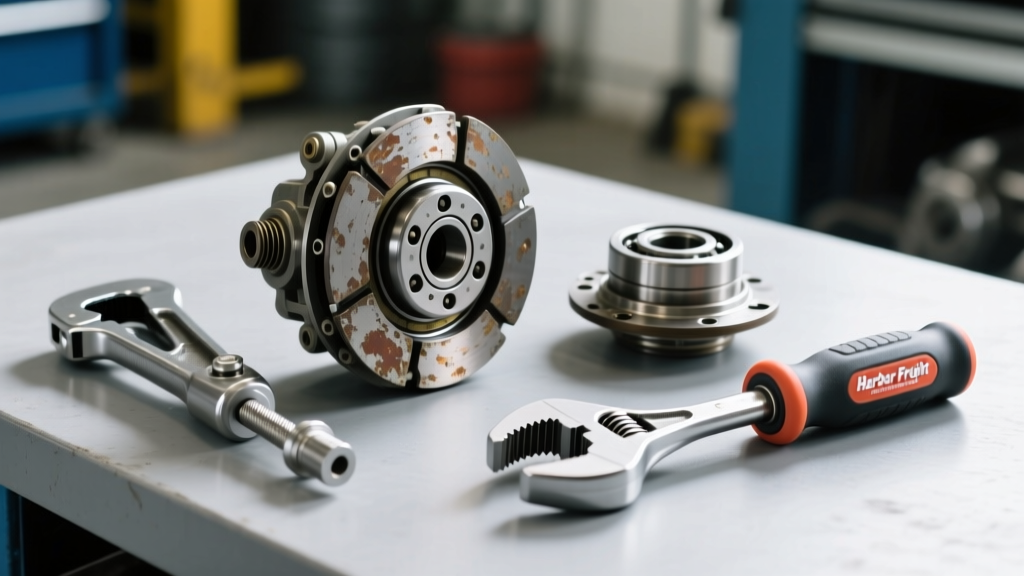
Once a failure is confirmed, the clutch assembly must be extracted to replace the coil, bearing, or adjust shims. Many DIYers and budget-conscious techs search for an "ac clutch removal tool harbor freight" to avoid the high cost of specialty OEM tools. But does the budget option hold up in a professional bay in 2026?
The Harbor Freight (Pittsburgh Automotive) Option
Harbor Freight typically stocks universal 3-jaw puller sets and specific A/C clutch puller/installer kits (often branded under Pittsburgh Automotive or Mastercraft, typically priced between $35 and $55). These kits include a central forcing screw and various threaded adapters (M8, M10, and specific snap-ring style pushers).
- Pros: Highly affordable; sufficient for light-duty, occasional use on standard Denso and Harrison clutches where corrosion is minimal.
- Cons: The forcing screws are made from lower-grade carbon steel. If the clutch hub is seized due to galvanic corrosion (common on aluminum-bodied compressors with steel hubs), the Harbor Freight forcing screw can snap or strip the adapter threads, leaving you with a stuck clutch and a broken tool.
The Professional Alternatives (OTC & Lisle)
Professional tools like the OTC 4521 or Lisle 46400 A/C Clutch Puller sets (priced between $90 and $140) are machined from heat-treated chromoly steel. They feature fine-thread forcing screws that distribute torque evenly and specialized stepped adapters that prevent damage to the delicate M8 center threads of the compressor shaft.
| Feature | Harbor Freight (Pittsburgh) Universal Kit | OTC 4521 / Lisle Pro Kit |
|---|---|---|
| Approximate Cost (2026) | $35 - $55 | $95 - $140 |
| Material Grade | >Standard Carbon SteelHeat-Treated Chromoly / Alloy Steel | |
| Thread Protection | Basic adapters (high risk of cross-threading) | Precision stepped adapters with thread savers |
| Corroded Hub Extraction | Poor (high risk of tool fracture) | Excellent (handles high torque loads safely) |
| Best Use Case | DIY, single-use, well-maintained vehicles | Daily shop use, rust-belt vehicles, seized hubs |
Expert Insight: If you are using a Harbor Freight AC clutch removal tool on a vehicle from the Rust Belt or a coastal region, apply a high-quality penetrating catalyst (like Kroil or PB Blaster) to the hub splines 24 hours prior to extraction. Never apply heat directly to the clutch hub with a torch, as temperatures above 250°F will demagnetize the rotor and ruin the clutch assembly.
Step-by-Step Extraction and Rebuild Protocol
Whether you opt for the budget tool or the professional puller, the extraction and reassembly protocol remains identical. Adhering to SAE International surface and torque standards is non-negotiable.
- Remove the Center Bolt: Use an impact wrench or a strap wrench to hold the pulley while breaking the M8/M10 center bolt loose. Discard the old bolt; always use a new OEM bolt with pre-applied threadlocker.
- Extract the Friction Plate (Hub): Thread the appropriate puller adapter into the hub. Tighten the forcing screw against the compressor shaft. If resistance exceeds 40 lb-ft of torque on the forcing screw, stop and apply penetrating oil. Do not force it, or you will strip the internal threads of the hub.
- Remove Snap Rings and Shims: Once the hub is off, remove the external snap ring. Carefully note the number and thickness of the air gap shims. These shims are your only method of adjusting the air gap.
- Pulley and Bearing Removal: The pulley is typically a press-fit or retained by a second snap ring. Use a standard jaw puller to remove the pulley. If replacing the coil, remove the internal snap ring and slide the electromagnet off the compressor snout.
- Clean and Reassemble: Clean the compressor shaft splines with a brass wire brush. Apply a microscopic amount of anti-seize to the splines—never on the friction surfaces. Reinstall the coil, ensuring the wire harness is routed away from the exhaust manifold.
- Set the Air Gap: Reinstall the hub with the original shims. Torque the new center bolt to spec (e.g., 12 Nm). Measure the air gap with your brass feeler gauge at three equidistant points around the circumference. If the gap is out of spec, remove the hub and add or subtract shims (available in 0.005" and 0.010" increments) until the target tolerance is achieved.
Final Verdict: Is the Harbor Freight Tool Worth It?
For the weekend warrior performing a single clutch coil replacement on a daily driver kept in a dry climate, the Harbor Freight AC clutch removal tool is a cost-effective solution that will get the job done. However, for professional technicians or those dealing with heavily oxidized components, the risk of snapping a budget forcing screw inside a compressor shaft makes the investment in an OTC or Lisle kit a mandatory insurance policy. Understanding the root cause of the failure, measuring the electrical and mechanical tolerances, and using the correct extraction methodology will ensure your A/C system—and your accessory drivetrain—operates flawlessly for years to come.