Introduction to Electromagnetic Clutch Diagnostics
The automotive air conditioning compressor clutch is a high-friction, electromagnetic coupling device responsible for transferring engine rotational force to the refrigerant pump. When this component fails to engage, cabin temperatures rise rapidly, and drivers are left with a non-functional A/C system. While a simple jumper wire can force engagement, professional technicians rely on a dedicated AC clutch tester to systematically isolate mechanical, electrical, and PCM-level faults without risking damage to the vehicle's wiring harness or the compressor itself.
According to the Mobile Air Climate Systems Association (MACS), over 35% of mobile A/C failures are misdiagnosed as refrigerant leaks when the root cause is actually an electrical fault in the clutch coil circuit or an improper mechanical air gap. This technical deep-dive provides a comprehensive clutch system inspection checklist, utilizing precise measurements and industry-standard diagnostic procedures.
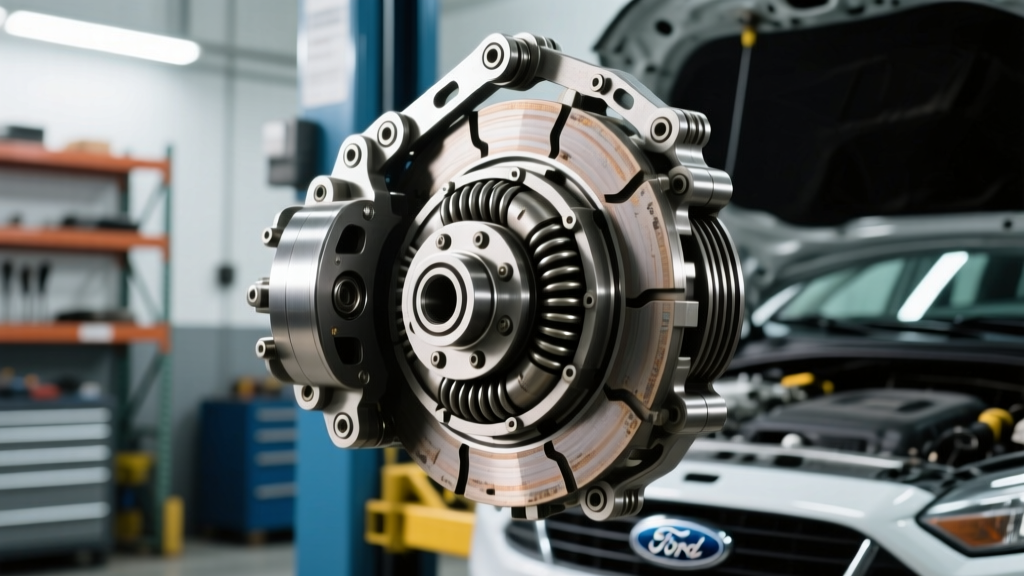
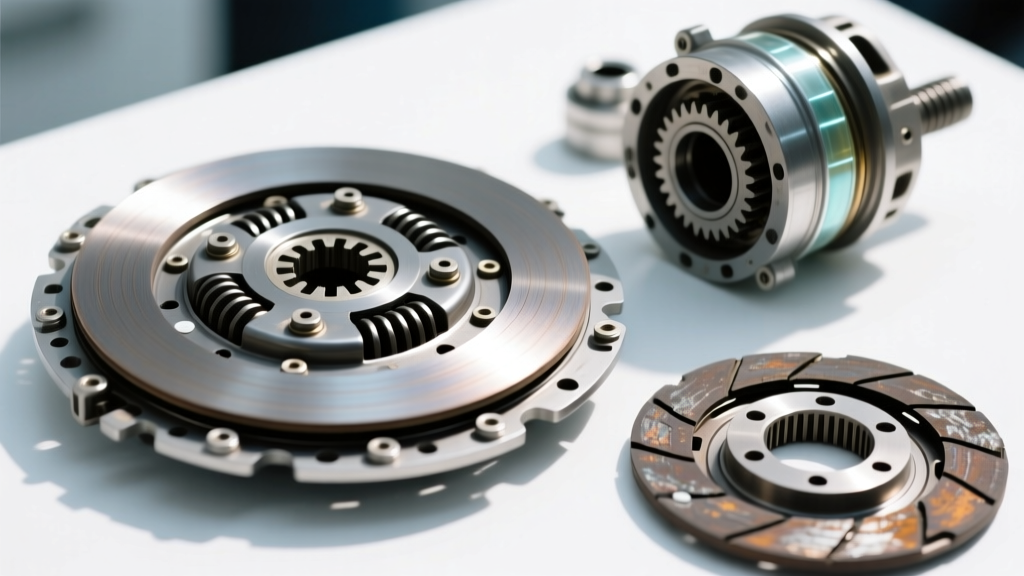
Core Components of the A/C Compressor Clutch
Before deploying diagnostic tools, it is critical to understand the triad of components that make up a standard electromagnetic clutch assembly (commonly found on Denso 10S17C and Sanden SD7 series compressors):
- Rotor/Pulley Assembly: Rides on a bearing and is driven continuously by the serpentine belt. Contains the electromagnetic stator coil.
- Stator/Electromagnetic Coil: When energized with 12V, it generates a magnetic field. Includes an integrated thermal fuse in many OEM applications to prevent wiring harness fires during a locked-rotor event.
- Armature/Friction Plate: The driven plate connected to the compressor shaft via a splined hub. It is pulled against the rotor face when the magnetic field is established.
Selecting the Right AC Clutch Tester
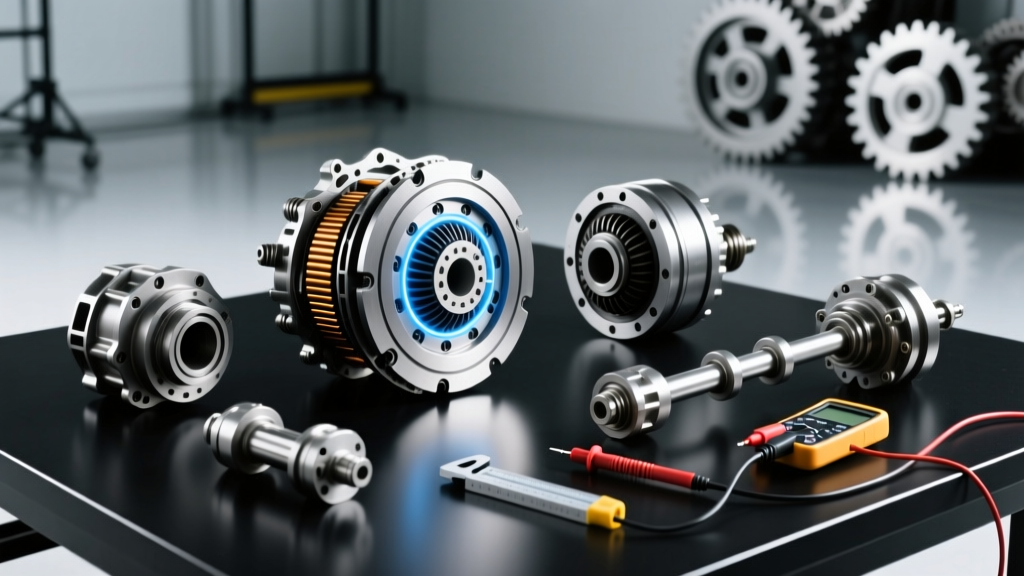
A professional AC clutch tester (such as the OTC 3418 or a Power Probe IV with a specialized relay bypass adapter) does more than supply 12 volts. It provides in-line amperage draw readings, fused protection, and the ability to bypass vehicle relays safely. Using a standard multimeter is excellent for resistance checks, but a dedicated tester is mandatory for evaluating voltage drop under the physical load of clutch engagement.
The Definitive AC Clutch System Inspection Checklist
Follow this sequential checklist to isolate the exact failure point. Skipping steps often leads to replacing a $400 compressor when a $2 shim or a $15 relay was the actual culprit.
Step 1: Mechanical Air Gap and Friction Surface Verification
The magnetic field strength drops exponentially as the distance between the rotor and armature increases. If the air gap exceeds manufacturer tolerances, the clutch will engage when cold but slip or fail to engage when the coil heats up and electrical resistance increases.
- Measure the Gap: Use a metric feeler gauge to check the clearance between the rotor and armature at three equidistant points. The specification for most Denso and Sanden units is 0.40mm to 0.75mm (0.016" to 0.030").
- Inspect for Contamination: Look for PAG oil seepage from the front shaft seal. Oil on the friction surface will cause severe clutch chatter and slipping, generating enough heat to melt the coil's internal thermal protector.
- Correction: If the gap is out of spec, remove the center hub bolt (typically 10mm or 12mm), pull the armature using a specialized puller (e.g., OTC 4524), and add or remove shims on the compressor shaft. Re-torque the center bolt to 12-15 Nm (9-11 lb-ft).
Step 2: Stator Coil Resistance and Thermal Protector Testing
Disconnect the electrical connector at the compressor. Set your multimeter to the Ohms (Ω) setting.
- Normal Reading: A healthy 12V clutch coil should measure between 3.0 and 5.0 ohms at room temperature (20°C/68°F).
- Open Circuit (Infinite Resistance):strong> Indicates a broken wire winding or a blown internal thermal fuse. The coil must be replaced.
- Short Circuit (Near 0.0 Ohms): Indicates melted insulation between windings. This will blow the vehicle's A/C fuse or damage the PCM driver.
Pro Tip: If the coil measures correctly but the clutch still won't engage via the tester, probe the connector while pulling on the harness. Intermittent readings indicate a broken wire inside the insulation near the compressor bracket.
Step 3: Voltage Drop and Harness Integrity
Connect your AC clutch tester directly to the vehicle-side harness connector (bypassing the compressor). Command the A/C system ON via the climate control module.
- The tester should read a minimum of 11.5 Volts under load.
- If voltage drops below 10.5V, perform a voltage drop test across the A/C compressor relay contacts and the ground circuit. A voltage drop greater than 0.3V on the power side or 0.1V on the ground side requires cleaning terminals, repairing pins, or replacing the relay.
Step 4: PCM Interlocks and Pressure Switch Logic
If the AC clutch tester successfully engages the clutch when jumped directly at the compressor, but the vehicle's PCM refuses to ground the relay, the issue lies in the control logic. The PCM monitors the A/C pressure transducer, evaporator temperature sensor, and engine cooling fan status. A faulty pressure switch reporting 0 PSI (due to an internal sensor failure, not necessarily a leak) will inhibit the PCM from grounding the clutch relay to protect the compressor.
Diagnostic Matrix: Symptoms vs. Measured Data
Use this reference table to quickly cross-reference customer complaints with your bench and on-car measurements.
| Customer Symptom | AC Clutch Tester / Multimeter Reading | Probable Root Cause | Corrective Action |
|---|---|---|---|
| Clutch engages cold, drops out after 10 mins | Air gap: 0.90mm; Coil Resistance: 5.5Ω (hot) | Excessive air gap combined with hot coil resistance | Remove armature and delete one shim to achieve 0.50mm gap |
| Loud clicking/chatter upon engagement | Voltage at harness: 9.8V under load | High resistance in relay contacts or ground wire | Replace A/C compressor relay; clean ground stud G102 |
| Clutch completely dead, no click | Multimeter: OL (Infinite Ohms) across coil pins | Blown internal thermal fuse / Open winding | Replace stator coil assembly ($80-$120 part cost) |
| PCM fuse blows instantly upon A/C request | Multimeter: 0.2Ω across coil pins | Short to ground in coil windings or harness chafing | Inspect harness near compressor bracket; replace coil |
Critical Warning: Clutchless and Variable Displacement Compressors
As of 2026, a massive percentage of late-model vehicles (including GM Ecotec, Ford EcoBoost, and most European platforms) utilize clutchless, continuously variable displacement compressors like the Denso 10S17C or Sanden SD7V16. These units do not have an electromagnetic friction clutch. Instead, the pulley is bolted directly to the shaft, and refrigerant flow is controlled by an Electronic Control Valve (ECV) driven by a Pulse Width Modulated (PWM) signal from the PCM.
Technician Alert: Never connect a standard 12V AC clutch tester to an ECV control circuit. Applying raw 12V DC to a PWM-driven solenoid valve will instantly destroy the valve coil and can severely damage the HVAC control module or PCM driver circuit. Always verify the presence of an electromagnetic clutch versus an ECV before applying direct power. Consult Denso Aftermarket HVAC resources for specific compressor identification guides.
Summary of Best Practices
Effective A/C diagnostics require moving beyond simple 'jumper wire' tricks. By utilizing a professional AC clutch tester, verifying mechanical air gaps to the hundredth of a millimeter, and understanding the difference between traditional electromagnetic clutches and modern ECV systems, technicians can accurately diagnose the root cause of clutch engagement failures. This systematic inspection checklist minimizes comebacks, prevents unnecessary compressor replacements, and ensures optimal cabin cooling performance.