The 700R4 Legacy: Why the Repair vs. Rebuild Debate Matters
Introduced by General Motors in 1982 as the Turbo Hydra-Matic 700R4, this legendary four-speed automatic overdrive transmission is a staple in the classic truck, hot-rodding, and restoration communities. Found in millions of rear-wheel-drive vehicles ranging from the C3 and C4 Corvettes to the Chevy Silverado, S10 Blazer, and Camaro, the 700R4 (later renamed the 4L60 in 1990) remains highly relevant today. However, as these units age and are subjected to modern performance demands, owners are inevitably faced with a critical crossroad: should you attempt a targeted spot repair, or commit to completely rebuilding 700R4 transmission assemblies?
This comparison and buyer's guide breaks down the mechanical realities, cost differentials, and long-term reliability factors of repairing versus rebuilding the 700R4 in 2026.
Defining the Scope: Spot Repair vs. Full Rebuild
Before pulling the transmission crossmember, it is vital to understand the mechanical boundaries of a "repair" versus a "rebuild" in the context of the 700R4 platform.
The Targeted Spot Repair
A spot repair involves addressing a specific, isolated failure without removing the transmission from the vehicle or completely disassembling the core rotating assembly. For the 700R4, this typically means dropping the transmission pan, removing the valve body, or accessing the extension housing to replace wearable external components.
Examples of viable spot repairs include:
- Replacing a stuck governor assembly or worn governor drive gear.
- Upgrading the 2nd gear apply servo (e.g., installing the Corvette servo, GM part #10088135) to firm up the 1-2 shift.
- Replacing a leaking rear output shaft seal or speedometer drive gear.
- Swapping a degraded valve body separator plate to fix cross-leaking shift circuits.
Spot repairs are highly cost-effective but carry a major caveat: they do not address the condition of the internal friction clutches, steel reaction plates, or sealing rings. If your 700R4 is slipping in 3rd or 4th gear, a spot repair will not save you.
Rebuilding 700R4 Transmission Assemblies
A full rebuild requires removing the transmission, mounting it to a teardown bench, and completely disassembling the unit down to the bare aluminum case. The case is hot-tanked and inspected for micro-fractures, particularly around the front pump stator support and the rear sun gear lugs.
When rebuilding 700R4 transmission units, a master overhaul kit is mandatory. This includes all paper gaskets, rubber O-rings, lip seals, and bonding seals. Furthermore, a professional rebuild replaces all friction clutches, inspects the steel plates for heat bluing, and replaces the torque converter. Because the 700R4 relies heavily on hydraulic line pressure to prevent clutch burnout, the front pump and valve body are meticulously measured and machined during a proper rebuild.
Cost Breakdown: 700R4 Repair vs Rebuild in 2026
Understanding the financial commitment is crucial for classic car restorers and daily drivers alike. Below is a comparative cost analysis for 700R4 service options based on current market rates for parts and machine shop labor.
| Service Type | Parts Cost | Labor / Machine Shop | Total Estimated Cost | Longevity Expectancy |
|---|---|---|---|---|
| Spot Repair (e.g., Servo/Valve Body) | $50 - $250 | $300 - $600 | $350 - $850 | Unpredictable (Depends on clutch health) |
| Full In-Frame Rebuild (DIY) | $350 - $600 | $0 (Your Time) | $350 - $600 | 50,000 - 100,000 Miles |
| Professional Bench Rebuild | $600 - $900 | $1,200 - $1,800 | $1,800 - $2,700 | 100,000+ Miles |
| Remanufactured Unit (e.g., Jasper) | $2,200 - $2,800 | $400 - $800 (R&R) | $2,600 - $3,600 | 100,000+ Miles (Warranty Backed) |
As highlighted by industry data from Transmission Digest, the labor rate for transmission removal and installation (R&R) has climbed steadily. For a professional rebuild, you are paying for the hot-tanking, Sonnax valve body machining, and torque converter cutting and balancing—services that DIYers cannot replicate in a home garage.
Common 700R4 Failure Points and Targeted Fixes
To decide between a repair and a rebuild, you must accurately diagnose the failure mode. The 700R4 has three notorious weak points that dictate your repair strategy.
1. The Stripped Sun Shell (Loss of 2nd, 4th, and Reverse)
The factory stamped-steel sun shell is notorious for stripping its splines where it mates to the sun gear. When this fails, the transmission will slip or completely lose 2nd gear, 4th gear, and Reverse, while 1st and 3rd gear remain functional.
The Fix: This requires dropping the transmission. While you can technically slide a new shell in without a full teardown, it is highly recommended to perform a full rebuild while the unit is out. Upgrading to the Sonnax "Beast" Heavy Duty Sun Shell (Part # 77749-01K) is mandatory. According to Sonnax Industries, this heat-treated, hardened shell eliminates spline failure entirely.
2. The 3-4 Clutch Pack Burnout (Loss of 3rd and 4th Gear)
The 3-4 clutch pack is located at the very rear of the transmission case and is notorious for burning up. This is often caused by a leaky 3-4 accumulator piston or a worn accumulator pin bore in the valve body, which bleeds off apply pressure.
The Fix: If the 3-4 clutches are burnt, a spot repair is impossible. You must commit to rebuilding 700R4 transmission internals. You will need to install a Raybestos Z-Pak 3-4 Clutch Module (RZP-010), which increases the clutch surface area and friction material volume by utilizing thinner steels and more friction discs. Additionally, the valve body accumulator bore must be sleeved or replaced with a Sonnax Pinless Accumulator Kit to guarantee a hydraulic seal.
3. Front Pump Cavitation and Wear
The 700R4 front pump is a crescent-style gear pump. Over time, the pump slide and rotor wear into the aluminum pump body, causing a drop in base line pressure. This results in delayed engagements and slipping clutches.
The Fix: Requires complete disassembly. The pump body must be machined flat on a surface plate, and the slide must be inspected for scoring. High-mileage rebuilds require installing a Sonnax boost valve and a heavy-duty pump slide spring to increase line pressure under load.
Essential Assembly Specs and Torque Values
If you choose the path of rebuilding 700R4 transmission units in your home garage, adhering to GM factory specifications is non-negotiable. The 700R4 is highly sensitive to bolt torque and end-play clearances.
- Front Pump to Case Bolts: 10-13 ft-lbs. (Overtorquing will warp the pump stator support and bind the torque converter hub).
- Valve Body to Spacer Plate Bolts: 97-115 in-lbs (8-9 ft-lbs). Use a calibrated inch-pound torque wrench; over-tightening will distort the valve body casting and cause cross-leaks.
- Transmission Pan Bolts: 12-14 ft-lbs. (The 700R4 pan is prone to warping; always use a cast-aluminum deep pan or a reinforced steel stock pan with a high-quality cork/rubber composite gasket).
- Input Shaft End-Play: Must be checked with a dial indicator. Acceptable range is 0.010" to 0.025". Selective thrust washers are available in varying thicknesses to dial in this clearance.
Fluid Capacity and Filtration
Upon reassembly, the 700R4 requires approximately 11.2 quarts of fluid (including the torque converter). While the original specification called for Dexron III, modern rebuilds should be filled with full-synthetic Dexron VI (e.g., ACDelco 10-9244), which offers superior shear stability and thermal resistance. Always use the correct deep-pan filter (GM #12337919 or equivalent) to prevent the filter pickup from sucking air during hard cornering. Parts catalogs like RockAuto stock these specific filtration components for exact fitment.
The TV Cable: The Ultimate 700R4 Killer
No guide on rebuilding 700R4 transmission systems is complete without addressing the Throttle Valve (TV) cable. Unlike modern electronically controlled transmissions (like the 4L60E or 6L80) that use solenoids to command line pressure, the 700R4 uses a mechanical cable linked directly to the throttle body.
The TV cable dictates internal line pressure based on engine load. If the cable is too loose, or if the carburetor/EFI throttle linkage geometry is incorrect, line pressure will drop during wide-open throttle. The result? The 3-4 clutch pack will incinerate in a matter of miles, destroying your fresh rebuild.
Adjustment Procedure: With the engine off, depress the release tab on the TV cable adjuster and push the slider all the way in. Have an assistant slowly press the accelerator pedal to Wide Open Throttle (WOT). The cable will self-adjust to the exact length required. Release the pedal and verify the cable moves smoothly without binding.
Final Verdict: Which Path Should You Choose?
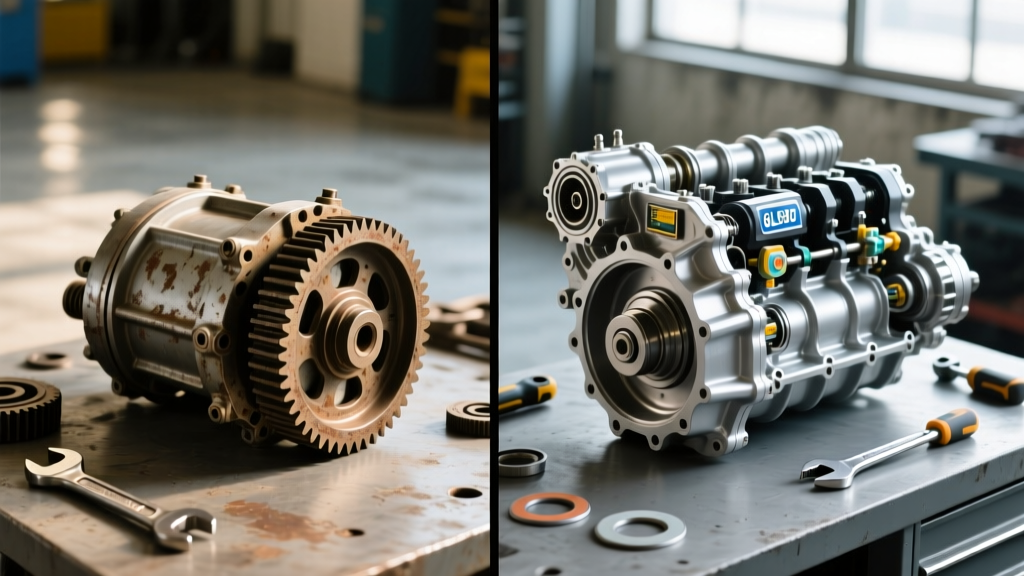
The decision between a spot repair and a full rebuild hinges entirely on the condition of the internal friction materials and the hydraulic integrity of the front pump.
Choose a Spot Repair if: Your transmission shifts firmly through all gears, but you are experiencing a specific hydraulic anomaly (like a stuck governor, a leaking rear seal, or a soft 1-2 shift that can be cured with a Corvette servo). The fluid on the dipstick should be red and free of a burnt odor.
Choose to Rebuild if: You are experiencing slipping in 3rd or 4th gear, you have lost Reverse and 2nd gear (sun shell failure), or the fluid is black and smells of burnt asbestos. In these scenarios, the friction materials are compromised. Attempting a spot repair on a transmission with burnt clutches is throwing good money after bad. Rebuilding 700R4 transmission assemblies with modern upgrades like the Raybestos Z-Pak and Sonnax Beast shell will yield a unit that is vastly superior to the original factory configuration, capable of handling modern V8 torque and aggressive driving.