The Evolution of the Drivetrain: From Classic Manuals to Modern Automatics
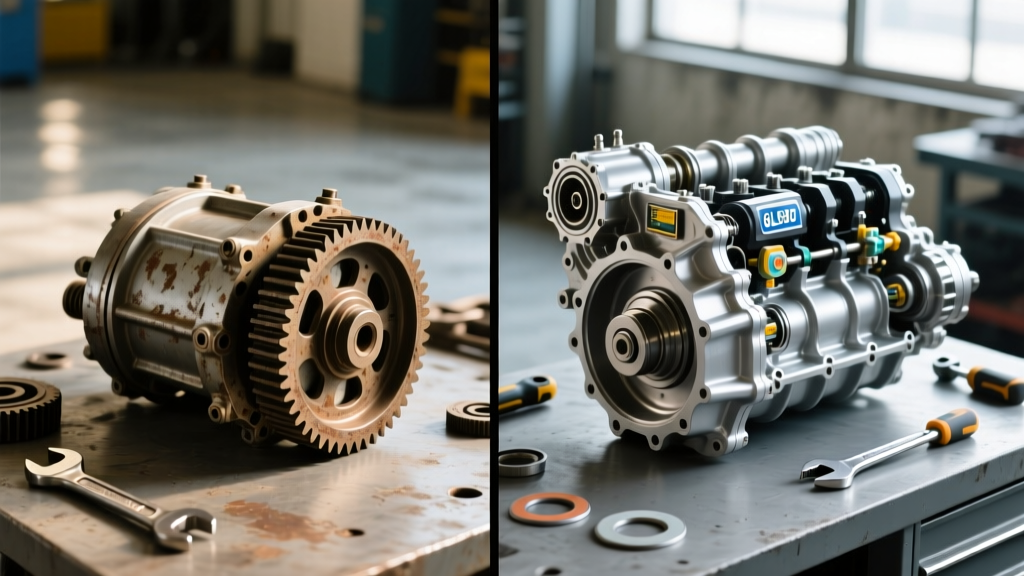
When aspiring mechanics and DIY enthusiasts first dive into drivetrain repair, they often look to the past to understand the fundamentals. A common benchmark for beginners is the t 90 transmission rebuild, a legendary rite of passage for classic Jeep, Willys, and early Ford restorers. The Warner T-90 is a robust, top-loading 3-speed manual transmission that teaches the basics of gear mesh, synchro rings, shift forks, and mainshaft endplay. However, transitioning from a purely mechanical vintage manual to a modern, computer-controlled automatic is a massive leap in complexity.
In this guide, we will use the simplicity of the classic T-90 as a baseline to explore the intricacies of the GM 6L80E 6-speed automatic transmission. Found in millions of vehicles ranging from the Chevrolet Silverado and Tahoe to the Corvette and Camaro (2006–2017+), the 6L80E represents the modern era of electro-hydraulic engineering. We will break down the rebuild process, highlight critical failure points, provide exact torque specifications, and deliver a comprehensive 2026 cost comparison to help you decide if a DIY 6L80E rebuild is within your reach.
Why Compare a T-90 to the 6L80E?
Understanding the contrast between these two units perfectly illustrates the learning curve of modern transmission repair. When you perform a t 90 transmission rebuild, you are dealing with physical linkages, brass synchros, and basic bearing tolerances. There are no solenoids, no PWM (Pulse Width Modulation) signals, and no internal computers. If a gear grinds, you replace the synchro. If it pops out of gear, you check the detent springs and shift rail wear.
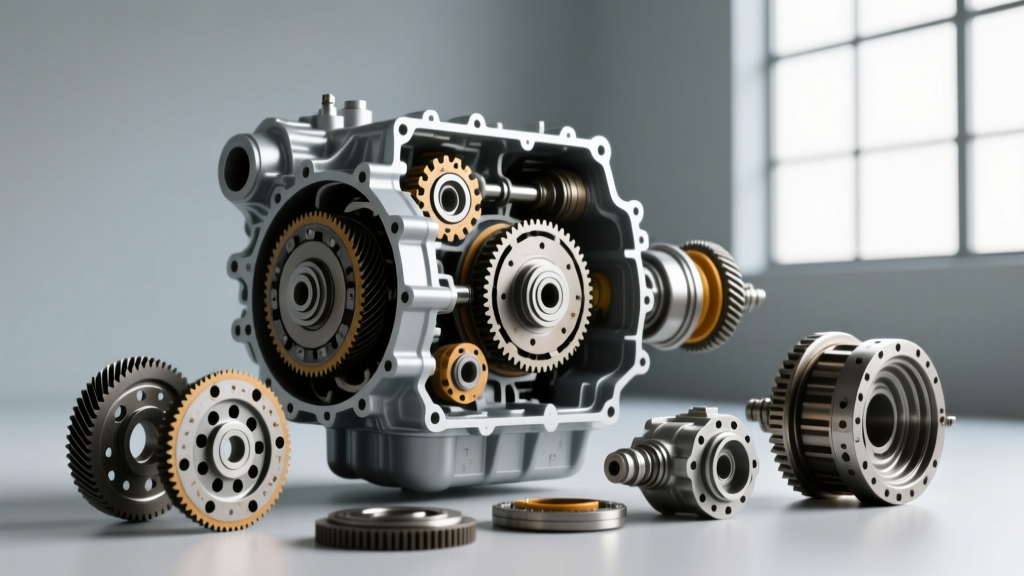
The GM 6L80E, on the other hand, relies on five distinct clutch packs, a complex valve body, and an internal Transmission Electro-Hydraulic Control Module (TEHCM). Shifts are not dictated by mechanical linkages, but by the Transmission Control Module (TCM) calculating engine torque, throttle position, and fluid temperature in milliseconds to command solenoids. A beginner must shift their mindset from "mechanical linkages" to "hydraulic circuits and electronic calibration."
The 6L80E Rebuild: A Beginner’s Blueprint
Rebuilding a 6L80E requires meticulous cleanliness, specialized measuring tools, and an understanding of its unique quirks. Below is a breakdown of the most critical areas you must address during a 6L80E teardown and rebuild.
1. The Infamous 4-5-6 Clutch Wave Plate Failure
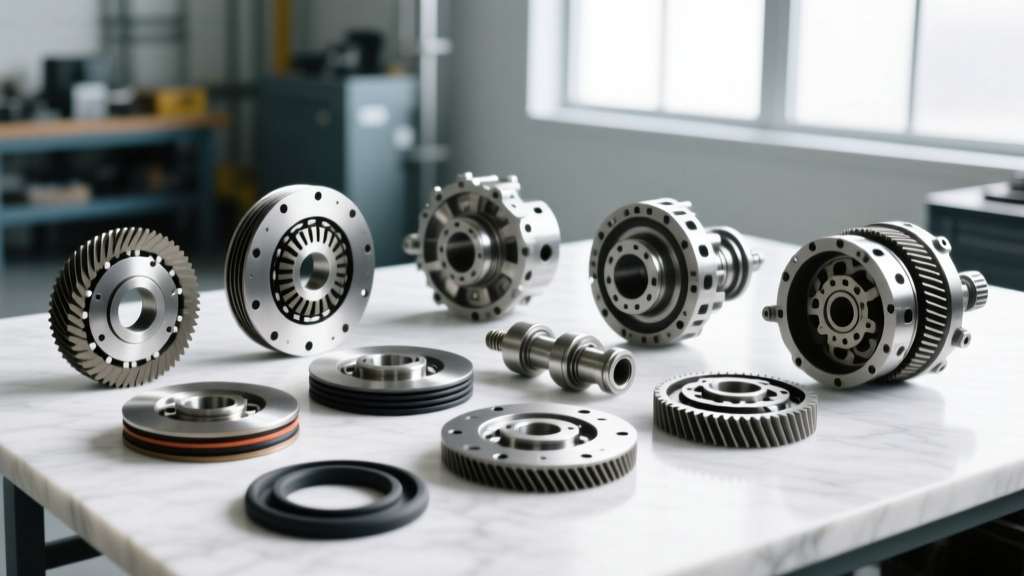
The most common catastrophic failure in the 6L80E is the fracturing of the 4-5-6 clutch wave plate. Over time, the OEM wave plate suffers from metal fatigue and shatters. When this happens, hardened steel shards are sent directly into the valve body and the TEHCM, scoring the valve body casting and destroying the delicate solenoid screens. Beginner Tip: Never reuse the OEM wave plate. According to Sonnax technical resources, upgrading to their heavy-duty 4-5-6 wave plate or the latest GM OEM revised part is mandatory for any rebuild to ensure longevity.
2. The 1-2-3-4 Clutch Housing Cracks
During disassembly, you must inspect the 1-2-3-4 clutch drum. The piston housing in this drum is prone to developing hairline cracks along the spline edges due to high torque loads (especially in tuned trucks or supercharged applications). Use a straight edge and a feeler gauge to check for warping, and visually inspect the splines under a bright light. If cracked, the drum must be replaced; otherwise, you will experience immediate 1-2 shift flares and burnt clutches upon reassembly.
3. The TEHCM Dilemma
The TEHCM houses the TCM and the solenoid pack, and it lives inside the transmission pan, submerged in hot fluid. Heat degradation and vibration frequently cause the internal solder joints to crack, leading to communication codes (like U0101) or solenoid performance codes (P0751, P0752). If your diagnostic scan points to a TEHCM failure, you cannot simply "rebuild" it. You must replace the unit and program it to the vehicle using a GM MDI2 interface and GDS2 software, which adds a significant layer of complexity and cost for a DIYer.
Crucial Torque Specs and Clearances
Unlike the T-90, where you primarily rely on standard foot-pound torque wrenches and snap-ring pliers, the 6L80E demands precision. Using a standard 1/2-inch drive torque wrench on a valve body will strip the aluminum case threads instantly. You must invest in a high-quality inch-pound torque wrench.
- Valve Body to Case Bolts (M6): 89 lb-in (inch-pounds, NOT foot-pounds)
- TEHCM to Case Bolts: 15 lb-ft
- Transmission Oil Pan Bolts: 89 lb-in
- Bellhousing to Engine Block: 37 lb-ft
- Torque Converter to Flexplate: 37 lb-ft
- Clutch Pack Clearances: Generally 0.040" to 0.070" (Always verify with the specific ATSG rebuild manual for your exact model year, as selective thickness backing plates are required to dial in exact clearances).
2026 Cost Breakdown: 6L80E vs. Classic T-90
One of the most shocking realizations for beginners is the cost disparity between vintage manual rebuilds and modern automatic overhauls. The table below outlines the estimated 2026 market costs for a complete rebuild of both units.
| Component / Service | GM 6L80E (Modern 6-Speed Auto) | Warner T-90 (Classic 3-Speed Manual) |
|---|---|---|
| Master Rebuild Kit (Frictions, Steels, Seals) | $350 – $550 | $120 – $180 |
| Torque Converter (Remanufactured) | $300 – $450 | N/A (Manual Clutch Kit: $150) |
| Electronics / Control Module (TEHCM) | $450 – $700 (If replacement needed) | $0 |
| Hard Parts (Pump, Drums, Wave Plates) | $200 – $600 | $50 – $150 (Synchros/Gears) |
| Machine Shop Services (Drum Machining) | $150 – $250 | $0 |
| Fluid (Dexron VI vs. Gear Oil) | $80 – $120 (11.2 Qt Dry Fill) | $15 – $25 |
| Total DIY Parts Cost | $1,530 – $2,670 | $185 – $355 |
| Professional Shop Labor (R&R & Rebuild) | $1,500 – $2,500 | $600 – $900 |
| Total Professional Rebuild Cost | $3,030 – $5,170 | $785 – $1,255 |
Essential Tools: Bridging the Gap
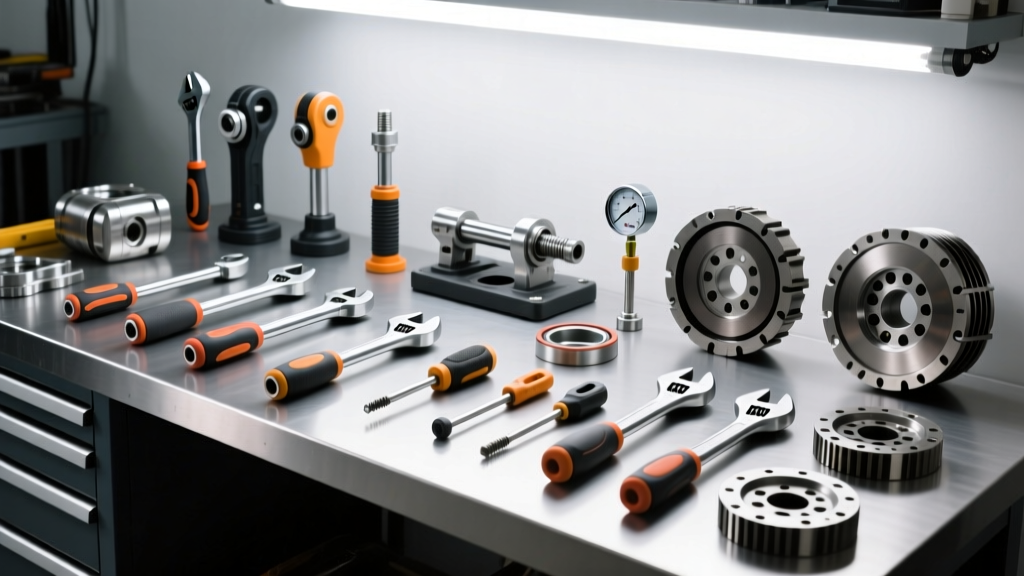
To successfully navigate a 6L80E rebuild, your tool arsenal must expand far beyond what is required for a t 90 transmission rebuild. While the T-90 requires basic snap-ring pliers, a brass drift, and a standard socket set, the 6L80E demands specialized equipment:
- Dial Indicator & Magnetic Base: Essential for measuring clutch pack clearances and checking pump gear wear.
- Clutch Pack Compressor: The 6L80E uses strong return springs; attempting to compress them without a proper universal clutch compressor will result in flying springs and damaged pistons.
- Inch-Pound Torque Wrench: As mentioned, critical for valve body and TEHCM installation.
- Scan Tool with Bi-Directional Controls & Programming: If you replace the TEHCM or the valve body solenoids, you must perform a "Service Fast Learn" and reset the Transmission Adaptation values. A basic OBD2 reader will not suffice; you need an advanced tool like an Autel MaxiSys or the official GM MDI2 setup.
Final Verdict: Should You DIY the 6L80E?
The leap from a classic t 90 transmission rebuild to a modern GM 6L80E is significant, but not impossible for a dedicated beginner. The 6L80E is highly modular, and aftermarket support from companies like Sonnax and TransGo has solved many of the factory engineering flaws through upgraded Zip Kits and reinforced wave plates.
If you have a clean workspace, the patience to measure clearances to the thousandth of an inch, and the budget for specialized tools and potential TEHCM programming, a DIY 6L80E rebuild can save you over $2,000 in labor costs. However, if the idea of submerging a $600 computer module into a pan of hot Dexron VI makes you nervous, or if you lack access to a programming tool, pulling the unit and sending it to a professional rebuilder for a bench-build is the safest, most cost-effective route to get your Silverado or Camaro back on the road.