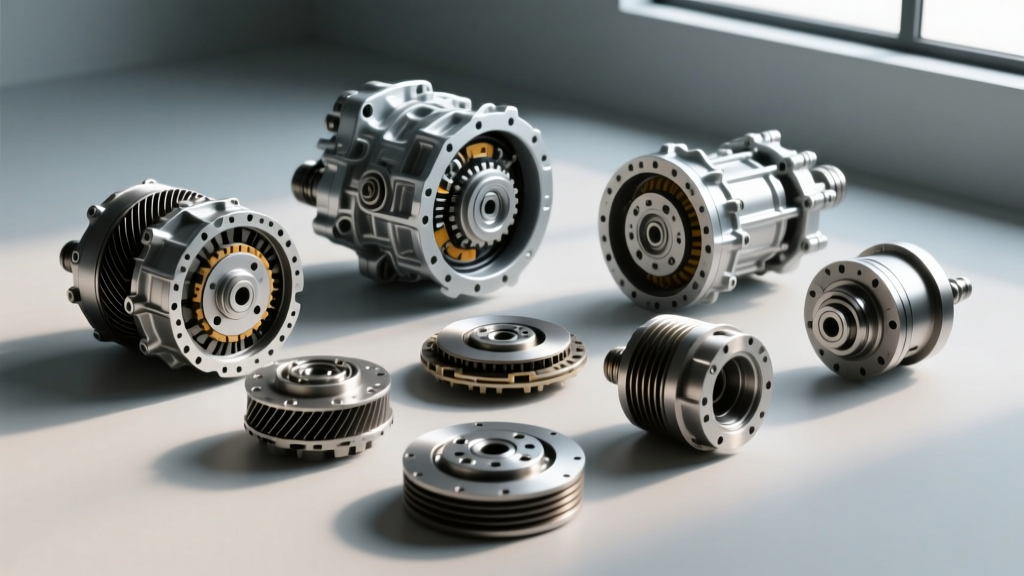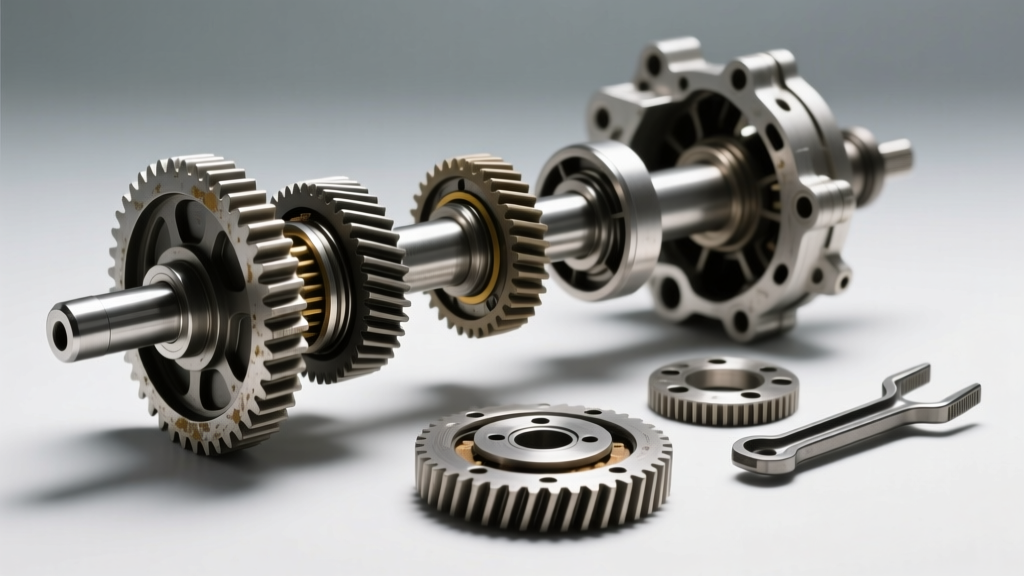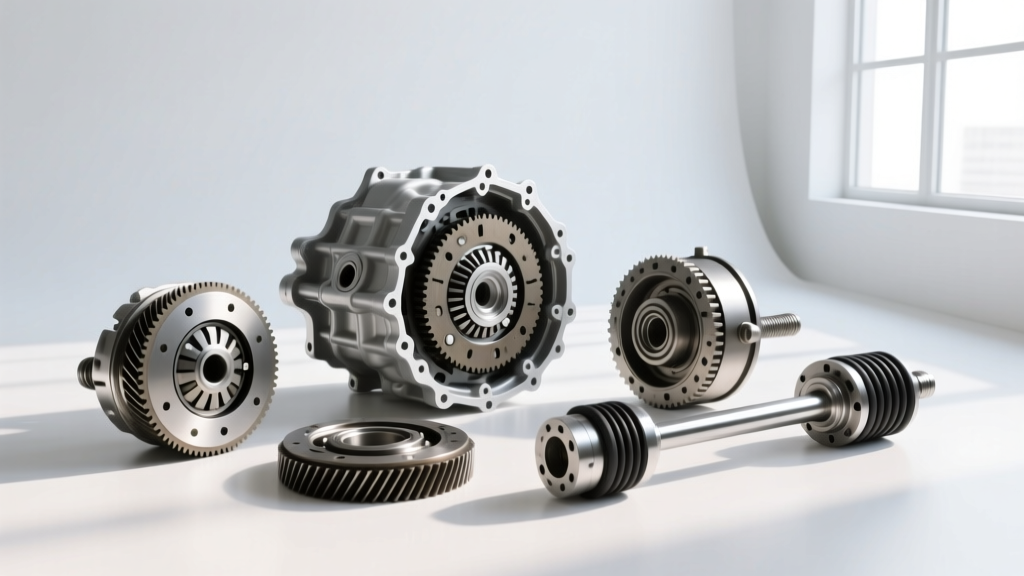
Why Bench Build the 4T65-E HD (MN7)?
The GM 4T65-E HD (RPO MN7) was engineered specifically to handle the 240 horsepower and 280 lb-ft of torque generated by the supercharged 3800 Series II and III V6 engines found in the Pontiac Grand Prix GTP, Buick Regal GS, and Chevrolet Monte Carlo SS. While the standard M15 4T65-E is prone to stripping its splines under boosted pressure, the HD variant features a hardened input shaft, a heavier drive chain, and a reinforced torque converter. However, after 150,000 miles, even the HD model requires a complete overhaul. Utilizing a premium 4t65e hd transmission rebuild kit on a dedicated workbench—rather than attempting an in-car refresh or rushing a teardown—is the only way to guarantee precise clutch pack clearances and proper valve body calibration. This step-by-step guide details the exact bench build procedures, torque specifications, and cost breakdowns required for a successful MN7 resurrection.
Phase 1: Kit Inventory and Pre-Bench Preparation
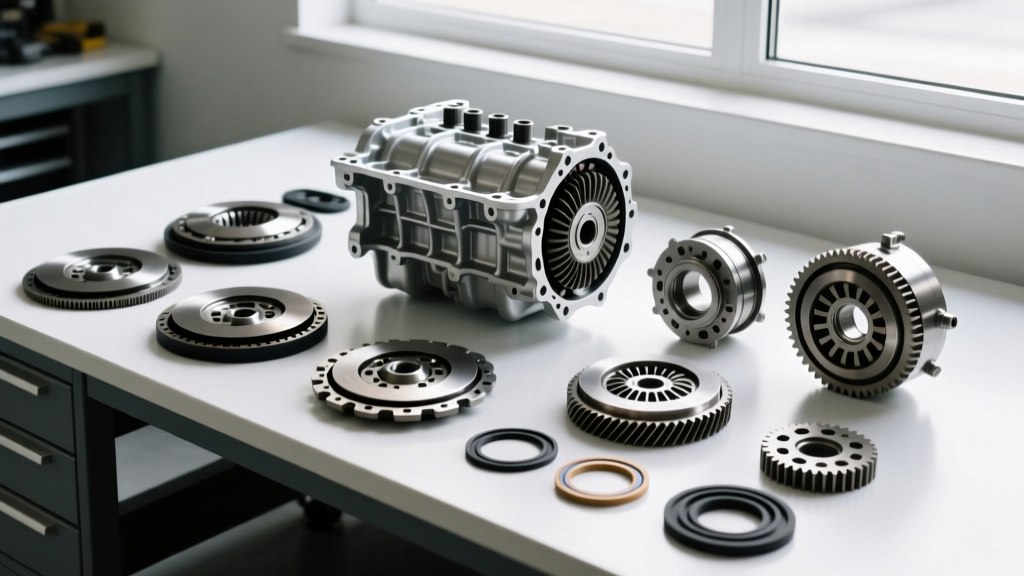
Before touching a torque wrench, you must verify the contents of your master overhaul kit. The HD version requires specific friction materials and heavy-duty steels that differ from the standard M15 kit. According to Raybestos Powertrain, utilizing High Energy or GPZ friction modules is critical for managing the thermal loads of the supercharged L67/L32 powertrains.
| Component | Specification / Part Type | Purpose |
|---|---|---|
| Friction Clutches | Raybestos High Energy / GPZ | Withstand supercharged torque loads without glazing |
| Steel Plates | Kolene-coated HD Steels | Prevent warping and improve heat dissipation |
| Sealing Rings | Scarfed Teflon / Viton O-rings | Maintain hydraulic pressure in aging aluminum bores |
| Gasket Set | Molded Rubber / Paper composite | Prevent case-to-channel plate leaks |
| Filter | Deep-pan HD Filter | Accommodate HD pan and capture fine clutch debris |
Pro-Tip: Always order a new Pressure Switch Manifold (PSM) and a Sonnax Zip Kit alongside your rebuild kit. The PSM is a notorious failure point on the 4T65-E platform, causing harsh shifts and diagnostic trouble codes (DTCs) like P0756 or P1810.
Phase 2: Sub-Assembly of the Pump and Valve Body
The bench build begins with the hydraulic heart of the transmission: the oil pump and valve body. Mount the pump assembly securely in a bench vise using soft jaws to avoid scoring the aluminum housing.
Oil Pump Clearances
Disassemble the pump gears and inspect the stator support. The 4T65-E HD is known for wearing out the stator support bushing, which leads to catastrophic converter drain-back and low line pressure. Install a new Sonnax oversized stator support bushing if bore wear exceeds 0.002 inches. When reassembling the inner and outer pump gears, verify the gear-to-pocket clearance using a feeler gauge. The specification is 0.0015" to 0.0055". If clearance exceeds 0.006", the pump housing must be replaced. Lubricate all gears generously with assembly jelly or Dexron VI fluid before installing the pump cover.
Valve Body and Channel Plate
The 4T65-E valve body suffers from TCC (Torque Converter Clutch) regulator valve wear. As detailed in the Sonnax technical bulletins, installing a TCC regulator valve repair kit (Part No. 84740-01K) during the bench build is mandatory to prevent TCC shudder and slip codes. Torque the channel plate to the valve body using an inch-pound torque wrench set to 106 in-lbs in a crisscross pattern to prevent warping the cast aluminum.
Phase 3: Geartrain and Clutch Pack Assembly
With the hydraulic components prepped, move to the main case on your bench stand. The 4T65-E HD utilizes a unique clutch stack-up that requires meticulous attention to wave plate orientation and selective snap rings.
2nd and 3rd Clutch Packs
When building the 2nd clutch drum on the bench, ensure the waved cushion plate is installed with the concave side facing the apply plate. Soak all Raybestos frictions in Dexron VI for a minimum of 15 minutes before assembly. Use a dial indicator to measure the clutch pack clearance. For the 2nd clutch, target a clearance of 0.030" to 0.060". For the 3rd clutch (which handles the brutal 1-2 and 2-3 shifts under boost), target 0.040" to 0.070". Selective snap rings are available in 0.010" increments to dial in these clearances perfectly.
Air Testing on the Bench
Before mating the geartrain to the case, perform an air-check. Apply 60 PSI of compressed air to the respective clutch apply ports on the case using a rubber-tipped blow gun. You should hear a distinct, solid "thud" indicating the piston is applying the clutch pack. If the apply is sluggish or you hear hissing, a piston seal is rolled or a sealing ring is damaged. Never proceed to final assembly without passing the bench air-test.
Phase 4: Final Case Mating and Torque Specifications
Once the internal geartrain, HD drive chain, and sprockets are installed and verified for proper end-play (0.010" to 0.025" using selective thrust washers), it is time to mate the valve body, side covers, and pump. The Automatic Transmission Service Group (ATSG) emphasizes that over-torquing the thin aluminum case bolts is the leading cause of post-rebuild binding and case leaks.
| Component | Fastener Size | Torque Specification |
|---|---|---|
| Oil Pump to Case | M6 x 1.0 | 106 in-lbs (9 ft-lbs) |
| Valve Body to Case | M6 / M8 | 97 in-lbs (8 ft-lbs) |
| Case Side Cover | M8 x 1.25 | 18 ft-lbs |
| Channel Plate to Valve Body | M5 / M6 | 106 in-lbs |
| Torque Converter to Flexplate | M10 x 1.5 | 46 ft-lbs |
Always use a calibrated inch-pound torque wrench for the pump and valve body. Standard foot-pound wrenches are not sensitive enough for the 8 ft-lb threshold and will easily strip the aluminum threads or crush the gasket, resulting in cross-leaks between the 2nd and 3rd clutch circuits.
2026 Cost Breakdown: DIY Bench Build vs. Professional Reman
Understanding the financial commitment of a 4t65e hd transmission rebuild kit helps justify the bench-build effort. Below is a realistic cost breakdown for a DIY bench build versus purchasing a remanufactured unit in 2026.
- Master Overhaul Kit (Frictions, Steels, Seals, Gaskets): $280 - $360
- HD Specific Hard Parts (Heavy-duty 4th shaft, HD chain): $180 - $250
- Sonnax Zip Kit (TF-4T65E-ZIP) & TCC Valve: $165
- OEM AC Delco Pressure Switch Manifold: $45
- Dexron VI Synthetic Fluid (12 Quarts): $95
- Total DIY Bench Build Cost: $765 - $915
By comparison, a professionally remanufactured 4T65-E HD from a reputable builder typically costs between $1,800 and $2,400, plus a core charge and core shipping fees. The DIY bench build saves over $1,000, provided you have the precision measuring tools (dial indicators, feeler gauges, inch-pound torque wrenches) and a clean, organized workspace.
Common 4T65-E HD Bench Build Pitfalls to Avoid
Even experienced builders make mistakes when transitioning from longitudinal (like the 4L60-E) to transverse platforms. Avoid these common bench-build errors:
- Ignoring the Auxiliary Valve Body: The 4T65-E features a secondary auxiliary valve body located in the side cover. Failing to clean and inspect the manual valve and accumulator bores in this section will result in erratic garage shifts (Reverse to Drive engagement).
- Misaligning the HD Chain: The heavy-duty chain and sprockets must be perfectly aligned. If the sprocket bearings are worn, the chain will ride off-center, causing immediate case wear and catastrophic failure within the first 1,000 miles.
- Reusing the TCC PWM Solenoid: The Pulse Width Modulation (PWM) solenoid degrades over time. Replacing it with a new OEM unit during the bench build is a $25 insurance policy against TCC slip codes.
Final Thoughts
Rebuilding the 4T65-E HD on the bench is a rewarding process that restores the legendary performance of the supercharged GM W-body and H-body platforms. By strictly adhering to clutch pack clearances, utilizing upgraded Sonnax valve body components, and respecting the precise torque specifications, your freshly assembled MN7 will reliably handle the torque of the 3800 V6 for another 150,000 miles.