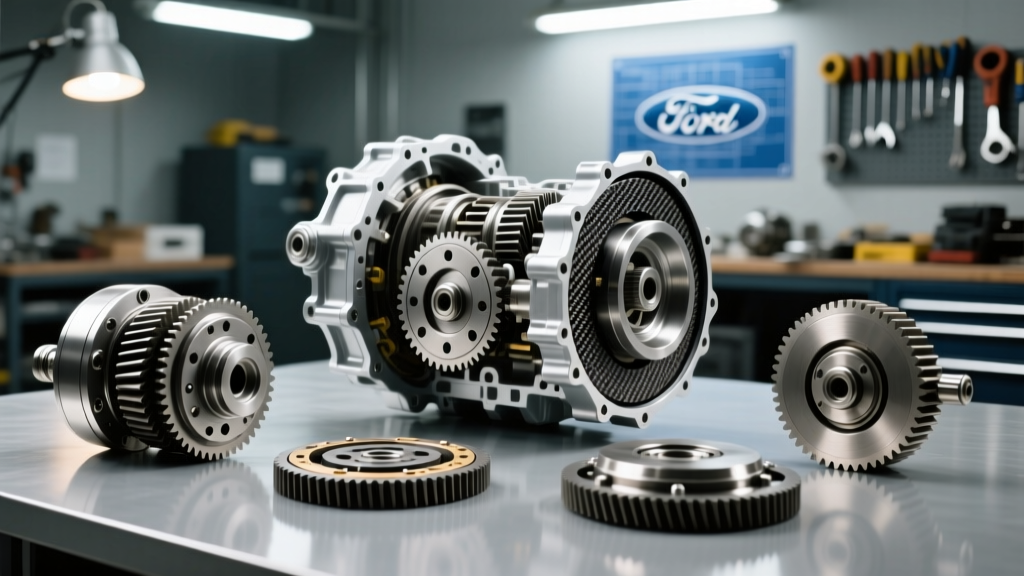
The Diagnostic Crossroads: Kit or Professional?
When your vehicle begins exhibiting erratic shift patterns, RPM flares, or unsettling whining noises, you are immediately faced with a critical mechanical crossroads. Do you purchase a transmission rebuild kit and tackle the teardown in your home garage, or do you hand the keys over to a professional transmission rebuilder? The answer is rarely a simple coin toss; it requires a methodical approach to symptom diagnosis. As we navigate the 2026 automotive landscape, transmissions like the GM 6L80, Ford 10R80, and ZF 8HP have become incredibly complex, integrating mechatronic units and sophisticated solenoid strategies that blur the line between a simple repair and a complete overhaul.
Making the wrong choice can result in thousands of dollars in wasted labor or a botched DIY job that leaves you stranded. This guide will walk you through a professional-grade diagnostic framework to interpret your transmission's symptoms, helping you determine whether a targeted DIY kit approach is viable or if the hard-part damage demands the heavy machinery and expertise of a professional rebuilder.
Symptom Triage Matrix: What Your Transmission is Telling You
Before ordering parts or calling a shop, you must isolate the failure mode. Below is a diagnostic matrix mapping common drivability symptoms to their probable root causes and the recommended repair path.
| Symptom / DTC | Probable Root Cause | Repair Path |
|---|---|---|
| Slipping in 3rd/4th gear, RPM flares under load | Burnt 3-4 clutch pack, worn apply piston | DIY Transmission Rebuild Kit (Overhaul or Master Kit) |
| Shudder at 40-50 mph, P0741 (TCC Stuck Off) | Failed torque converter, degraded friction material in TCC | Targeted Repair (Converter & Fluid flush, no full kit needed) |
| Harsh 1-2 shift, banging into reverse | Stuck pressure control solenoid, valve body wear | Targeted Repair (Valve body replacement or rebuild) |
| Metallic grinding in Park, no movement in any gear | Shattered planetary gearset, stripped sun gear shell | Professional Rebuilder (Requires hard part machining/sourcing) |
| Whining noise that changes with engine RPM in Park | Cavitation in the transmission fluid pump | Pro or Advanced DIY (Pump replacement, requires precise end-play setup) |
Case Study 1: The 4L60E 3-4 Clutch Failure (The Rebuild Kit Candidate)
The GM 4L60E is notorious for burning through its 3-4 clutch pack, especially in vehicles used for towing or modified for higher horsepower. If your diagnostic scan tool shows no electrical solenoid codes, but you experience a distinct RPM flare when shifting from 2nd to 3rd gear, the 3-4 clutches are likely glazed or destroyed.
This is the quintessential scenario where a DIY transmission rebuild kit shines. By dropping the pan and removing the valve body (torque the valve body-to-case bolts to exactly 8 ft-lbs to prevent warping the separator plate), you can access the clutch drums. However, simply buying a standard OEM replacement kit is a mistake for a 2026 rebuild. You must upgrade the weak points.
Essential Kit Upgrades for the 4L60E
- Clutch Frictions: Upgrade to the Raybestos Powertrain GPZ Z-Pak (Part #GPZ-100). These high-energy frictions handle significantly more thermal load than standard paper-based clutches.
- Apply Drum: The factory 3-4 apply drum is prone to cracking. Replace it with the Sonnax Smart-Tech drum (Part #77733-01K), which features a reinforced housing and allows for an extra clutch plate, increasing holding capacity by 35%.
- Seals and Gaskets: Ensure your kit includes Viton O-rings and high-temp silicone gaskets, as modern synthetic fluids like Dexron VI can degrade older Buna-N rubber over time.
If your diagnosis stops at burnt clutches and worn seals, a comprehensive master rebuild kit (typically costing $250-$400) paired with a weekend of careful labor is highly cost-effective.
Case Study 2: The 6L80 Shudder and Solenoid Codes (The Targeted Repair)
Conversely, not every slipping sensation requires a full teardown. The GM 6L80 and 6L90 transmissions frequently suffer from torque converter shudder, often accompanied by a P2763 (Torque Converter Clutch Pressure Control Solenoid Control Circuit High) code. Many DIYers mistakenly order a full transmission rebuild kit, only to realize the internal gearsets and clutch packs are in pristine condition.
The 6L80 utilizes a highly integrated mechatronic unit (TEHCM). If diagnostic data from a bi-directional scan tool shows erratic TCC slip RPMs despite healthy line pressure, the issue is usually isolated to the torque converter's internal friction lining or a failing PWM solenoid inside the valve body. In this scenario, dropping the transmission to install a $600 rebuild kit is a waste of time and money. The correct repair is a standalone remanufactured torque converter, a TEHCM reflash, and a rigorous machine flush of the cooler lines. Recognizing this distinction is what separates novice parts-swappers from true drivetrain diagnosticians.
When Hard Part Damage Demands a Professional Rebuilder
There is a definitive line where DIY repairs end and professional intervention begins. If your symptom diagnosis reveals hard part failure, a standard transmission rebuild kit will not save you. Rebuild kits contain soft parts: clutches, steels, seals, gaskets, and bands. They do not include planetary gearsets, output shafts, or transmission cases.
Red Flag Symptoms for Hard Part Failure:
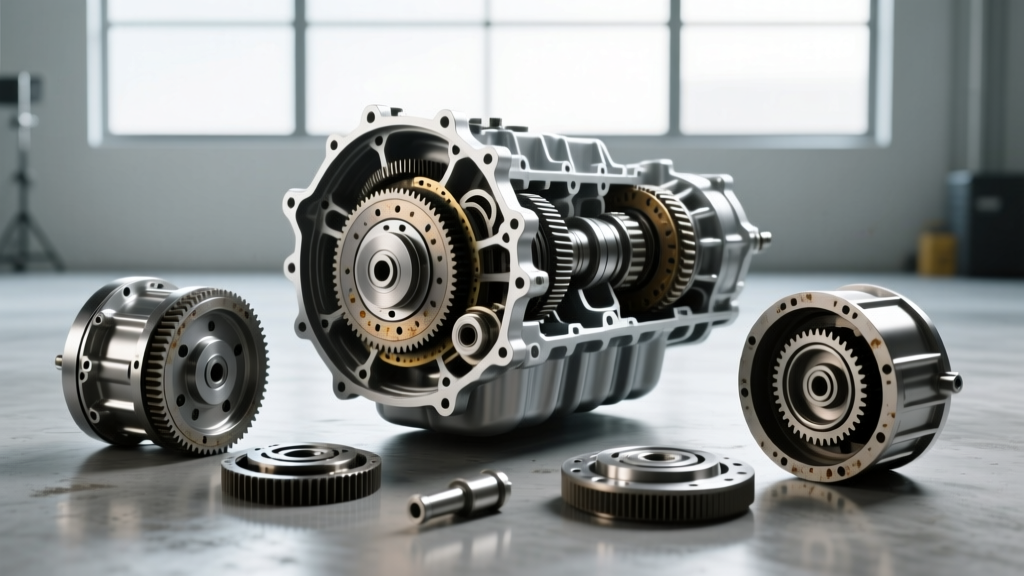
- Catastrophic Loss of Movement: If the vehicle will not move in any gear, and the fluid is filled with heavy metallic glitter (not just fine grey paste), the planetary gears or the reaction sun shell have likely shattered.
- Case Damage: If the transmission fluid pump has scored the aluminum case bore beyond the 0.003-inch tolerance limit, the case must be machined and sleeved by a professional shop equipped with CNC Sonnax boring tools.
- Bell Housing Cracks: Common in high-torque diesel applications (like the Allison 1000), where the stress of heavy towing fractures the aluminum housing, requiring specialized TIG welding and line-boring.
When these edge cases are confirmed via borescope inspection or hydraulic pressure testing, it is time to find a professional rebuilder.
Vetting a Rebuilder: Questions That Separate Pros from Parts Swappers
If your diagnostic matrix points to a professional rebuild, do not simply choose the shop with the lowest Yelp rating. The quality of the transmission rebuild kit the shop uses—and how they validate the build—will dictate the lifespan of your repair. Ask these critical questions before handing over your vehicle:
- 'Do you use OEM, Master, or Overhaul kits?' Budget shops use 'Overhaul' kits that only contain paper gaskets and metal rings, reusing old frictions and seals. Insist on a shop that uses 'Master' or 'Premium' kits containing all new friction elements, upgraded steels, and Viton seals.
- 'Do you perform dynamometer (dyno) testing?' Top-tier rebuilders will mount the rebuilt transmission to a dyno to simulate road load, verifying shift points, line pressures, and clutch apply times before the unit ever touches your vehicle. This mimics the rigorous testing outlined by the Automatic Transmission Service Group (ATSG) for factory-level validation.
- 'What is your end-play setup procedure?' Improper end-play (the axial clearance of the geartrain) is the leading cause of premature rebuild failure. A professional will selectively shim the thrust bearings to achieve a precise end-play measurement, typically between 0.010' and 0.025' depending on the model.
Cost Analysis: DIY Kit vs. Professional Rebuild
Understanding the financial breakdown is crucial for making an informed decision. Below is a comparative cost analysis for a standard rear-wheel-drive V8 application (e.g., 4L60E or 4L80E) in the current market.
| Cost Factor | DIY Transmission Rebuild Kit Route | Professional Rebuilder Route |
|---|---|---|
| Parts / Kit Cost | $250 - $550 (Master Kit + Upgrades) | Included in labor/package |
| Fluids & Consumables | $80 - $150 (Synthetic ATF, RTV, Cleaner) | Included |
| Specialty Tools (Clutch compressors, end-play gauges) | $100 - $250 (One-time investment) | N/A |
| Labor | 15-25 Hours (Your own time) | $1,200 - $2,200 (Shop rate) |
| Removal & Reinstallation (R&R) | $0 (Assuming DIY lift/jack stands) | $800 - $1,400 (Often billed separately) |
| Warranty | None (Parts only) | 12 to 36 Months / Nationwide |
| Estimated Total Out-of-Pocket | $430 - $950 | $2,800 - $4,500+ |
Final Verdict: Trust the Data, Not the Guesswork
The decision to buy a transmission rebuild kit and turn the wrenches yourself should never be based purely on budget. It must be driven by a rigorous symptom diagnosis. If your scan tool and pressure gauges point to soft-part wear, burnt clutches, or degraded seals, a high-quality DIY kit paired with meticulous attention to torque specs and clearances can yield a factory-fresh result. However, if your troubleshooting reveals mechatronic failures, shattered planetary gears, or case scoring, the smartest investment you can make is in a professional rebuilder who possesses the machining capabilities and dyno-testing equipment to guarantee the repair. Diagnose first, purchase second, and your drivetrain will reward you with miles of flawless performance.